DIY A Picnic Table That Adds Extra Seating To Your Outdoor Entertaining Space
We may receive a commission on purchases made from links.
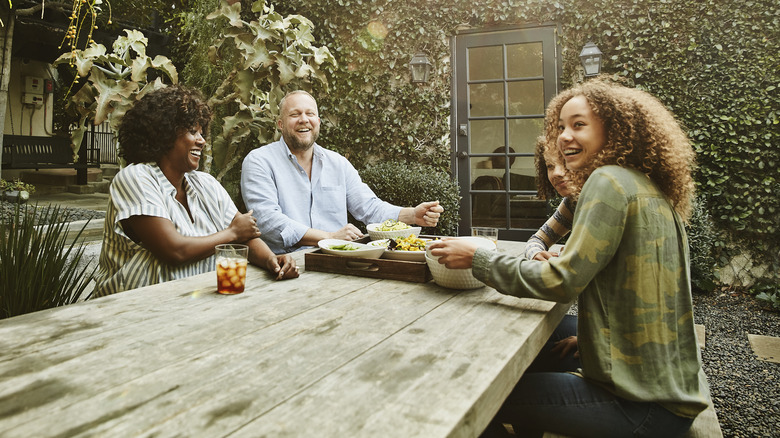
With summer and the barbecue season in full swing, your patio must be the ultimate outdoor entertainment destination. But as you host more and more guests, and seating becomes limited, you may find yourself bringing your indoor tables and chairs outside to accommodate everyone. Or, you might consider spending a few hundred dollars to buy a new picnic table for the patio. The trouble is, indoor furniture is meant to stay inside, and even basic picnic tables aren't exactly cheap. So, instead of splashing some cash, why not build your own picnic table and benches instead?
Now, you may think that picnic table design is too complex for a DIY project. That's partially true — some picnic table designs are certainly hard to get one's head around. But a simple configuration with X-shaped legs, standalone benches, and a tabletop comprising a few planks and lateral bracing should be simple enough for any keen DIYer to handle. All you need is some basic home woodworking tools, carefully chosen wood planks, and fasteners to get this project underway. We're here to explain how to choose the best materials for your new picnic table, and how to assemble them the easy way.
Choosing the right materials for your DIY picnic table
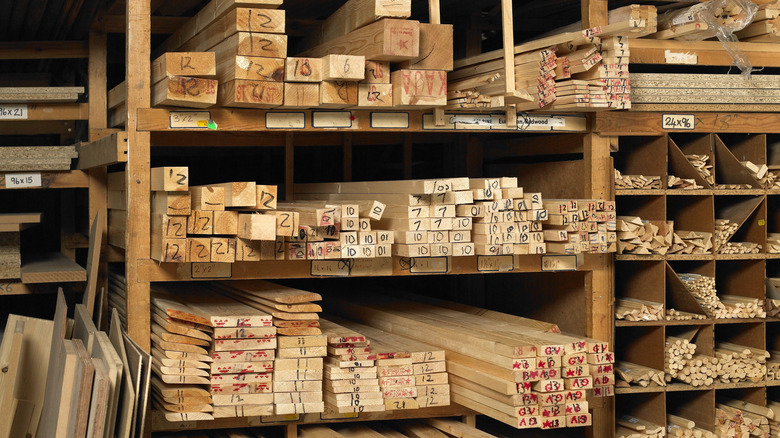
When it comes to materials, consider things like weather resistance, cost, aesthetic, and availability. The least expensive option is pressure-treated wood, which you can easily source at most stores that sell lumber. However, if you'd prefer a nicer-looking wood for the table, consider using red cedar, Douglas fir, or redwood instead. Not only do these species have an appealing grain and color, they're also among the best types of wood for outdoor furniture because they stand up to moisture exposure. This means you don't need to seal them with a finishing compound.
Several pine species, although less attractive, can also work well as picnic table material. For example, if you opt for Southern longleaf yellow pine, you can also forgo applying any finishes as it resists moisture rather well. Finally, hardwoods like white oak, teak, and mahogany are worth considering if you're looking for a heavier material with a truly indestructible feel. Just note that these hardwood options will likely cost more than the softwood alternatives like pine or cedar.
Just remember that wood planks are not the only part of a picnic table that gets exposed to moisture. The fasteners you choose should also be able to resist corrosion caused by moisture and contact with pressure-treated wood. Stainless steel and hot-galvanized fasteners are your best choice for an outdoor project like a picnic table. In contrast, you should avoid zinc-plated fasteners, as they corrode easily when exposed to the outdoor elements and pressure-treated lumber.
Simple steps for assembling a DIY picnic table
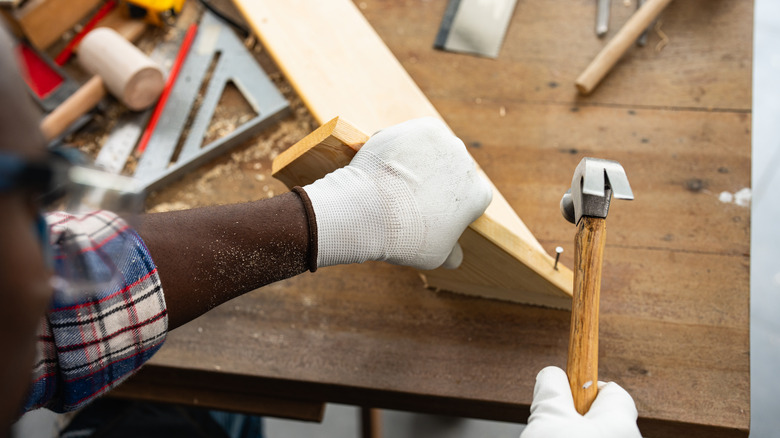
The first thing you should do when creating your own picnic table is build the top. Place four 2 x 8 x 8s of the desired lumber species together, with ¼-inch spacers between the boards. Clamp the boards together, then fasten them by screwing on three perpendicular 2 x 4 planks to their underside — two at the sides, and one in the center. Finally, remove the spacers. Next, build the table legs.
Your table should have two sets of legs, with one set on each side. To create each set, fasten two perpendicular 2 x 6s at the center using lap joints and screws to end up with a cross-shaped frame. You should then saw the top and bottom edges of each leg so they line up flush against the table and the ground. Then, fasten them to the underside of the table top and the 2 x 4s that connect it using angle braces (like these ones from Home Depot). Next, reinforce the legs with a diagonal brace running from the center of the cross to the underside of the tabletop — you can use a 2 x 4 for this purpose.
With the table complete, it's time to make the benches. Think of them as miniature replicas of the table you just built, with tops made of 2 x 8 x 8s and X-shaped legs. A pair of 2 x 8 x 8s should suffice for the top, and 2 x 4 legs (shorter ones than you made for the table) will work well. The final step is giving yourself a pat on the back! You'll now have more money and more seating space for your guests.