Reuse Empty Glass Jars For Stylish Hanging Kitchen Storage
We may receive a commission on purchases made from links.
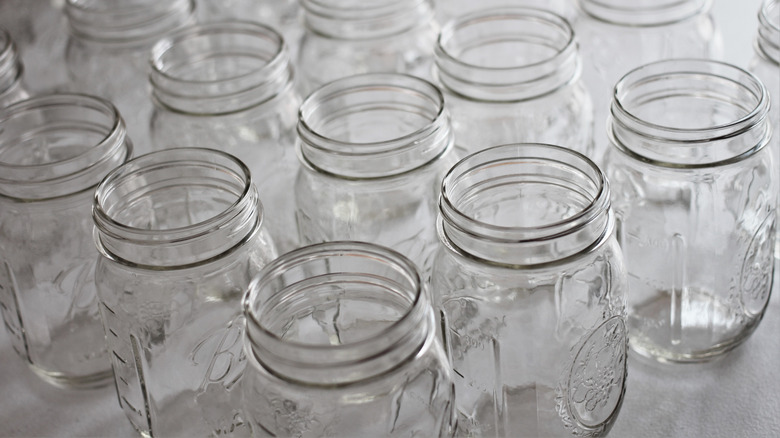
There are plenty of clever ways to reuse old glass jars around the house. Rather than simply recycling them, you can use the sturdy containers to tidy up your home office, plant a pretty indoor herb garden, or even DIY a rustic bathroom storage solution. However, one of our favorite spaces to give glass jars new life is the kitchen.
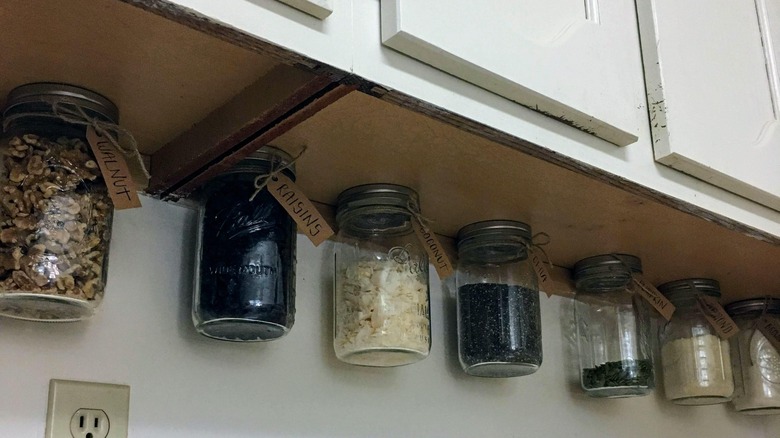
Of course, you could simply fill your jars with spices and other essentials and place them in your pantry or on your countertop, but that can take up a lot of room. Not to mention, it's not as fun or creative as turning them into a DIY that will make the most of the space in your kitchen. Transform your jars into hanging storage by attaching the lids to a piece of wood and screwing the jars on the lids. This will not only help you better organize your cooking area, but it will also add a touch of stylish whimsy to your decor. All you'll need are the jars, a piece of wood, and some nails and screws. The space-saving DIY can then be installed in even the tightest of spots, above or below cabinets, to keep essentials at your fingertips. Here's how to build your own hanging storage solution in just a few simple steps.
How to turn old jars into hanging kitchen storage
Before getting started, make sure your jars have been washed and are ready to be upcycled. If they're still covered in pesky labels, you can dissolve the glue and peel them off by soaking them in rubbing alcohol.
Once they're ready to go, take off the metal lids, fill the jars with whatever products you'd like, and set them aside for the time being. Next, measure out the length and width of the area where you plan to install your DIY and cut a strip of wood to the appropriate size. A 1-inch by 4-inch board (which costs just under $3 at Home Depot) is a good place to start. With the hardest part behind you, take the metal lids and space them out across your wood board. Secure them in place with two screws each. To make this process easier, you can pre-drill small holes into the lids to guide your screws. Finally, drill the board into your chosen location, remembering to use anchors if you plan to hang a particularly heavy load. You don't want your new DIY to come crashing down! With the wooden panel securely in place, simply hang your jars by twisting them onto their hanging lids and enjoy.
More hanging glass jar DIYs
If you'd prefer a less permanent storage solution, or you're short on time, you can use a piece of twine or macrame cord and hang your jars on hooks around the kitchen. There are a myriad of ways to do this, including using fancy knotwork to cradle the jar like in this tutorial from @creativefnk or hot gluing cord around the lip of the jar, making sure to create a handle as you're wrapping the string around.
Alternatively, you can use a piece of wood and 1-inch leather straps to craft a gorgeous, rustic hanging storage solution in just a few minutes. Simply cut the wood into pieces that are slightly wider and longer than your jars, then use the leather to hold the jars in place. Wrap the strips snugly around the jars and hammer them into the sides of each board, trimming off any excess material. You could also use stainless steel hose clamps instead of leather to make it easier to remove the jars for cleaning. Once the jars are suspended, use nails or picture hangers to fasten the wooden boards to the wall of your choice and fill your jars with anything from spices to cooking utensils.

