DIY Outdoor Blinds For Your Patio To Beat The Summer Heat

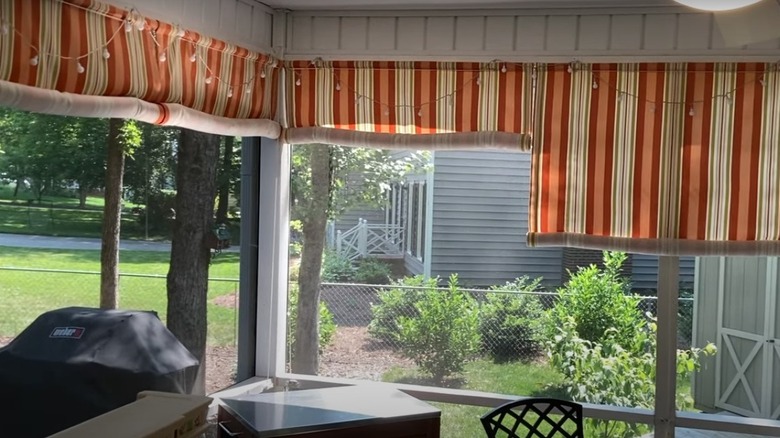
Summer and early fall are popular times to get out and enjoy the warm weather with family and friends. A patio is the perfect transition area between the comfort of home and the great outdoors to embrace nature. It offers a convenient space to come together, eat, chat, sunbathe, or cool off within distance of snacks and amenities. The only problem is if there's a lack of shade.
Even with a covered patio, there's potential for the sun to blast you at certain times of the day. If you don't have a fenced-in yard, there's also the privacy issue to consider. Fortunately, with some fabric and the right tools, you can DIY a project that will add shade and style to your outdoor space. Block out the sun and create a spot to relax, work from home, or get a breath of fresh air comfortably. Check out these directions for DIY outdoor roll-up blinds to cool off and revamp your outdoor living area.
Select fabric and gather materials for your roll-up blinds
To start, measure the deck exterior to determine how much material to buy. Think about the times of day you most like to hang out outside so you can cover the areas where the sun tends to blast you. Fabric is sold in linear yards, each 36 inches long. Width varies by brand. Select an outdoor-rated product to withstand the elements.
YouTuber, A Square Pillow Isn't Square!, recommends getting multiple rolling panels for larger projects, rather than sewing them together into a single blind to avoid center seams and tangled cords. You also need to account for side seam allowance with your measurements. A 1-inch seam on each side reduces the width by 2 inches when hung. With fabric in hand, purchase the other assorted tools for your cooling barrier.
This project requires 100% polyester (or outdoor-rated) thread, wood dowels measuring ⅝ of an inch in diameter, a 1x1 inch piece of lumber, a roll of sturdy lift cord, 2-inch cup hooks, screw eyes that are at least 1¼ inch, and a cord cleat. These things are all available at most hardware stores. You'll need as many pieces of dowel and lumber as there are blinds, and each should be cut to the width of the shade. Each panel also requires two cup hooks and five screw eyes. Drawstring amounts depend on the setup and length of your blinds, which will be explained in the next step.
Sew and install your own roll-up patio blinds
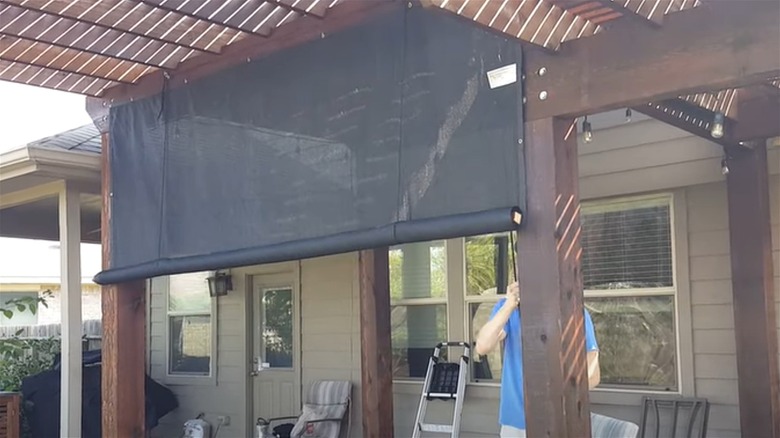
There are a few steps to follow before adding the cord. Use a sewing machine to stitch side seams and pockets for the mounting bar and wooden dowels on the top and bottom of the blinds. A Square Pillow Isn't Square! suggests a 1½ inch pocket on the bottom and a 1¾ inch pocket on top. Slide the pieces of wood in and add the screw eyes to the mounting bar. Three go on the underside — the first 1 inch from the edge where the cord will hang, the second 6 inches from the edge, and the third 6 inches from the opposite edge. Two screw eyes go on top of the board directly above the ones at the 6-inch markers. The top screws hang on the cup hooks, which you attach to your patio. The bottom ones guide the draw cord.
Cording takes a little patience. Each string measures double the length of the blind, plus the distance from its designated screw eye to the end of the drawstring you pull. Measure out the required rope and carefully thread it through the screw eyes. Attach the cord cleat near the drawstring for tying after use. With the panels corded and ready to hang, all you have left to do is attach them to the patio. This new privacy and shade feature lets you do more outside. You can even transform your patio into the perfect workspace. Keep cool during the hottest days of the year during work or play.