DIY Farmhouse Window Trim To Give Your Home A Chic Instant Upgrade
Are you thinking about upgrading the trim in your home? New window casings afford a powerful yet simple way to refresh the interior. But quality trim isn't cheap, and the commercially-sold options may not appeal to you if you want to spruce up your home with a one-of-a-kind design. Instead of spending money on run of the mill moldings at Home Depot or Lowe's, however, you can fashion your own farmhouse-style (also known as "craftsman-style") using simple planks and dimensional lumber.
Farmhouse trim improves the style of any room with its charming yet minimalistic appearance that lacks elaborate profiles or more ornate moldings. This same quality lends itself well to DIY installation, as it demands few materials and only the most essential home woodworking tools. To create these farmhouse moldings in your home shop, you'll need a few broad planks, such as 1x6s or 1x8s, and some narrow ones, like 1x2s or 1x3s. Paint-grade wood, like poplar, is the more economical option, whereas stain-grade species, such as oak, tend to cost more. Which wood type you choose is your choice. Apart from the planks, you'll need paint or stain, brushes, nails, caulking, wood filler, and a saw. Below, we'll walk you through the assembly and installation steps for this upgrade project.
How to install the window jambs and sill
First, build and install the window jambs, head, and sill, which conceal the gap between the window and the drywall. Start with the sill. Measure the length and width of the rough window opening, then add at least ¾ inch to the width if you want the sill to be flush with the casing. If you prefer the sill to sit proud of the casing, you can make it wider. Also, be sure to make the inward-facing edge of the sill longer than the part that fits inside the window opening so the casing sits on the sill for a neater look. The length of the inward edge depends on the width of the planks you use for casing. In the end, the sill will resemble a wide letter "T".
Next, measure the width and height of the jambs. The jamb width should equal the width of the rough opening, and the height should rise from the top of the sill to the downward-facing surface of the head. Now, measure and cut the head piece, which should be as long and wide as the top of the rough opening. Then, attach the pieces together to make the frame using four to five nails for each joint. The sill and head should enclose the jambs on either side. Finally, install it in the rough opening much like you'd install a door, shimming the gaps until the frame is level and square.
How to case the window
Farmhouse-style window casing has four key elements. The two side casing panels abut the jambs on either side of the window, while the head casing sits above the head jamb, and the apron is situated beneath the sill. To fashion the apron, cut a plank to match the length of the window opening, and nail it to the wall under the sill, so that the top edge contacts the sill bottom along its entire length. Next, measure, cut, and nail the side casing planks to the wall. These should span from the top of the sill to the top of the head jamb.
Now comes the tricky part — the head casing — that gives farmhouse-style windows their characteristic appearance. First, cut a plank to the same size as the apron. Next, cut two 1x2s (or 1x3s) to the same length as the inward edge of the sill. Now, nail them to the sides of the plank to create the trim; these pieces will extend beyond the plank on either side to match the look of the apron and sill. With the head casing assembled, nail it to the wall above the window opening.
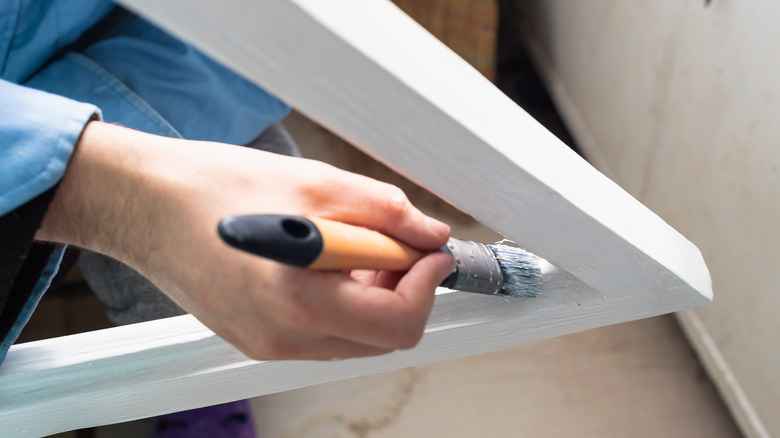
With all the elements installed, you need to apply caulk to the interface between the casing and the wall. Then, prime the planks, and once the primer coat dries, use wood filler to patch up the nail holes. Finally, choose the perfect color for your trim and paint the new moldings.