This IKEA TARVA Dresser Makeover Is A Rattan Dream
We may receive a commission on purchases made from links.
1970s-era rattan furniture and decor is back in style, but don't worry if you're not managing to find a dresser you love in vintage stores or estate sales. With an IKEA TARVA chest, some rattan, a stain in the shade of your choice, and a staple gun, you can create one all by yourself. You'll also need a jig saw and some hardware.
First things first: the TARVA. These chests retail for about $250 on IKEA's website, but be sure to take a look on Facebook Marketplace to see if anyone is selling one for a lower price. For this hack, you'll be removing most of the dresser's outward-facing surface, so don't worry if secondhand options are stained or have slight signs of wear. Once you have that, find your rattan (also known as cane webbing). You can get this on Etsy at a low price, but shop around for the best quality in your budget. Finally, think about the stain you'd like. Rattan really stands out when it contrasts with the rest of your furniture, making something slightly darker a good starting point.
Next up, source a jig saw. If you already have one or could borrow from someone who does, that's a great way to cut costs. Alternatively, contact your local tool hire for a quote. Not opposed to investing in the tool for future projects? You can also take a look on Amazon for one in your price range.
Remove the inside of each drawer, then staple in rattan
The first step to turning your IKEA TARVA into a rattan masterpiece requires some measuring. Decide how much of each drawer you'd like replaced with rattan. You can remove the majority of the drawer's outward-facing surface, but remember that you will still need some of the original wood to attach both the rattan and hardware to, so be sure to leave a decently sized border. Use a tape measure to ensure everything is straight and the measurements are the same on each drawer, then use tape to mark everything clearly. Once you've done that, you can use your jig saw to cut along the inside of that tape demarcation.
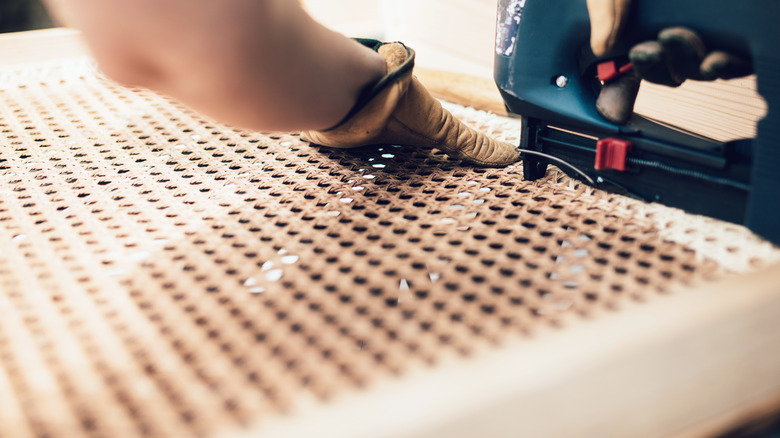
When the inside section of each drawer has been removed, sand them down, and then sand down the rest of the chest to prep for your stain. After the stain dries, cut your rattan to the size of each drawer's now-open section. Allow for some overlap, then use a staple gun to secure. Finish off with some fresh new hardware. Luckily, this particular part of the process is inexpensive, and you'll be able to find a ton of great options on Amazon. You can go with gold drawer pulls, as shown in this TikTok, for a midcentury modern look, or choose something completely different that matches your personal style. If you're not sure which type of cabinet hardware is right for you, consult our guide. Your home just got a flawless '70s boho makeover on a budget. Done right, no one will even know you DIY'ed it.