Keep Your Craft Room Spick And Span With These Decluttering Tips
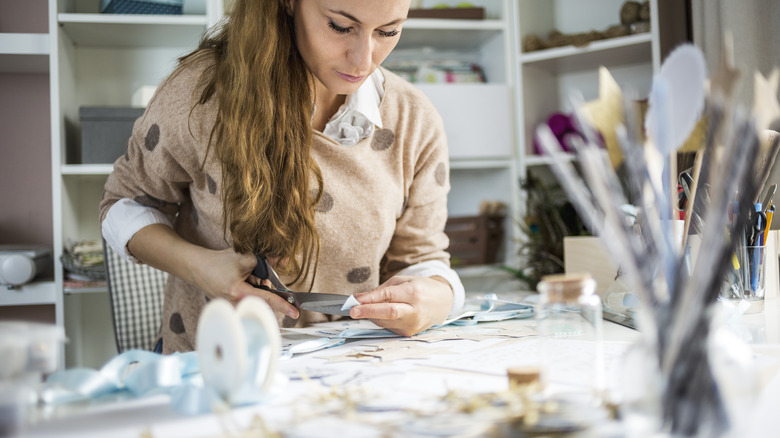
Making and creating, whether its conventional arts like painting or decorative ones like home DIY projects, can take place everywhere from large, perfectly appointed work rooms or tiny impromptu corners where synergy and magic happen. Arts and crafts room must-haves, of course, always include comfortable seating, lighting, and equipment to make time spent working productive and enjoyable. One thing all workspaces also require, whatever their size, is both the space to work on projects and the room to store supplies needed. Since these two things are ever at odds in many craft rooms and studios, you may be looking for a great way to make your workspace more amenable to both storage and room to spread out. Setting aside some time specifically for asking yourself what you need and how best to store it can prevent clutter from building up over time. Sorting, purging, and finding perfectly-suited options are the key to a neat workspace, no matter the square footage.
A well-organized space has been proven to boost creativity and a sense of calm, making it easier to focus on what you're doing and find the things you need. A cluttered work table and messy space can cause both hesitancy and procrastination when it comes to getting down to work, as well as make the process less enjoyable over time. Having a dedicated place for everything means you can better focus on the task at hand.
Ditch what you no longer need
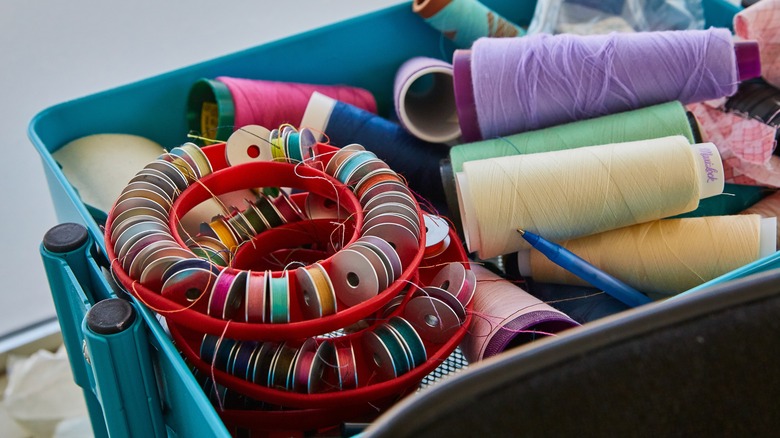
Begin by purging your stash of supplies, which can often grow untenable over time as you collect things and hoard what you think you'll eventually need. Set aside a period of time, from one hour a day to several hours a week, to fully evaluate your supplies and stash of materials. Take one area of your craft room at a time. Divide them into three piles. One to keep, one to donate or sell, another to throw in the trash. If you have some materials or supplies that you are not sure whether to hold onto, your may want create an "undecided" pile. Place the items in a safe place, either in your craft set-up or away from it, then revisit it later. If the items have not been needed after six months to a year, reevaluate keeping them. If you're feeling particularly overwhelmed by the process, create a crafting doom box ("didn't organize/only moved"), to go through at a later time.
Sell or donate those which are extras or you do not see yourself needing. Community organizations and schools often take donations of art supplies and second hand materials. Many cities also have secondhand art supply retailers that accept donations for sale. You can even donate some of them, especially sewing, knitting, and crochet materials, to local thrift stores. Throw away anything near empty, not in good condition, or which you feel may not be useful to anyone else.
Take advantage of the space you have
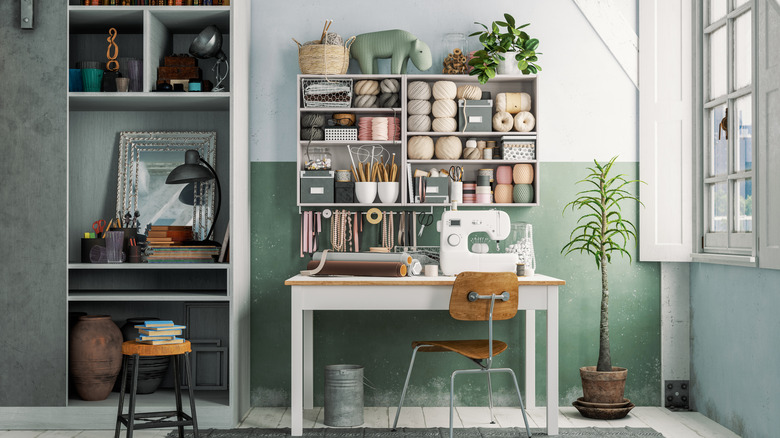
Once you have sorted out your "to keep" pile of supplies, begin thinking of the best means to store them neatly and accessibly. Dual-use pieces are great for this, which include elements like work tables with underneath storage space, or a comfy ottoman that doubles as seating or a foot stool with internal storage. For attractive storage, consider shopping places like The Container Store and IKEA for basics, or collect attractive vintage pieces like baskets, cigar boxes, and old industrial storage pieces like racks, carts, and drawer units.
How you store items is also important, since you want supplies to be easily accessible. Overstuffed storage can mean having to clear away or move things every time you are hunting or pulling out what is under or behind it, as well as creating more mess and effort. Look for ways that you can easily grab what you need without disturbing or shuffling other supplies. This may favor deep drawers over cabinets or placing items on hooks instead of in stacked boxes or bins.
Also take full advantage of space you might not think of immediately, such as wall and vertical storage like wall-mounted containers or hanging baskets. Use wall shelving for extra storage within easy reach. An inexpensive pegboard on the wall above your work surface is a perfect craft room idea that not only allows hooks for hanging tools from, but can accommodate baskets and bins that hold smaller items.