Turn Trash Into Plant Treasure With This Clever Way To Reuse Bubble Mailers

No matter how much we know about the evils of single-use plastics, they don't seem to be going away any time soon. The best thing to do is find another use for the material before its inevitable fate of ending up in the trash. Plastic bubble mailers are among the most troublesome for aspiring zero-wasters. They aren't accepted by many recycling services, and they take up lots of space in the garbage. Take advantage of imaginative and clever ways to use leftover mail packaging. Unexpectedly, plastic bubble mailers make great hanging planters.
Bubble mailers have qualities that are worthy of lending to DIYs: They're lightweight, durable, and insulative. The layers of plastic hold soil beautifully, and a few discreet added drainage holes help regulate moisture. It's best to only upcycle envelopes made entirely of plastic, rather than ones with paper exteriors. With this hack, you can hide its disposable purpose with some paint or fabric, as well as cascading greenery.
TikTok user @itsdiydenise rescued a mailer from the trash by giving it a faux-galvanized metal look with the help of some paint. After adding a couple of grommets and heavy twine for hanging, the planter is attractive and highly functional. So, when your next delivery from everyone's favorite online retailer arrives, salvage the packaging with this easy — and practically free — project. Have multiple bubble mailers to get rid of? Make a trio of baskets, or check out the genius ways bubble wrap can improve your home and garden.
Test your mettle with faux metal
This project requires more supplies to make than it does skill. For the planter basket, gather together your mailer, scissors, and a glue gun. You'll also need grommets, a hammer, and some cord, as well as paints (or lightweight fabric) to decorate it. To get @itsdiydenise's galvanized look, you'll need a can of cement or stone spray paint (such as Rust-Oleum's Stone Creations Spray for $17 on Amazon) and chalk paints in both black and white ($6 each on Amazon). To protect the finish, also purchase a can of Rust-Oleum 2x Ultra Cover Semi-Gloss Spray Paint ($6 at Target). Lastly, have soil and plants on hand for instant gratification!
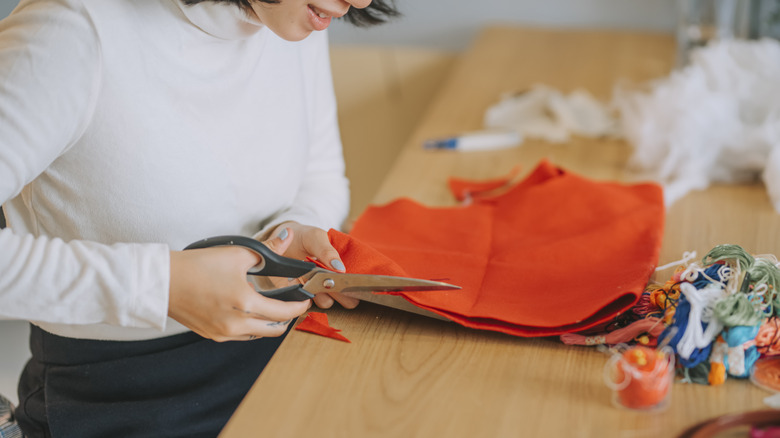
Cut the envelope open along one of its long sides. On the end you opened to get out your shipment, carefully peel or cut away the remainder of the flap that sealed the envelope, and hot-glue the seam closed. If you plan on housing live plants in the hanger, poke a few holes along the bottom of the envelope. Hide them from view by making the holes slightly above the bottom crease; when you hang it, face the side with holes away from view.
For @itsdiydenise's paint method, spray both sides of the envelope with the spray paint and let it dry. Try TikTok's time-saving tips to make spray painting a breeze. Then, stipple on a light amount of black and white chalk paints, letting the black paint dry before adding white. Once the paint is dry, top with a layer of semi-gloss clear spray, and let it dry.
Raid the scrap stash
This version is for you fabric scrap savers. Find a piece of fabric that's large enough to wrap from one side of the envelope to the other. You'll also need a sewing machine, craft glue, and some ribbon or bias tape for trim. Pin the fabric to the envelope's edges and zigzag stitch it on. Measure ribbon or bias tape to cover each edge of the envelope. Fold the ribbon over the edges before sewing or gluing it on. If you have folded bias tape with two full sides, open the fold, set it over each edge, and pin or sew it on — or attach it with craft glue.
Pick up a Dritz's Extra Large Eyelet Kit from Michaels for $10. To affix the grommets, punch a small hole with scissors near each side of the envelope's open end, about 2 inches from the edges. Push the larger grommet piece through one side of the hole. Flip over the envelope, and set the smaller eyelet piece on top of the larger one. Slide the disc under the large grommet ring, place the hammer tool on top of the smaller piece and hammer the two pieces together. Knot the ends of your hanging cord through the grommets. Now you just need to add your plant, and you're ready to hang your upcycled creation!