Make Your Kitchen Cabinet Update Easier With This Must-Have Tool
We may receive a commission on purchases made from links.
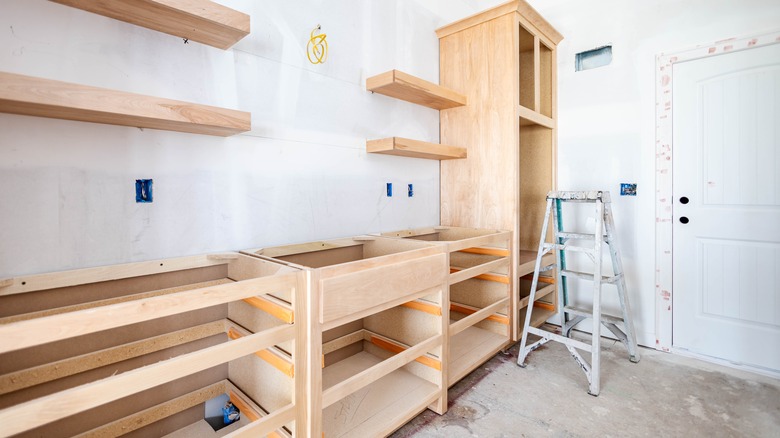
Thinking about giving your kitchen cabinets a DIY facelift? Updating cabinet hardware can really refresh the look of your kitchen, but getting those handles and knobs perfectly aligned can be tricky. Just a tiny misalignment can turn your DIY dream into a disaster. Luckily, there's a tool that can save you a lot of hassle: a cabinet hardware jig.
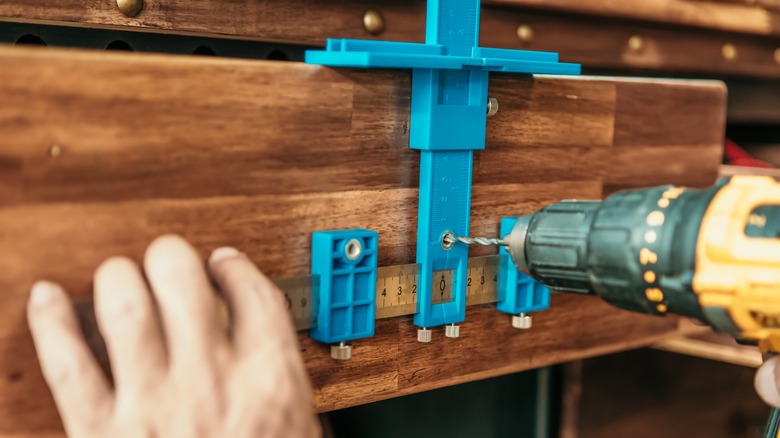
It's basically a template with movable guides and measurement markings to help you drill holes in the right spots. Specifically, the template comes with steel drill guides that you can adjust and lock into place. The guides line up perfectly with standard hole spacings for cabinet knobs and pulls. Most jigs, like the Kreg Cabinet Hardware Jig, can accommodate various hardware sizes and styles. With a jig's adjustable guides and measurement scales, you don't have to worry anymore about measuring and re-measuring. No more pencil marks that don't quite line up, too. This gadget will make sure you drill holes in the correct spot every time, so all your cabinets and drawers look uniform and professional. It's also user-friendly and precise, making it a go-to tool for both beginners and pros. Below, learn instructions on how to use the tool and the advantages of investing in a high-quality jig.
How to use a cabinet hardware jig
Using a cabinet hardware jig is fairly straightforward. Start by adjusting the jig to match the size and placement of your handles or knobs. As mentioned earlier, jigs come with movable guides that you can set to the exact measurements you need. This tool will ensure that all your hardware is consistently placed. Once you've set the jig, clamp it on your first cabinet door or drawer front. Align it carefully, making sure it's level and centered, and mark the spots where you'll drill. The jig will have holes or slots where you can insert a pencil to make precise marks.
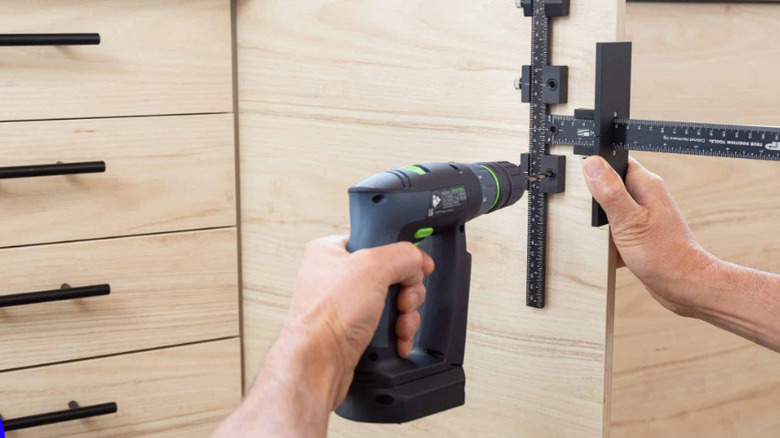
Now that you've marked the positions, it's time to drill. Using the marks as guides, drill the holes for your hardware, with the jig ensuring that these holes are perfectly aligned and spaced. Alternatively, you can forego marking the spots and simply drill through the holes of the jig (though having a mark will show you if your jig has moved at all). Either method works. After you've drilled your holes, move on to the next cabinet and repeat the process. As the jig is adjustable, you can quickly set it up for each new door or drawer, ensuring uniformity across your entire kitchen. Once all the holes are drilled, you can install your handles or knobs, which should fit perfectly thanks to the precise drilling guided by the jig.
Invest in a good hardware jig
If you're serious about getting professional results for your DIY home improvement projects, it's best to invest in a high-quality jig, like this one from True Position Tools. Cheap jigs can be pretty unstable to use, particularly if they're made of plastic and aluminum. Due to their lightweight nature, they can shift more easily during use, especially if not securely clamped down, and lead to misaligned holes. On the other hand, jigs made from high-quality materials like stainless steel and hardened aluminum are generally heavier and more rigid than plastic ones, which makes them more stable during use. This added stability helps prevent the jig from shifting or moving while you are drilling, ensuring precise hole placement every time. They also won't warp or wear out easily, so you can count on them for all your projects.
Cheap jigs can be tempting because they're way more budget-friendly upfront. You might find some with prices as low as $20 at places like Walmart while the True Position Tools jig costs $199 on Amazon. But if you're serious about your DIY ideas and plan to use the tool for multiple projects over time, investing in a higher-quality jig is a smart move. You can use it long-term for revamping cabinet hardware in your bathroom, bedrooms, and basement, and even for custom furniture projects around the house.


