Sneaker Lovers Will Adore This Easy Shoe Display Hack
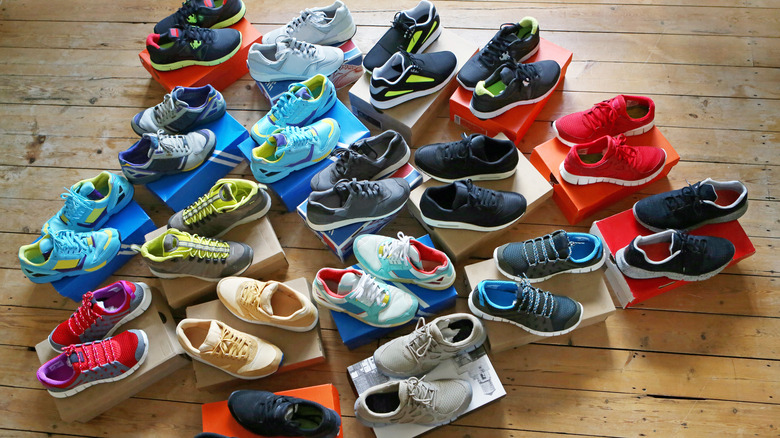
When it comes to curating a sneaker collection, most people don't just want to throw their sneakers into an entryway shoe cabinet and call it a day. Sourcing and acquiring hyped items is a hobby, and just like how someone would want to display their rare china or impressive matchbook collection, a sneakerhead wants to display their shoes. There are all sorts of ways to do so, from creating a wall of clear boxes to individually store them to creating an IKEA sneaker wall. But those options take considerable funds. Luckily, you can still find an aesthetically pleasing way to display your sneaker collection on a budget, and you don't even have to buy any products or storage solutions to pull it off. Instead, you can create affordable shoe storage by transforming the shoe boxes into floating shelves.
Sneaker photographer Randy Knights shared a hack on TikTok on how to easily display a shoe collection so it doubles as a statement wall — and all it takes are shoe boxes and a few thumbtacks. Not only is this affordable since it doesn't require you to buy any extra items, but it's also very renter-friendly. Rather than installing floating shelving into the walls and creating anchor holes, you can add just a few nondescript pinprick holes that are easier to fill. Here is a closer look at the DIY.
How to create DIY wall storage for your sneaker collection
This hack is great for people who not only want to prominently display their sneaker collection in their home, but also those who want to create a bold gallery wall. According to Randy Knights' TikTok, all you need to do is grab the bottom half of your sneaker box and tack it to the wall using three or so thumbtacks. Once it's securely in place, put one of your shoes into the box. Close the box with the lid, and place the second shoe on top, using it as a floating shelf. And that's it! This hack has both form and function, since it not only creates an eye catching display, but doubles as a shoe rack.
Since this causes minimal damage, it's also easy to rearrange and reconfigure. If your collection grows and you need more wall space, you can easily take down the display and move it to a larger wall. Or, if you buy a new pair of shoes you want to display at eye level, move on of the boxes to a different location, all without having to mess around with tools or patch holes. And even better, it frees up storage space in your closet, since the shoes are on the wall rather than on shelving or the floor.
Things to consider
When diving into this DIY yourself, you will first want to figure out your design configuration, so you get the spacing right. Before you start tacking boxes to the wall, gather all of the shoes and figure out how many rows you will need. For instance, if you have 25 pairs of shoes, you can make five rows with five pairs on each row. To help determine if the spacing looks good, create paper templates of the boxes by tracing them on newspaper, wrapping paper, or cardboard. Cut out the rectangles, tape them to the wall, and determine if they fit the space well. If they don't, you can reconfigure the spacing without creating unnecessary wall damage.
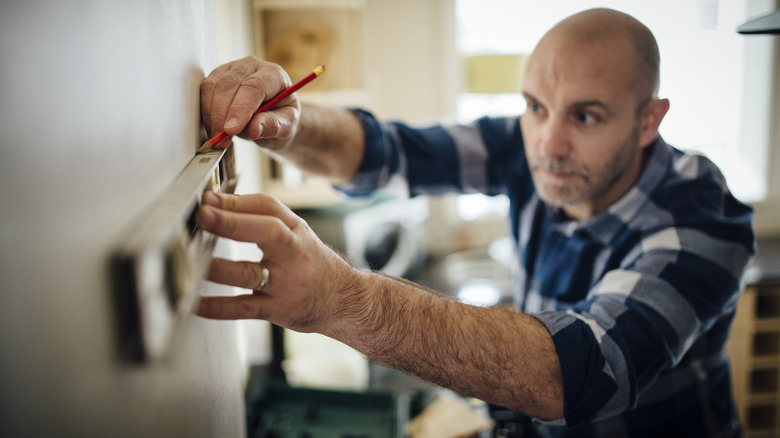
Unsure of how to hang the boxes perfectly straight? You can also create a template for that. Grab a roll of painter's tape and tape a straight line on your wall. Use a level to make sure it's perfectly straight throughout. This will serve as your base, allowing you to place the boxes at the top of the tape line. Attach the cardboard boxes with your thumbtacks, and when all are in place, remove the painter's tape.