DIY A Portable Backyard Fire Pit Using An Old Garden Tool

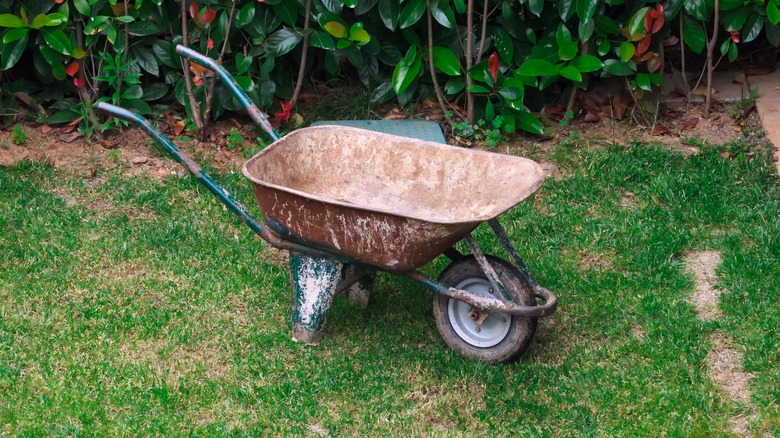
Cozying up around a crackling outdoor fire is a recipe for great memories. Fire pits are pretty easy to come by at your local big box store, but why fork out the bucks for a metal contraption that looks just like everyone else's? Do you have a rusty wheelbarrow that's beyond its prime? Or have you spied a free one at the curb or advertised online? Wheel it into a nice spot in your yard for a DIY fire pit. Share a laugh with your favorite people around the flames in the fire-proof metal barrow at your next get-together.
Fancy portable fire pits can transform your backyard, but the price of these contraptions may throw you off. Instead, wheel your barrow where you want it and grab a few stones or bricks to keep it from rolling. Add an armload of firewood and some seating, and you have a cheap and cute four-season gathering place for you and your guests that can go almost anywhere you want it to.
Supplies and steps
This DIY is so simple that gathering your supplies will take longer than putting the project together. Use an old wheelbarrow you have or source one online. Facebook Marketplace, Craigslist, and local community forums are potential goldmines for cheap or free unwanted barrows.
Aging wheelbarrows often don't have usable wheels, so if you want your pit to be portable, you can nab a pair of wheels at a hardware store for a small price. Most local hardware stores sell replacement wheels as well as handles made of both wood and metal. If there are holes worn through the bottom of the barrow, lay a grate from a grill or add wire mesh along the bottom to hold in embers. Unless your wheelbarrow is especially dirty, you won't need to do much to clean it before your first fire. A quick wipe with a damp rag should do, scrubbing away any patches of dirt. If your wheelbarrow is rusty, that definitely lends it a rustic charm. But rust also damages metal. Buff away the excess with this surprise secret ingredient found in every kitchen.
Setting it up for safety
The main selling point of this DIY is the pit's easy movement. The wheels are an advantage, but they can also be a hazard. Wherever you decide to ignite your new fire feature, make sure you wheel it to a flat, stable spot away from overhanging branches or plants. Prop something heavy under both sides of the wheels to ensure that it won't roll if someone accidentally bumps it.
It's nice to establish a permanent setup for your marshmallow toasting sessions, but the wheels allow you to bring warmth to so many other spaces. It can even be safe to put the fire pit under a pergola if you follow our guide. Yet, with its greater freedom of movement comes more opportunities for risk. Never move the barrow while you have a fire going in it, and swap out metal handles for wood ones that stay cool in case of accidental contact.
While this adaptation will limit how portable your pit will be, consider adding a gas insert to your wheelbarrow bottom. Gas fire pits can be costly, but they are significantly safer than fire ones. A DIY burner kit like one from BBQDirect.com will set you back some cash, but you may find that the reduced danger of flying sparks is worth the investment. Your upcycled fire pit will end up more of a novelty than a cost-saving DIY, but novelty is not without value!