Turn Your Favorite Photo Into Beautiful Home Decor With A Simple Dollar Tree DIY

Dollar Tree wooden cutting boards aren't likely to spring into your mind as a decor item. Upon a closer look at their honey-colored stain, appealing wood grain, and versatile shape, your creative side will let their potential bloom. You'd be surprised at all the clever cutting board DIYs you'll want to use around the house. If you have a prized photo that you want to stand out, print it out and adhere it to a cutting board with decoupage glue for a quick, cheap, yet sentimental item.
Pick up a wooden cutting board from Dollar Tree, a decoupage glue like ModPodge, and some paper, and set aside an hour for a DIY that will highlight your immortalized moment. Use any kind of desktop printer that gives you a print that's worth displaying. Also have on hand some scissors, a paintbrush, and a cotton pad and rubbing alcohol. Your new decor piece will take longer to dry than to make!
Making a decoupage wooden photo panel
There are scores of creative ways to use decoupage in your home, and it's also the simplest way to feature your photo on your cutting board. Just affix it onto the board's surface with decoupage glue. Decide on the dimensions you should print the photo depending on the size of your cutting board. This bamboo option is roughly 8.5 x 6 inches, so you can crop your photo accordingly in the software of your choice (try Canva for a free resizing tool), print it on a standard sheet of paper, and cut it to size.
While the photo is printing, prep the surface of the board where you'll be gluing the picture with a wipe of a cotton pad and rubbing alcohol. Once it's dry, paint a generous layer of glue covering the entire face of the cutting board. Starting at one narrower side, smooth the picture onto the glue one bit at a time, taking care to press out any air bubbles gently as you go. Once the picture is fully situated on the board, let it dry.
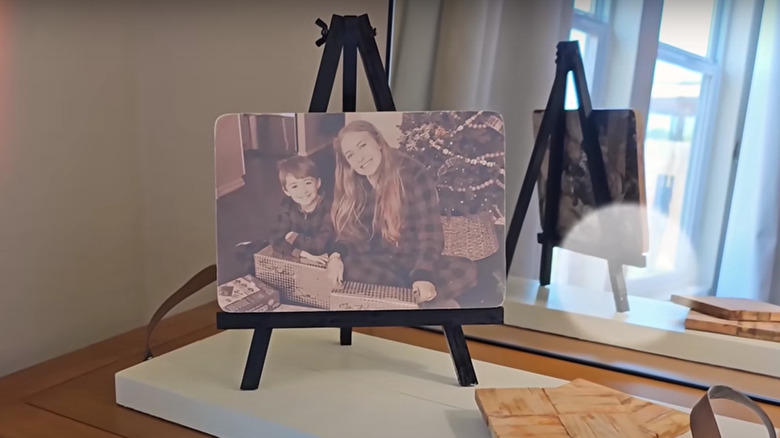
If you have overhanging paper to trim away from the edges of the cutting board, rather than resorting to scissors, file away the excess with a piece of sandpaper or an emery board for a smooth finish. Top the photo from edge to edge of the cutting board with decoupage glue. Once it's dry, show it off on a shelf, or use a Dollar Tree display easel to stand your picture on any flat surface.
Try a wooden photo transfer
Maybe you want a more stylish way to add personality to your home with family photos. Here is an "advanced" version of the decoupage photo trick that conveniently uses mostly the same tools and supplies as the first method. Instead of gluing the actual paper to the wooden surface, the decoupage glue can allow you to transfer the ink from the photo onto the cutting board. The only additional supplies you will need are a rag and a spray bottle of water. An inkjet printer will give you the best image. Keep in mind that this technique will leave you with a mirror-image of your printout; if there is any text in the photo, you'll want to flip the image in your settings before printing.
Clean the surface of the cutting board with rubbing alcohol, and trim your photo if needed. Thoroughly coat the printed side of the photo with a thick layer of glue. Smooth it over the wood surface in the same way described for the decoupage method, and allow it to dry completely. You can speed up the process by using a hairdryer.
Spray the paper with water until it becomes soft enough to rub away gently with your finger. Carefully rub away the moistened paper, either with your finger or a rag, until you have removed all the paper fiber. Now you have a paper-free piece to share your photo with all who see it.