Stop Throwing Out Egg Cartons When You Can Make Beautiful Bespoke Flower Pots
We may receive a commission on purchases made from links.
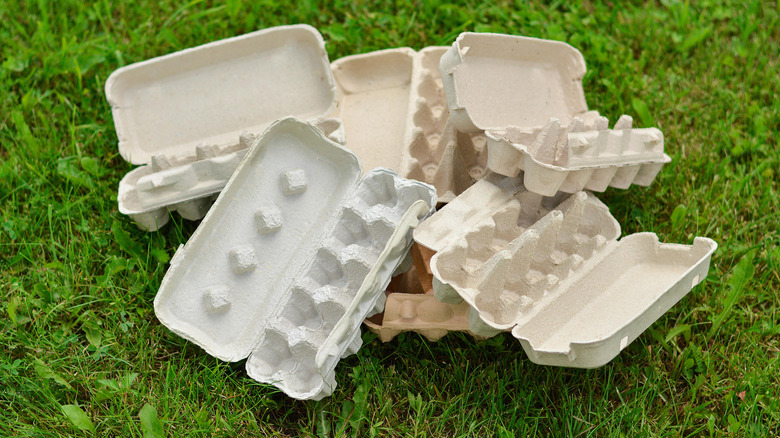
Instead of tossing old egg cartons, why not repurpose them as flower pots? We're not talking about snipping the individual cups and using them as mini-planters, here. Though that can be a genius repurposing hack for egg cartons, by using the carton's cardboard to create a clay, you can actually sculpt a unique pot of your own.
First thing's first — the clay. Start by removing any stickers or labels, then rip your egg carton into smaller pieces. There's no rule on the size of those pieces, but it does bear mentioning that smaller pieces will make for a smoother clay, while bigger pieces will have some chunkiness, so base that on your preference. Once your box has been broken up, place the pieces in a bowl of water and leave to soak. Overnight is ideal, but as long as they've soaked for at least an hour, that's fine, too.
When you're done soaking, give the bowl a mix and blend it all up using a stick blender. Finally, squish out the excess water. A cheesecloth can come in handy here, as can a sieve or a strainer. Either way, finish up by using your hands to squish out anything left over after that.
Add some flour or glue to the mixture
Once your clay mixture has been squeezed out, you can add flour as well as a dash of salt and water to it (use rice flour for a celiac-friendly option). You can also PVA glue and cornstarch instead of flour and salt. Both options are effective, so for a full-on repurposing DIY project, use whatever you already have on hand, and mix it all up until you have a texture you feel comfortable working with. Again, you can base this on your preference, but as a general rule, it shouldn't be too runny or too stiff.
When you're happy with the consistency of your dough, grab the pot you plan on using as a mold. You can mold it on the outside of the pot or inside — just make sure the clay won't stick to the material of the pot itself. Generally, plastic will be fine, but wood or clay could pose a problem. If you are worried about it, simply use some plastic wrap as a liner. Place the pot somewhere it can dry, and leave it out for a day or two to ensure it's really able to harden.
Use decoupage or paint to customize your flower pot
When you're confident your bowl is completely dry, remove it from the pot you used as a mold and you're good to go! Well, almost. Because the decorative pot has been made with cardboard and you're planning on putting a plant inside it, you definitely need to safeguard it from any moisture. Mod Podge sealer is great for this, and available on Amazon for around $3.
Speaking of Mod Podge, one way to get creative in making this craft fit perfectly with your home is with decoupage. Grab a paper napkin you have lying around, or repurpose old magazines by cutting out pictures from them. Use the Mod Podge to stick your decorations to your pot, then use another coat to seal it. Of course, if you're artsy, you could also just paint your flower pot. Not into paint or decoupage? Another alternative is to get creative with any leftover clay and make a 3D design. Doing this before the pot dries will give a more seamless result, but you could also attach any add-ons made later with some hot glue. Otherwise, embrace the natural texture and leave it as is.
No matter how you choose to decorate your pot, if you're planning on leaving it in a sunny spot, be sure to spray on a UV protector to prevent any damage. These are available on Amazon for $18, and are well worth protecting the craft you worked so hard to make.