Get The Look Of A Wood Patio With This Long-Lasting Alternative
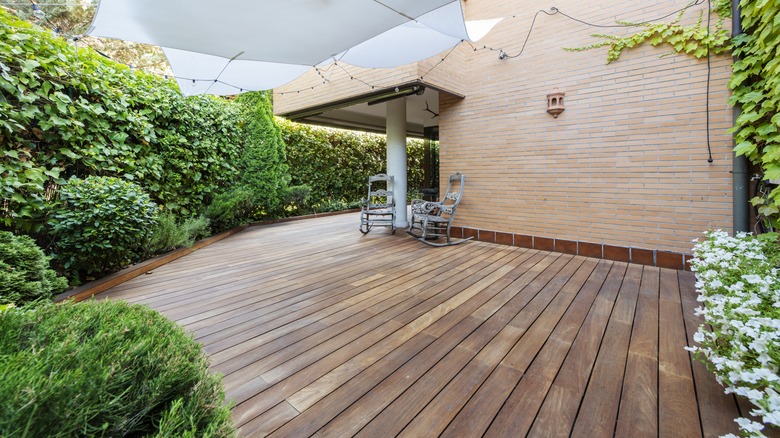
Are you considering whether to use wooden decking for your patio floors? Outdoor wood flooring looks warm, organic, and inviting, but comes with an assortment of issues and complex maintenance requirements. Much of the trouble stems from wood's inherent porosity and the very organic nature for which it's prized. But did you know that you can give your patio floors the same look that wood affords without subjecting them to the risk of rot, insect damage, and annual sealing? All you need to do is buy and install exterior wood-look tiles instead of real wood decking.
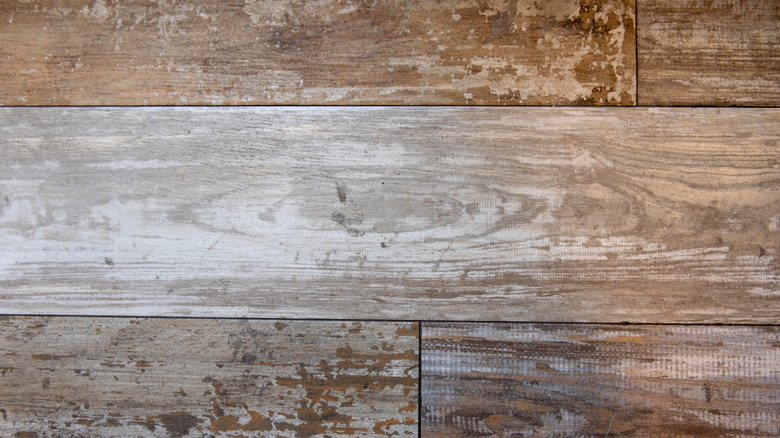
Quality wood-look tiles have an uncanny resemblance to real decking, as their design mirrors the natural wood grain and colors. Better yet, these porcelain tiles are much more resilient than wood when exposed to the elements and foot traffic — a quality that makes patio maintenance a breeze. Laying these tiles is not incredibly difficult, and it's definitely a project any DIYer can undertake as long as they have the right tools at hand. Below, we'll explore the advantages of wood-look outdoor porcelain tiles and explain how to properly install them on your patio.
Why to consider using porcelain tiles instead of wood deck boards on the patio
Traditional wood deck boards offer an unmatched natural look when used as patio flooring. In fact, you almost expect to see wooden boards anytime you set foot into an outdoor recreation area. But the problem with wood as an outdoor material is that it's vulnerable to several natural enemies. For one, wood decking can suffer from rot, fungal growths, and algae outbreaks. Rot is especially damaging, and can warrant replacement of affected boards. Algae outbreaks, meanwhile, can create hazardous, slippery conditions if the patio gets wet. What's more, wood can attract various burrowing insects, like termites and carpenter ants. Finally, walking barefoot on certain types of wood decking puts you at risk of getting splinters in your feet. Sealing the wood decking helps prevent many of these issues, but you must reapply the sealant as often as once every year for it to remain effective.
None of these issues or risks are present if the patio flooring comprises porcelain tile. Unlike wood, porcelain is an inorganic material with low water absorption rates, which is why it's not vulnerable to rot, decay, or fungal infestations — conditions often brought on by exposure to moisture. Porcelain is as resilient to the outdoors as it is to traffic-related wear. Also, porcelain is much easier to clean than wood and does not require sealant applications to remain weather-resistant.
How to install porcelain tiles on the patio
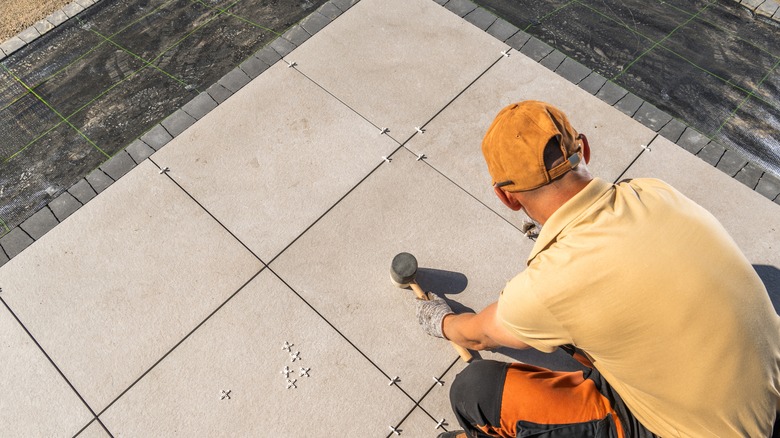
To lay porcelain tile on the patio, you'll need to start with an even concrete surface. If you don't have one already, find out how to create a concrete pad in your backyard. Otherwise, inspect the existing concrete surface and make sure that it's porous enough to receive mortar. If it's polished or sealed, you'll need to use the etching technique on the concrete, or use a bead blaster to roughen it.
Once you're satisfied with the concrete surface, use the 3-4-5 method to square the area for the tile layout. This method ensures that the tiles you lay are perfectly square in relation to the perimeter of the adjacent walls or the intended patio area. Once you've snapped the correct chalk lines, apply mortar to one of the squares made by their intersection. You can now lay the first tile at the intersection of the two chalk lines, before proceeding to tile the entire mortared surface. Then, apply mortar to roughly the same area you started with, and lay the tiles. Carry on in this manner until the entire patio is tiled.
Now, you can apply grout between the tiles. If the patio tiles abut any parts of a structure — such as your house — fill those gaps with sealant instead of grout. The grout will need at least 72 hours to cure, during which time you'll have to mist it with water every few hours. Finally, apply sealer between the tiles and you're done!