10 Tricks To Increase Seed Germination Rate For A Flourishing Garden
We may receive a commission on purchases made from links.
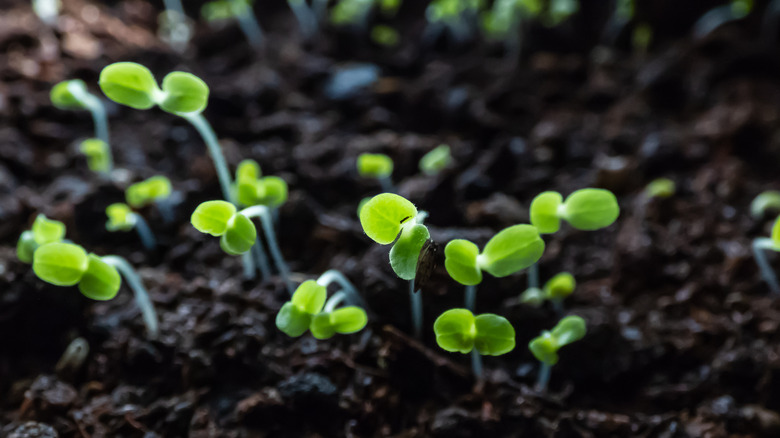
The process that turns tiny seeds into seedlings is called seed germination. It's the first step of a plant's life cycle on its way to maturity. But if you're starting a garden from seeds, don't expect to throw them into the soil and wait for them to germinate — they probably won't. Seeds are fragile at this stage, and factors such as lighting, moisture, and temperature can have an enormous impact on their germination rates. Whenever you start a plant from seed, instead of buying a young plant from the nursery, you must take the necessary steps — such as properly storing seeds, using the correct mix, creating a humid environment, etc. — to create ideal germination conditions. Only then can you expect tiny seedlings to poke through the soil at the end of the germination period.
Below, we've curated a collection of 10 tricks for starting plants from seeds. By following these tips, you will be able to create soil, moisture, temperature, and lighting conditions that facilitate germination. You will also learn how to manage several trays with different plants' seeds in them at once so each species gets the best chance of sprouting seedlings.
1. Store the seeds properly
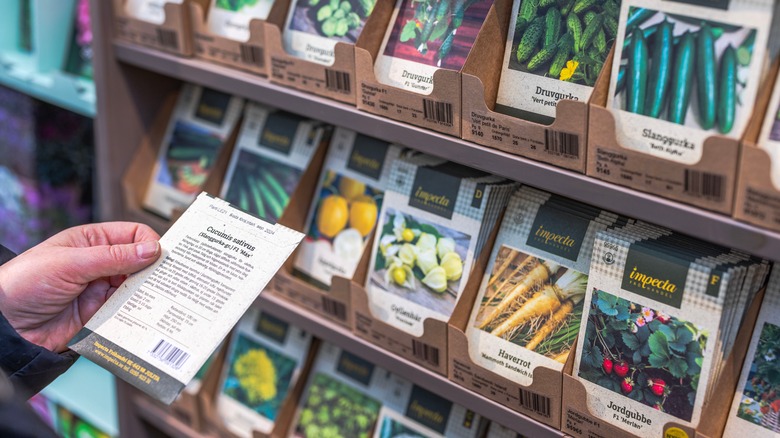
Creating the right storage conditions for seeds gives them the best chances for germination once you sow them — whether they're store-bought or leftover from last year's harvest. If using leftover seeds, you need to ensure they're dry before storing them. If your seeds are dry, place them in airtight jars or boxes, and add a moisture-absorbing silica gel packet, like these for $10 on Amazon, to each container before sealing it. Then, store the seeds in a cool and dark place until you use them. Alternatively, place the container into a freezer for long-term storage.
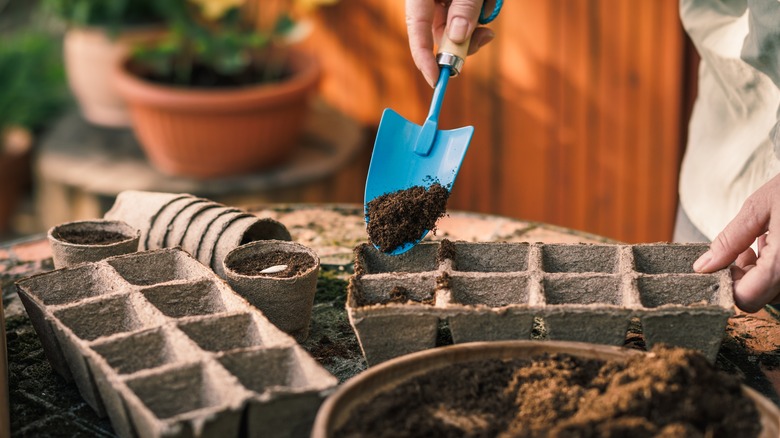
2. Use the correct germination mix
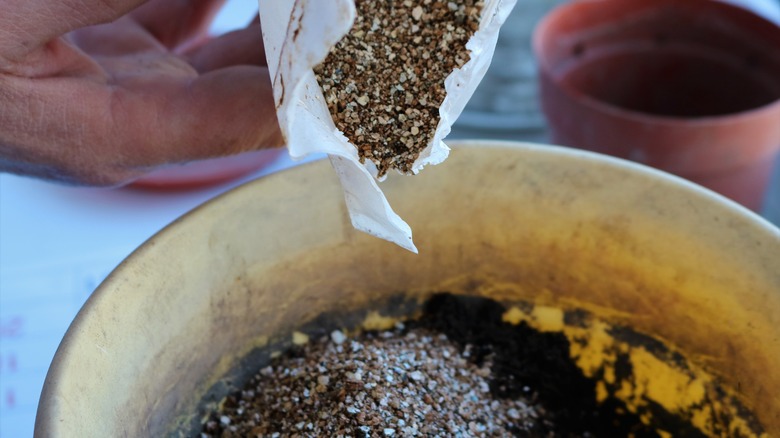
A properly created (or store-bought) seed starting mix ensures your seeds get the correct amount of nutrients needed for successful germination. Soilless mixes designed for seeds are a good choice since their fertilizer and compost composition offer nutrients like nitrogen, phosphorus, and potassium, but they're also lighter than soil. Its weight allows the medium to absorb some moisture without waterlogging and suffocating the seeds. A seed starter mix, like this one from Amazon for about $16, comprises peat moss, peat humus, and perlite, ticking all the right boxes for seed germination and seedling root development.
3. Some seeds germinate better if you soak them first

Not all plants' seeds like being soaked prior to germination, but for many seeds, priming improves the germination process by loosening the outer seed layer so the moisture and nutrients get to the seed embryo. This accelerates embryo development and promotes seedlings' well-being. Consider soaking cucumber, beetroot, pepper, tomato, and pumpkin seeds ahead of planting. To soak the seeds, place them in a jar and add just enough water to submerge them. Leave them underwater for anywhere between six hours and a full day, according to instructions on the packet.
4. Ensure the planting medium is sufficiently moist
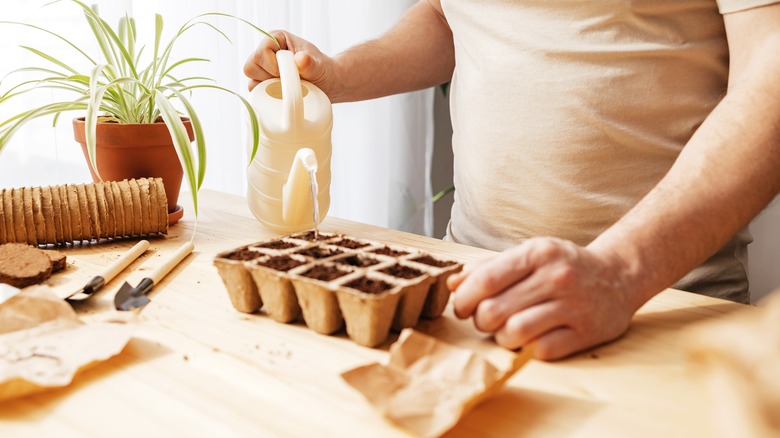
Seeds need a moist planting mix for germination. Without sufficient moisture around them, they will quickly dry out and die. However, too much water can deprive the seeds of oxygen and even cause them to rot, which reduces their chances of sprouting successfully. Before planting the seeds, place the germination mix into a large container, mist it with water, and mix it well so the moisture permeates it. Then, add it to the trays and plant the seeds. After planting, continue to use a mister to add moisture to the trays.
5. Cover germination trays to create a humid environment
Instead of adding water often and risking waterlogging the seeds, you can keep the moisture in the soil by covering the germination trays with plastic lids or saran wrap. By placing a protective cover above the tray, you prevent the moisture from evaporating and keep it at acceptable levels in the soil. Once the seeds sprout, you should get rid of the cover. That's because seedlings need good air circulation to stay healthy. That said, you'll have to continue checking whether the planting medium is moist enough and add water as needed.
6. Use properly chosen seedling trays for germination
Seedling trays offer several benefits during germination, including keeping the plant size uniform, preventing disease spread, and making it easier to transplant seedlings. These trays usually vary in size and shape, and the ideal configuration depends on what you're trying to grow. For example, tomato and cucumber seeds germinate best in containers with a diameter of 2½ inches, whereas lettuce seeds are best planted in smaller containers that don't exceed 2 inches in diameter. Meanwhile, plants with larger seeds — such as pumpkins — need 3-inch wide containers for germination.
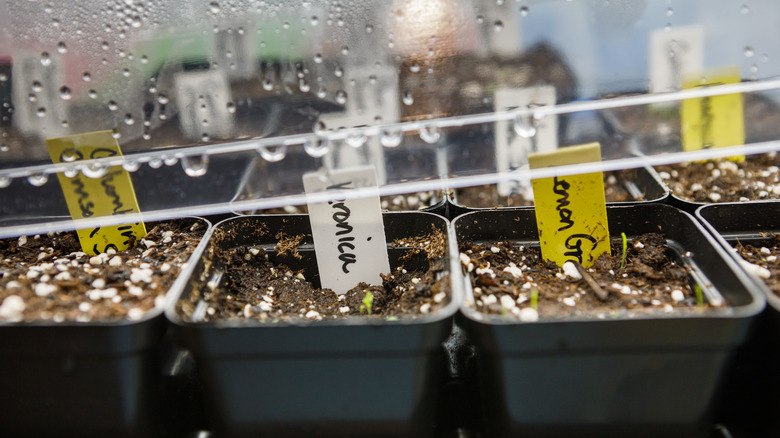
7. Label the germination trays
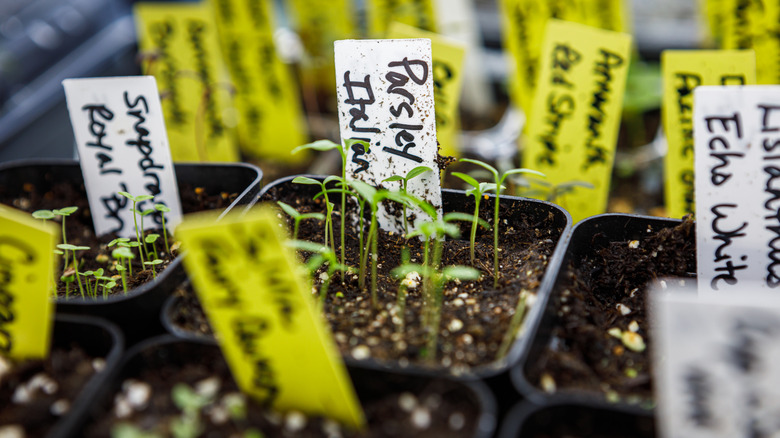
Labels on the germination trays help you tailor the conditions when planting several varieties of seeds. Since seeds have different lighting, moisture, and temperature requirements, you cannot treat them all the same way during and after germinating. Labels help you identify the containers so you don't inadvertently mistake them and create non-ideal growing conditions. Labels also help you tell the seedlings apart since they can all look similar right after sprouting. Apart from the plant variety, you should also write down the planting date on each label — this way, you know if germination is running late.
8. Determine the correct soil temperature
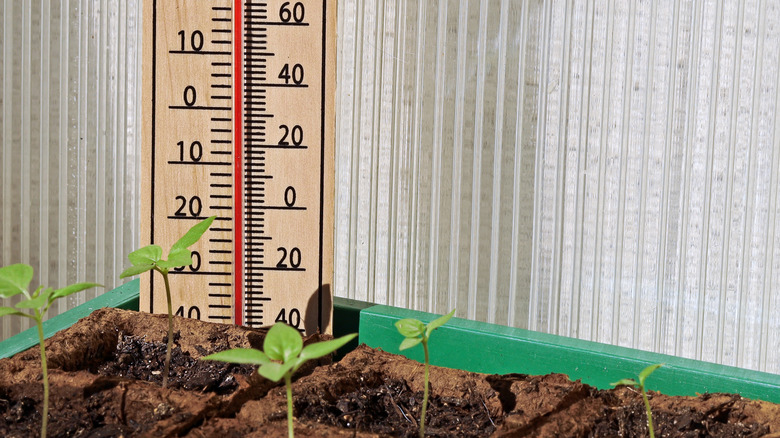
The ideal soil temperature for germination varies between seeds. For example, lettuce and spinach seeds will happily sprout when the mix hovers between 65 and 75 degrees Fahrenheit, but they also tolerate freezing conditions of 32 degrees. On the other hand, the ideal germination mix temperature for pumpkins and squash is much balmier, ranging between 85 and 95 degrees. To make sure each seed you plant has the best chance for success, you need to know the optimal soil temperature and invest in a soil thermometer, like this one for $10 on Amazon, before planting.
9. Use heating mats to keep the germination mix warm
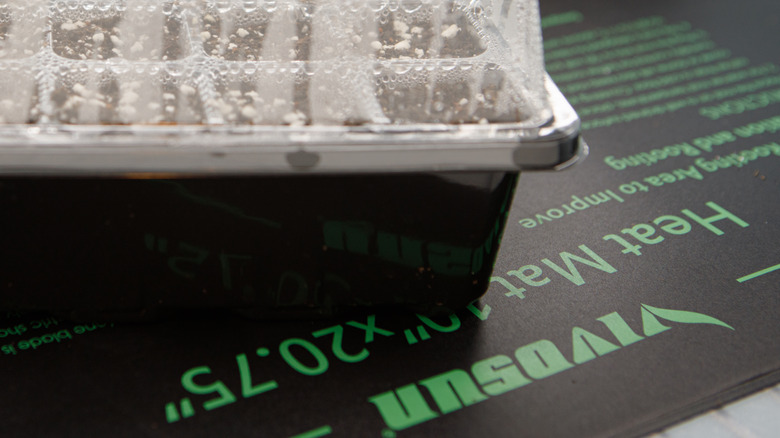
Achieving the correct soil temperature may be difficult in your home, especially if you're planting the seeds early in the spring. Even the modest temperature range of 65 to 75 degrees Fahrenheit, which is agreeable to most vegetable seeds apart from a few outliers, can be hard to maintain — especially overnight. To keep the soil temperatures from plummeting below the ideal range and slowing germination, you'll need to place a heat mat under the germination trays. Be sure to monitor the mix temperatures and tailor them to the plants' needs.
10. Ensure suitable lighting conditions for the seeds
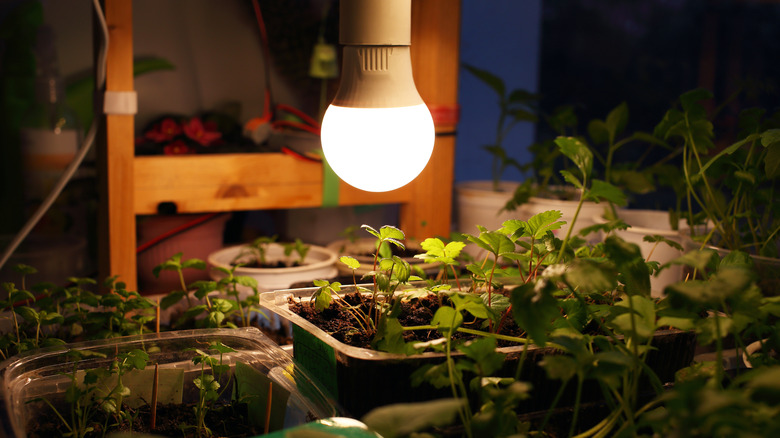
Some seeds need light to germinate, others like to sprout in darkness. This lighting preference determines how deep you should plant the seeds. Planting closer to the surface of the mix ensures abundant lighting while pushing them deeper creates darker conditions. If you're planting dill, lettuce, or annuals like petunias, press the seeds gently into the mix but leave them uncovered. On the other hand, most vegetable and herb seeds — including broccoli, basil, parsley, carrots, and beets — germinate without sunlight, so you should push them ¼ to ½-inch into the soil.