Turn A Glass Jar Into The Perfect Decorative Lamp With These Ideas
We may receive a commission on purchases made from links.
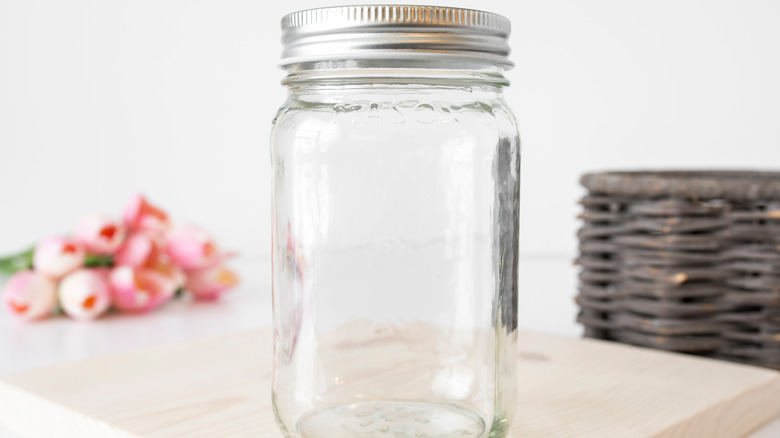
Ordinary glass jars can be one of the most adaptable containers you can find in your home, filling all sorts of needs from food storage to household organization. The internet is overflowing with cool DIY lighting projects involving jars, where innovative creators turn rather boring glass cylinders into amazing creations like rustic chandeliers, outdoor lanterns, and hanging sconces. Jars also make beautiful bases for interior shaded lamps with a few key modifications. Using a store-bought lamp kit and some creativity, you can turn a glass jar into a striking rustic light fixture.
Even better, the project is completely customizable. You can use a glass jar of any size, shape, or brand for creating your light, from small quart jars to large 1- or 2-gallon glass containers. Buy a new jar or pick one up from a thrift store or garage sale. You may even have one at home you can upcycle. This DIY is also inexpensive to build, requiring only a lamp kit like this one from Amazon, available for less than $20, and a few supplies to install it.
Building a mason jar lamp
If you're using a traditional wide mouth mason jar, you can buy a light kit adapter specifically designed for jar lids that just screws on without having to adapt the top to accommodate a bulb. If you have a regular lamp kit, you will have to punch a hole through the top of the aluminum lid to fit the bulb socket into.
Use a drill or punch to make a small hole, then use tin snips to create a large enough hole to accommodate the socket attachment, which you can affix in place with an adhesive like E-6000. The bulb mechanism will then screw into that hole to stay in place while threading the cord down through the lamp. Be sure to carefully follow the instructions that come with the kit to wire it, keeping safety in mind around power supplies to avoid a shock.
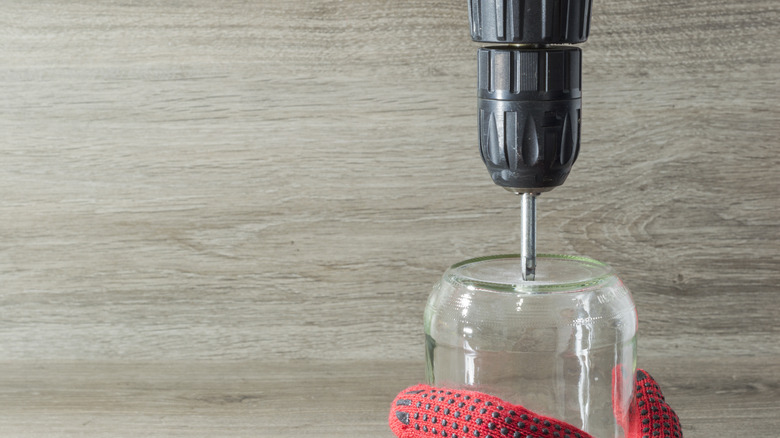
To create an outlet for the cord at the bottom, work slowly to drill a hole in the glass along the lower part of the jar. You'll need a diamond- or carbide-tipped drill bit to drill through the glass without shattering it. You can go directly into the bottom if the jar won't be on a surface (like a sconce or hanging light) or into the lower back of the jar if it will be sitting flat. Since the drill bit can get hot and damage the drill or glass itself, create a small pool of water with some Playdough or waterproof putty. Drill slowly to create a hole large enough to accommodate the cord.
Customizing your mason jar lamp
Some lamp kits feature a shade frame, but you can always add a shade with a clamp adapter from Amazon that goes over the bulb itself when installed. If you do not have access to a drill, look for a clear cord that you can just attach at the top and run down the back of the lamp with a little glue. Or, glue an unwired surface mount you can get from Amazon for around $5 to the lid and add a battery operated LED, also at Amazon.
Fill the inside of the lamp with materials that will cover any visible cords. Great options include artificial flowers and greenery, wood pieces, pinecones, pebbles, glass marbles, shells, or colored gravel. You can also create a fun terrarium inside. This allows you to customize the lamp to your décor and change it out whenever you desire. While this clear mason jar lamp style fits more rustic home styles like cottage, coastal, and farmhouse-inspired rooms, you can also get a more modern look by painting the glass with chalk paint or wrapping it decoupage-style in decorative paper or fabric to add texture.

