Turn Your Furniture Into A DIY Piece Of Art With Decoupaging
We may receive a commission on purchases made from links.
Did you try your hand at decoupage during your ramen-for-dinner days? Many a college student and newlywed have converted a hideous table or shelf into something presentable with a bit of paper and glue. And if you haven't yet attempted decoupage, it's never too late! With the help of some specialized glue, paper of your choice, and a paintbrush, you can morph a lackluster piece of furniture into a work of art that's sure to spark conversation.
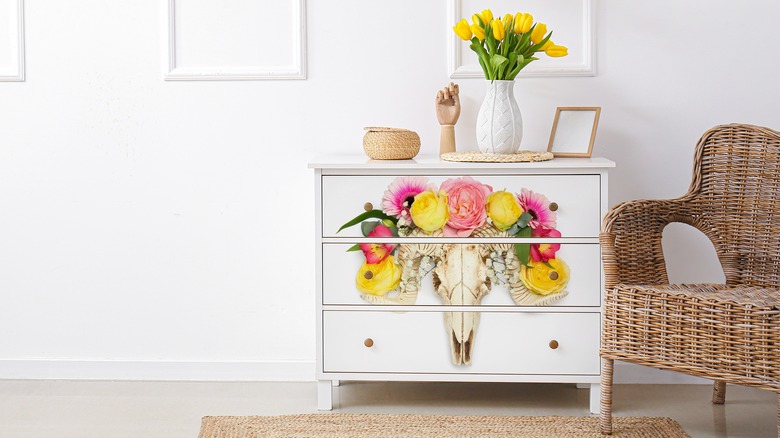
Decoupage comes from the French verb meaning "to cut apart." The craft that goes by the same name involves gluing pieces of paper over the surface of something. This artful gluing on the exterior of an object — often furniture — is a stylized way to hide blemishes in an old piece or simply to make a boring one more interesting to look at. It's also one of the many fun ways to repurpose old magazines. Beyond furniture, there are heaps of creative ways to use decoupage in your home. Once you trick out your first furnishing with some glued-on paper, you'll find that it's easy and forgiving enough to turn into a hobby.
Gather and prepare your supplies
For your first go at this craft, a tabletop is a great starting point. A side table that doesn't get as heavy use as a dining table is a good choice, since decoupage by itself isn't an extremely durable finish. However, you can increase the durability of this DIY by coating finished surfaces with clear polyurethane.
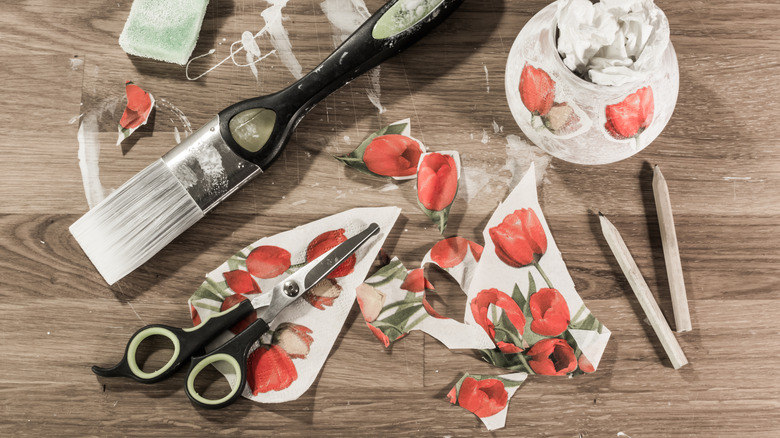
In addition to your table, the essential tools for this project are decoupage glue like Mod Podge (Amazon sells a 32-ounce bottle for under $15), a paintbrush, an emery board or bit of sandpaper, and, of course, some paper that's attractive enough to turn into a covering for your piece. Good contenders for découpaging are vintage books or sheet music, magazines, comics/graphic novels, pretty printed paper, or attractive napkins. You'll also need a utility knife, a tray for the glue (a repurposed takeout container works great), and some rags to wipe up excess. You may want some paint to cover the rest of the table; it's easier to repaint before applying the paper.
If the paper you're using is still in book or magazine form, cut the pages from the binding with the utility knife. Before committing glue to paper, decide on the layout and look. Do you want your pieces of paper lined up perfectly or askew? How about cutout shapes, like flowers from a seed catalog? Do you want torn edges? Mock up the arrangement on the tabletop before making it permanent.
Get to gluing!
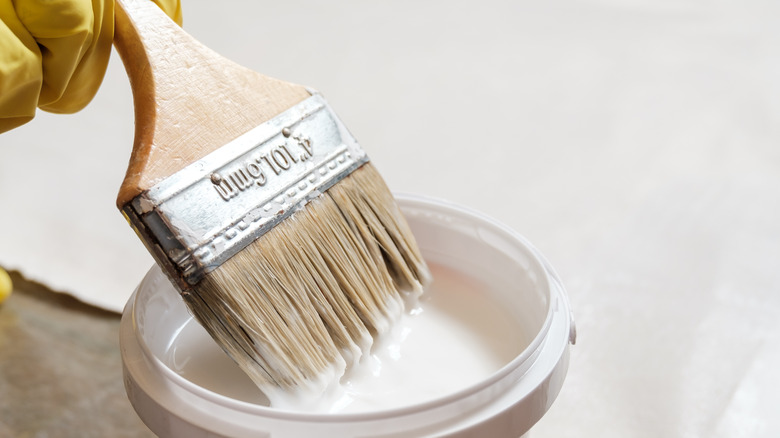
Cover the floor beneath the table with newspaper, and make sure your tabletop is clean. Pour some glue into your tray, and grab your paper and paintbrush. It's wise to glue your first piece at a corner of the table and work your way outward until you've covered all the visible surfaces with paper.
Paint a layer of glue onto the surface of the table where you want to place your first paper piece. Lay the paper on top of the glue, smoothing it with your fingers as you go to remove any air bubbles. Place some glue along the edges of the piece to ensure good contact with the table. Overlap your next piece over the first one you glued slightly to make sure there are no gaps in the paper. Continue until you've covered the whole tabletop. Give the entire paper surface a coating of glue, and let it dry.
After the table dries, get rid of any bits of paper that extend past the table's edges. Grab your emery board or some fine-grit sandpaper and using light, downward strokes, sand away the excess. This method works even if you have a considerable amount of overhang. Coat the top with another layer of glue, and let it dry. While you've got your decoupage supplies out, why not try this project where you can upgrade plain planters with decorative napkins? Once the top is no longer tacky, your new table could hold a daintily matching decoupaged planter!