How To Germinate Cherry Seeds To Encourage Successful Growth
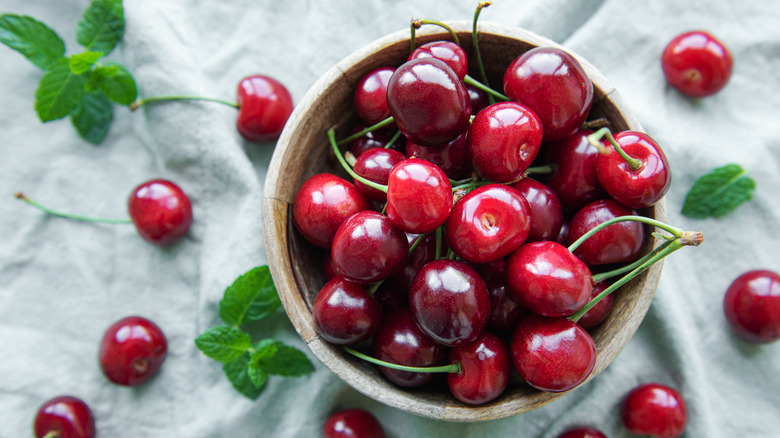
Unless you live in a prime cherry-producing area, you've probably resolved yourself to paying big bucks for this summer treat. Enjoy every bit of fruit from the pits, and then hold onto them. If you want a crack at growing your own cherry tree, start with what you were going to toss in the compost. Once you extract the seeds and either tuck them into the soil or pack them away for some cold treatment, you could be on your way to a cherry tree of your own.
There is produce that you can regrow from scraps, so why not try a cherry tree from your pits? Before trying this, it's important to know a few things. Grocery store cherries may not be a type that grows well in your area, and it takes years for a cherry tree to mature. You may discover that, after the long wait, your tree doesn't produce edible fruit, but you increase your chances of a compatible cherry by picking some up at a farmers market.
There's no shortage of videos online about growing cherry plants from store-bought fruit, like this one shared by ves gardens on Youtube. The expert consensus is that cherry seeds involve a waiting period while the seeds are chilled to replicate winter. However, home gardeners are reporting successes online with a faster method that yields mixed results. Whichever method you attempt, the thrill of watching your own cherry tree go from a hull to a leafy plant is magical.
Try the fast method
Start by grabbing your cherry pits. Either deal with them as-is, or you can crack the pits open. You might not have known this, but you can open the pit of a cherry and find a seed inside. A quick crack of that outer shell will free up the seed from its thick casing. Tap the pit lightly with a hammer to crack the hull and extract the seed, but make sure to hammer with care to keep from crushing the seed inside. You can make the process easier by holding the pit with long-nosed pliers while you hammer it. Another trouble-free cracking method is to squeeze the pit with tongue-and-groove pliers until the hull splits.
Soak the seeds in water overnight or for up to 24 hours. In the morning, simply plant the seeds in seedling trays filled with soil. You can save even more money on this project with our winning recipe for DIY seed starting mix. Water the seeds regularly, and after about two weeks, you may see sprouts poking to the surface.
Cold-stratification is tried and true
Cherries grow in areas that experience winter, so experts recommend putting seeds through a process known as cold stratification or seed stratification. Allowing seeds to sprout slowly in a cold space over several months mimics the hibernation time they would have outdoors. If the fast sprouting route doesn't give you results, follow the pros by chilling your seeds for about two months before you plant them.
Extract the seeds the same way you did for the fast method, and allow them to air-dry. Wrap the seeds in damp paper towels, seal in an airtight container, and place the container in the fridge for 60 days. Once the seeds have sprouted, plant them either in seedling trays. You can also skip the indoor growing period. Check out our guide on how and where to plant cherry trees in your garden once the danger of frost has passed. Water your seedlings and watch for growth. If you're able to coax your seedling into a healthy plant, keep in mind that cherry trees can take up to 10 years to produce a crop. In the meantime, revel in the fact that you nurtured this plant from seed to tree.