DIY Guide: How To Mud And Tape Drywall Like A Professional
We may receive a commission on purchases made from links.
When it comes to DIY home improvement projects, some are regarded as completely beginner-friendly, while others are generally reserved only for those who are considered to be knowledgeable and experienced DIYers. Mudding and taping your own drywall, for instance, would typically be considered by some a more advanced project for a home DIYer to take on, especially without consulting a professional for advice first. Luckily, we've managed to procure exactly that for those who might not be the most seasoned DIYers in the world. In an exclusive interview, House Digest spoke to Matthew DiBara, Founder of The Contractor Consultants, to get his pro tips for taking on the mudding and taping of your own drywall.
If you've ever wondered how exactly mudding and taping work and what tools you need to get professional-looking results, this is the guide for you. With the right supplies and DiBara's expert guidance, you'll be finishing that intimidating drywall project before you know it — even if you've never held a taping knife before.
Expert-recommended tools for mudding and taping drywall
Just like any DIY home improvement project, mudding and taping drywall requires some specialized tools and materials — especially if you want the results to appear as close to professional as possible. According to Matthew DiBara, you'll need an all-purpose joint compound, paper tape, a set of taping knives, a sanding sponge for small areas, a pole sander for large ones, and corner beads.
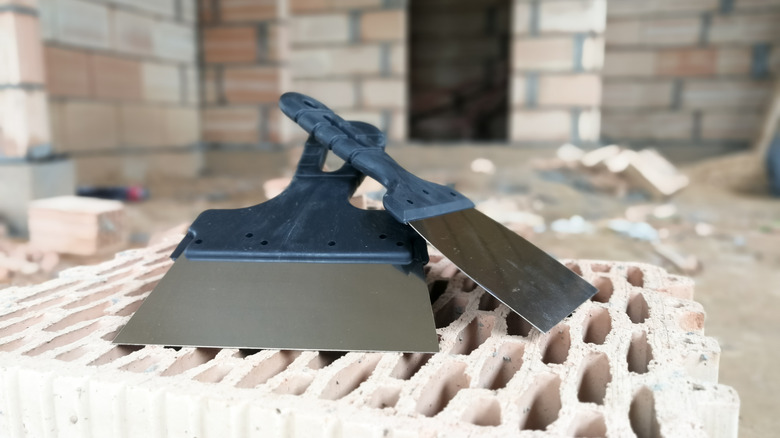
DiBara exclusively told House Digest that the taping knives you'll need "include a 6-inch for the first coat and embedding tape, a 10 [or] 12-inch for the second coat and feathering edges, and a 12 [or] 14-inch for the final coat to yield a wide, smooth finish." You can snag a Bates brand set that includes all the recommended sizes on Amazon for less than $20. "The tools used," the expert contractor explained, "will take your drywall work up a couple of notches regarding quality and life expectancy."
How to DIY mud and tape drywall like a professional
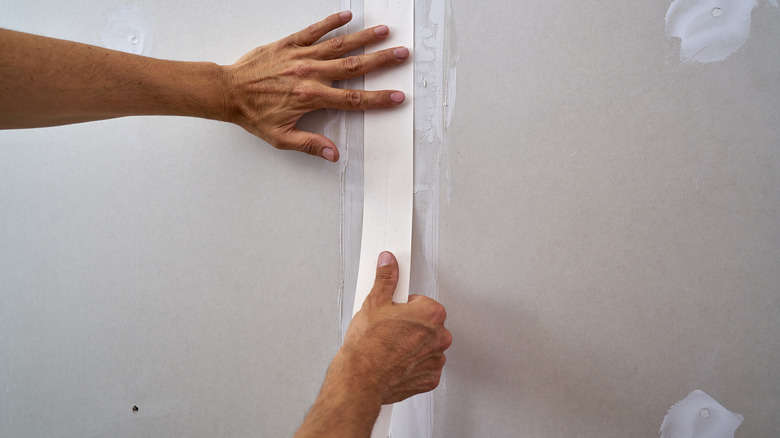
The first step of mudding and taping drywall is to apply the mud (aka all-purpose joint compound) to all seams, edges, corner beads, and over any screws using your 6-inch taping knife. Next, you'll add your paper tape and use the same knife to embed it, spreading the mud thinly and pressing out any air bubbles. After the mud has dried overnight, sand the mud flat and then move on to your second mud coat. No more tape should be necessary. Matthew DiBari, speaking exclusively with House Digest, recommends using your 10 or 12-inch taping knife for this second application.
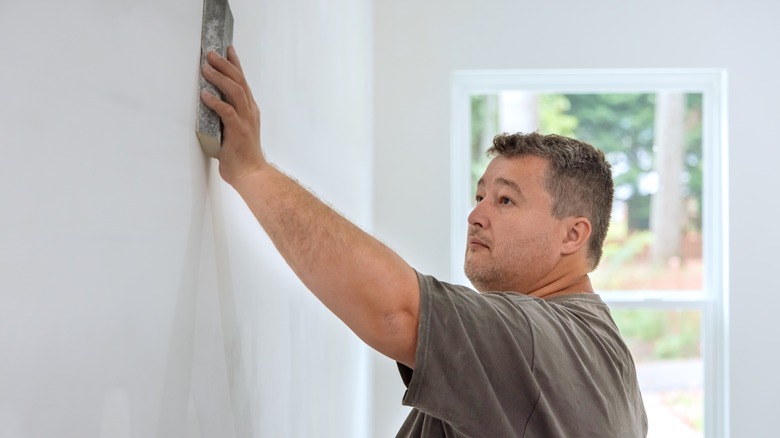
After the second coat of mud has dried, it's time to add the final coat. Matthew DiBara advises using a 12 or 14-inch taping knife to ensure a smooth finish. Once this final coat is dry, you'll need to sand the entire drywall surface until there are no raised edges or seams detectable using a combination of your sanding sponge and pole sander. "These two tools allow for consistent pressure on the wall while keeping the surface you're sanding flat and level," DiBara expounded. After sanding (and reading up on tips on cleaning drywall dust and joint compound), it's time for priming and painting your new drywall.