Growing Marigolds Is Easy If You Avoid These Common Mistakes
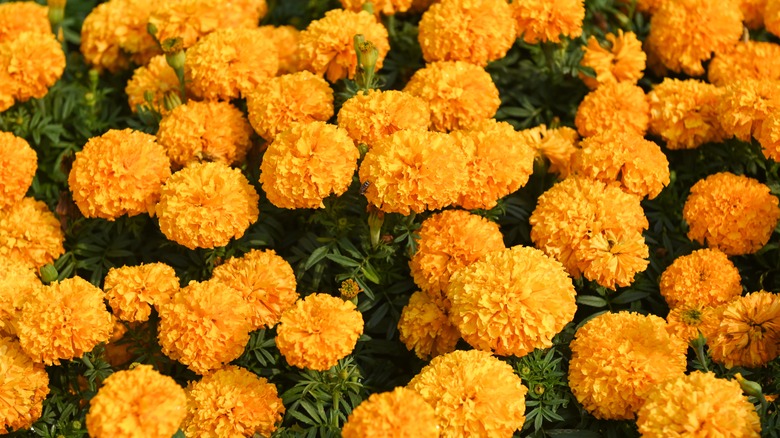
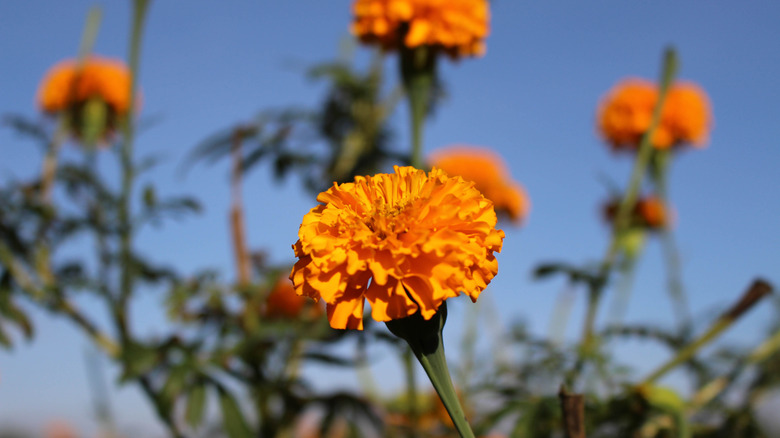
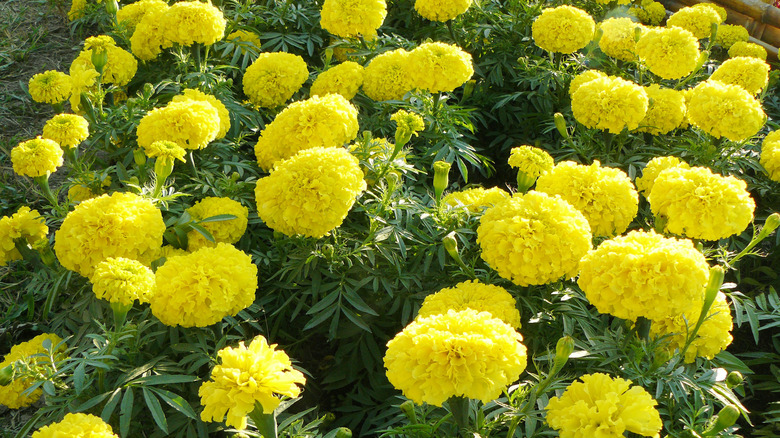
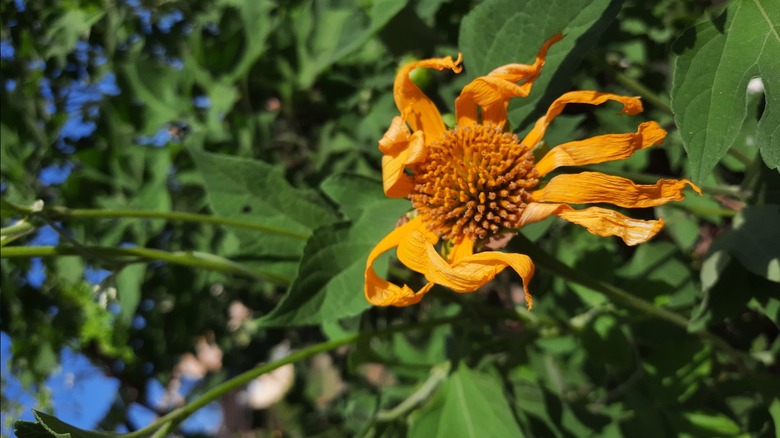
Marigolds (Tagetes spp.) might've lost to roses in the 1960s contest for the national flower, but there are copious other parameters where they remain unparalleled. Come summer, these rapid-growing, low-maintenance plants reduce the sun to second fiddle, enveloping the garden in russet, copper, mahogany, or golden halo, right up to the seasonal frost. Attracting droves of beneficial insects, including ladybugs, lacewings, and hoverflies, they extend their angelic grace to the surrounding vegetation — songbirds and butterflies can't resist their allure either. Their ability to counteract soil-borne nematodes by releasing inhibitory chemicals like alpha-terthienyl makes them a vital cover crop. Plus, with nearly 50 species on their roster, they leave gardeners spoilt for choice, though the majority stick to three main marigold varieties: African (or American), French, and Signet.
Aside from the many benefits of planting marigolds in your garden, what's fueling their mounting popularity as bedding plants across the U.S. is the ease with which they can be grown. Indeed, one of the simplest ways to impart novices, including children, confidence in their gardening abilities is to encourage them to grow marigolds. Yet, like all new plant parents, beginner gardeners are prone to making certain mistakes, birthing a less-than-desirable crop and raising question marks about their calling in the stead. To avoid falling into such a trap, read on to learn the common marigold-growing mistakes you should be keeping an eye out for.
Not keeping the growing medium sufficiently wet for seed germination
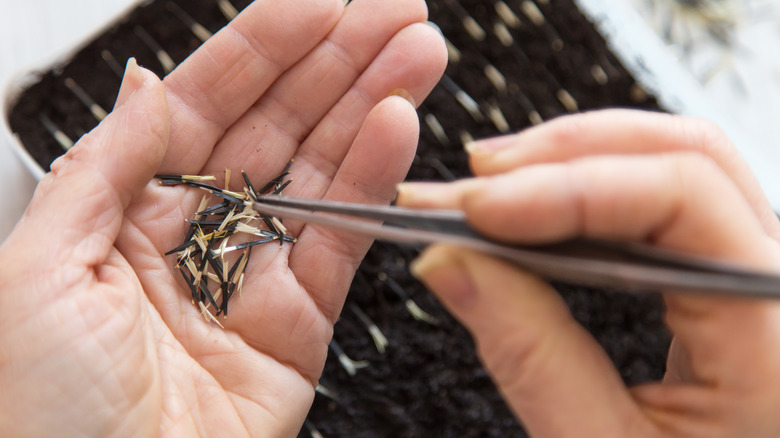
Although you can purchase young plants from big box retailers or reputed nurseries, you'll find far more varieties when starting marigolds with seeds. The germination period is quite short, too, sitting somewhere between four and 14 days. However, one mistake you can't afford to make during sowing is to let the growing medium dry out before the seedlings have assumed a sizable form, especially when starting them indoors.
To grow flourishing marigold flowers from seeds, bury them ¼ inch deep into a container's or tray's potting mix (mix water if the product label demands it), no later than four weeks before the expected last frost date of the season. Increase the time limit to eight weeks for African varieties. Coat the seeds with the soil and overlay the container with a plastic cover to maintain a terrarium-like humidity. Keep a misting bottle handy to water the medium whenever it begins drying out. Remove the plastic covering every day to air out the plant and maintain temperatures in the range of 70 to 75 degrees Fahrenheit until the seeds germinate. Afterward, transplant marigold seedlings into the garden once they've gained a few inches. However, if you wish to sow the seeds directly into the ground, wait until the temperature hits 65 degrees Fahrenheit and irrigate the soil diligently in the initial weeks to keep it moist.
Transplanting seedlings late in the garden or without hardening off
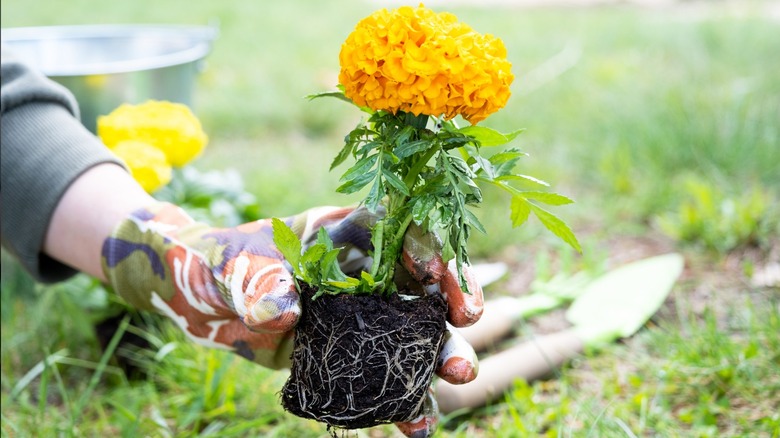
Once the seedlings have gained length, they must be hardened off before being moved to their forever home. The same principle applies to marigold plants brought from commercial sellers. Otherwise, the plants will feel stressed due to the sudden change in their growth environment. To harden off your marigold seedlings, begin by placing them in a shaded part of your yard for a week, such as a porch or a patio. Raise the hours of sun exposure successively until they're ready for full blast. Finally, site the plants in their final position on an overcast day after you've verified the chances of a surprise frost are zilch.
Alternatively, carry out the activity in early dawn or dusk during sunny days. As hot temperatures can turn young marigold stems spindly, it's best to bury them a few inches deeper into the soil than their position in the containers or trays. The taller African marigold varieties will particularly benefit from the deeper rooting, as it will minimize the need for staking, while lending them better protection against forceful gales and downpours. However, if the plan is to start with direct seeding, remember the best time of year to plant marigolds' slow-maturing African varieties is spring itself; the rest are good to go anytime during the growth season until mid-summer.
Not providing marigolds with adequate sun exposure
While discussing plant secrets that only gardening experts know, one authority explained exclusively how important it is to understand a plant's light requirements and match them to your site for success — and marigolds are no exception. Even though some, such as African and French marigolds, can tolerate a little shade, the genus demands full sun to showcase the best blooms all summer long. Otherwise, the plants may contract powdery mildew, a fungal disease that glazes the foliage and flowers in powdery white patches.
Thus, avoid the mistake of planting your marigolds in inadequately sunlit areas. Instead, make sure they receive at least six to eight hours of direct sunlight. However, in case the summers become extremely hot in your zone, you might have to shade the golden-petaled plants in the afternoons. Look for signs of stunted growth and fewer blooms to make that call. Continue on with full sun during the spring and fall seasons.
Overcrowding the marigold beds
Another mistake that beginner gardeners are guilty of while growing marigolds is not paying sufficient attention to the spacing between plants. This is particularly acute during direct seeding, where they entomb the seeds 1 inch apart, creating a glowing yellow flower bed in turn. However, such a strategy can backfire if the young plants aren't thinned in time, as overcrowding prevents adequate air circulation and amplifies the infighting of resources.
What you should be doing instead is taking note of the species' mature size and placing the marigold plants accordingly, giving them a wide berth to spread (you can find this information on the seed or plant catalog). For instance, Signet and French varieties spread no further than 1 foot and are usually spaced at a distance of 8 to 10 inches, especially if you're creating an idyllic golden hedge. In contrast, African marigolds can grow twice as wide and, therefore, should be spaced no fewer than 12 to 16 inches from their neighbors.
Growing marigolds in heavy or highly acidic soils
Though we would like for marigolds to be cavalier about their soils, they have their limitations. Sure, they tolerate clay and sandy soils and absolutely thrive on organically rich substrates, but there's a caveat: The soil should drain well. While their moderate drought tolerance keeps the marigolds alive when watering restrictions are in place in your drought-hit area, the story takes a gory turn if the conditions are reversed, meaning the clay-textured soil remains wet, as opposed to staying staidly moist.
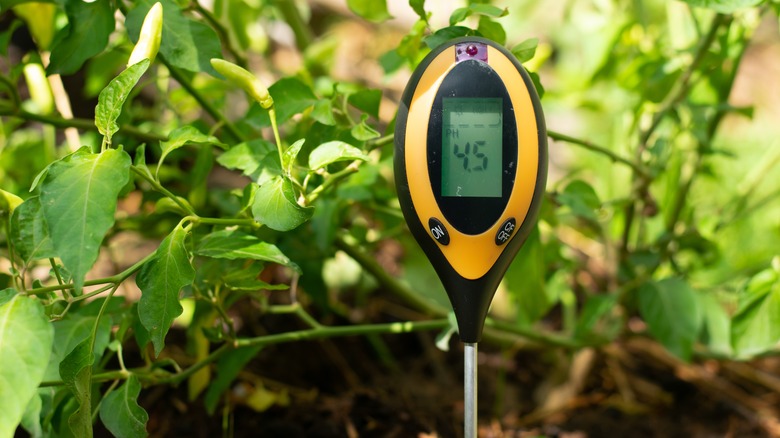
So, if your garden soil swings to the heavier spectrum, amend it with compost for improved drainage before planting your marigolds. You may also break apart the compacted soil down to 6 inches through cultivation. Also, ensure the soil's pH doesn't drop below 5.5 — perform a soil test done if you haven't in the last three years. Otherwise, the concentration of iron or manganese may amplify in your soil, leaving the foliage yellowed and mottled. For containerized marigolds, stick to soil-less potting mixes that can be supplemented with a slow-release fertilizer whenever necessary.
Feeding marigolds nitrogen-heavy fertilizers during the growing season
In their zeal to extend the flowering season, many gardeners make the mistake of applying nitrogen-rich fertilizers to their marigold flowers, assuming the higher nutrient levels will encourage growth. Alas, this doesn't hold true. Rather than decking your garden in sunny hues, the greater nitrogen content fuels the growth of foliage, as the plants redirect their energy from flower production to leaves. Thus, contrary to your expectations, marigolds will produce fewer blooms, prompting concerns over the plant's health.
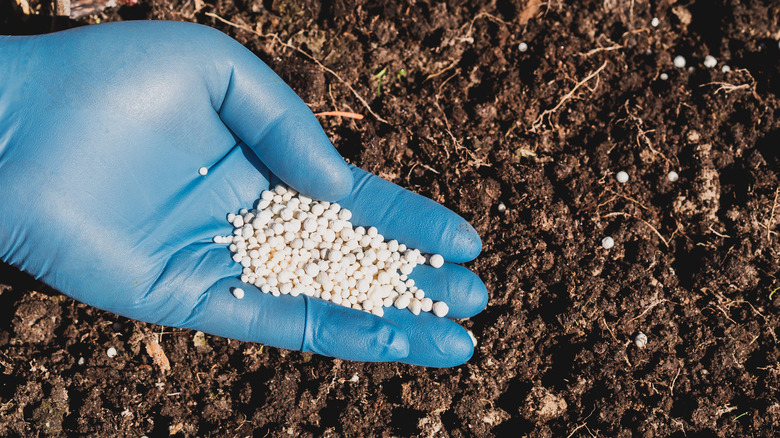
Remember, marigolds are low feeders and can usually do without any fertilization when they're actively growing. Indeed, the best course of action is to get a soil test done pre-planting and amend the soil based on the results, particularly if drainage or fertility levels are a concern. But if a soil test isn't an option, apply a balanced fertilizer in the planting hole before placing your seedlings. Alternatively, you may look for an NPK fertilizer with a higher concentration of phosphorus to induce more blooms.
Not watering marigolds adequately
Let's face it: Nailing down the watering game is an utter nightmare for most plant enthusiasts. Water too much and the plants risk rotting (unless they're moisture-loving and favor bogs and swamps over everything else). Conversely, if you underwater them... well, we're all privy to how that pans out — browning foliage and leggy stems. Unfortunately, matters are just as complicated with marigolds, despite their low maintenance. Don't let their drought tolerance lull you into thinking they'll keep your yard adorned with their carnation-esque double flowers even after you forgot all about their existence — they won't.
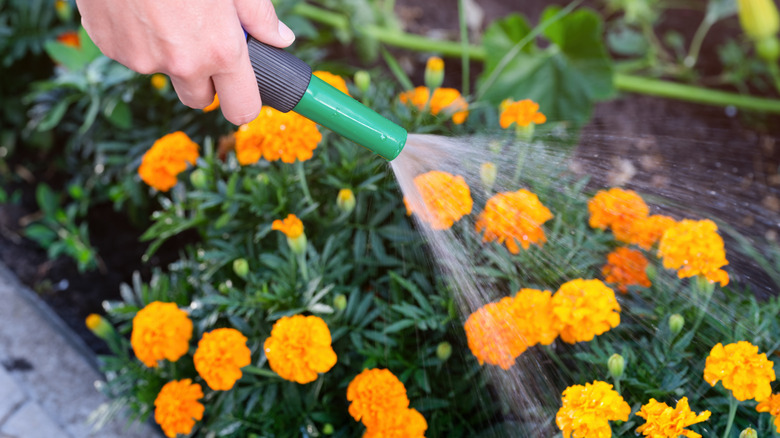
Instead, the best method for watering marigolds is to soak them diligently in the initial days until the seedlings establish themselves fully. Only then can you taper off on irrigation, maintaining a once-a-week schedule, unless it rains. An inch of water is sufficient, but you might have to raise the bar during the dry season if you want the marigolds to blossom in full glory. Ensure the soil dries out completely before irrigating it again. Also, don't make the mistake of soaking the plants from overhead, as the delicate stems may split apart under the pressure. For containers, consider mixing a liquid fertilizer with the water before pouring it into the potting mix.
Delaying disease and pest management
The regurgitated internet refrain may spur you into thinking that marigolds are completely pest and disease-resistant, given their ability to attract beneficial bugs, which — arguably — saves their ornamental companion plants, too. Albeit the science remains divided about the saving part, according to the Piedmont Master Gardeners. Some even propose marigolds are your golden ticket to permanently keeping deer and rabbits from venturing into your yard in the summer — a bubble Iowa State University had no qualms about bursting. Alas, with marigolds, what you possibly have in store are bald patches with a few flowering stalks waging their survival war, unless you fence the area with chicken wire. Hardware cloth works, too. Similarly, you must regularly scan the plants for signs of disease or insect damage (like slimy trails or nibbled-through foliage), or else risk the plants turning unhealthy, or worse, dead (the horror!).
Dry weather often encourages swarms of spider mites and slugs. Deal with them through neem or horticultural oil applications and slug baits. Similarly, leafhoppers may assail your young plants with aster yellow disease, holding back the onset of new flowers, with dwarf varieties bearing the most brunt. If left unchecked, you'll ultimately have to replace the marigolds. Fusarium wilt and phytophthora rot are also a few common issues to know about before growing marigolds. But planting more resistant cultivars, such as "Antigua Orange" and "Antigua Yellow," may stave off the damage to an extent, as will diligent care.
Forgetting to deadhead marigolds through the season
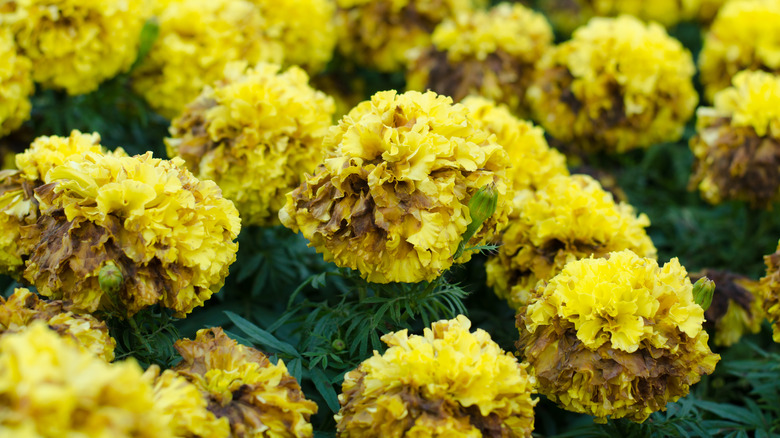
Although some might conjecture deadheading marigolds isn't essential, and it might even hold a measure of truth in their case (depending on the growth conditions), it's undeniable that shearing off the faded blooms does your plants a world of good. The restored neat and ship-shaped look is simply the cherry on top — the real value comes from minimizing the probability of the marigolds contracting fungal diseases. This is a grave concern when the weather transforms into a humid mess, causing microbes to file away at the dying blooms, rotting them inside out. Simultaneously, you must collect the flower litter from the ground, lest the harboring microbes create further trouble.
Deadheading extends the flowering season, often stimulating multiple flushes as we progress through the summer, as marigolds aren't expending energy on seed production. Simply prune the dead flower stalk down to the healthiest bud. However, make sure to thoroughly support the relatively bigger blooms of African marigolds to prevent them from nodding under their weight, as well as from any wind action. If you're fond of bushier mounds, pinch the plants' tips in the initial weeks until you're satisfied with the spread of branches.
Sowing seeds saved from hybrid cultivars
Although winter hardy in USDA zones 2 through 11, marigolds are more often than not grown as annuals than perennials. Fortunately, rather than going through the process of buying new plants next year, an easier option is to allow a few marigold flowers to fade out completely. That way, the plants will go to seed, leaving brown seedpods in their wake, ripe for planting come spring. Unfortunately, that isn't always the case. Plenty of nurseries sell triploid hybrids, meaning plants that were borne by cross-pollinating African and French marigold varieties. However, their better performance comes at the price of nearly sterile seeds, earning them the moniker of "mule marigolds." Not to mention, hybrid seeds are unlikely to grow true to the parent plant.
So, the next time you skip deadheading and collect the dry seedpods on the paper bag laid bare on the ground, ensure they're from open-pollinated cultivars. Then, remove and air-dry the seeds from the pods and store them for the next season. Remember, some flowers may still not produce seeds, so allow a few extra to dry out. The dead stalks can be added to your cut arrangements.
