The Unique Daylily Variety That Will Make Your Flower Beds Stand Out
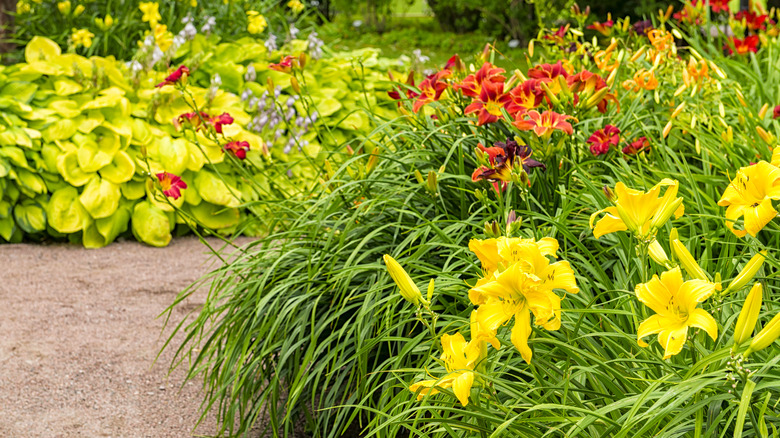
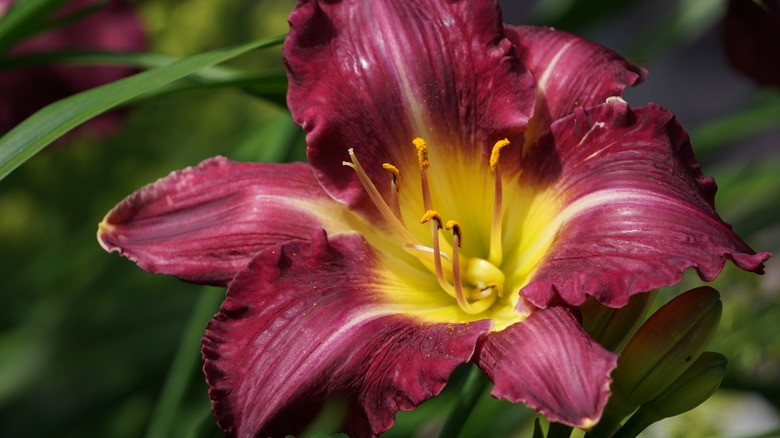
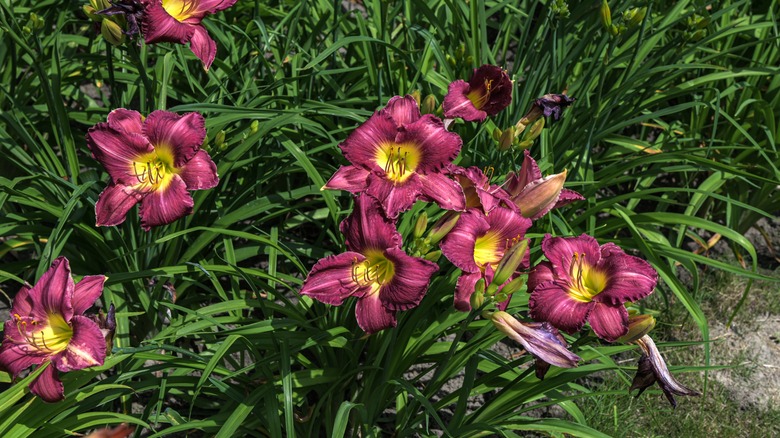
Daylilies are picturesque, dainty flowers whose aromatic, fleeting inflorescence gets quickly replaced by a parade of new blooms that goes on for an extended time. With many cultivated varieties out there, these flowers come in a tremendous assortment of colors. But, if you're looking for a variety to add interest and intrigue to your flower beds, consider the Hemerocallis 'Coit Tower,' which is perhaps the most striking daylily cultivar out there. The Coit Tower stands out with rich purple petals and bright-yellow filaments give off a majestic appearance reminiscent of a regal insignia.
The Coit Tower is hardy to USDA zone 5a and warmer. Despite their resilience to heat and cold, these herbaceous perennials are mostly grown in the southern portion of the United States, where they perform best. The Coit Tower cultivar blooms in the early midseason, with each plant producing as many as 40 flower buds per season. Caring for these plants is not difficult once they mature and by following a few best practices, you can ensure that each growing season fills your yard with an abundance of lush blooms. Below, you'll learn how to plant and care for Hemerocallis 'Coit Tower' daylilies properly.
How to choose and plant Hemerocallis daylilies
Your local nursery may sell Hemerocallis as mature plants or as young plantings that are potted or bare roots. Established plants are pricier, but you get the benefit of easy care once they're planted. Despite their delicate appearance, mature daylilies are quite resilient. If you buy older daylilies, you can plant them in the yard right away.
Find a location that offers lots of sun. Daylilies can still thrive in partial shade, but need at least six hours of direct sun per day for optimal blooming. There shouldn't be trees or large bushes in the immediate vicinity of the planting location, as the daylilies can't compete with them for nutrition and moisture. Finally, the substrate should be moist but well-drained, have a pH level a bit below neutral, and offer plenty of nutrients. Once you've found a spot that meets these criteria, aerate the soil well and enrich it with organic matter and nutrition, opting for a slow-release instead of a fast-release fertilizer. Next, insert Hemerocallis roots into the substrate to the point where the crown is submerged at least an inch beneath the surface. Finally, irrigate your daylilies generously.
Buying younger plantings is easier on the wallet, but planting them demands a bit more time. Before you transplant them into the soil, you'll need to keep them in the pots in which they're sold for a few months. Then, as the plants mature, you can plant them following the steps described above.
How to keep your daylilies healthy and pest-free
Hemerocallis daylilies are drought-tolerant, but flourish and bloom best if the soil is consistently moist and gets at least an inch of water weekly. Young, newly planted daylilies should be watered regularly in dry conditions and in sandy soils. However, do not irrigate daily. You can use your hands to check whether the soil surrounding the root ball is moist or dry. If it's dry, give the plants a good soaking and keep checking the soil to see if more water is needed in the days that follow, and avoid the urge to give smaller amounts of water more frequently. At no point should you water these plants so much that the substrate becomes waterlogged.
To push these flowers into producing as many of their gorgeous blooms as possible fertilize the plants annually. You can do this by adding compost or other organic matter to the plants in the spring, before the growing season. Thorough deadheading is a must for daylilies if you want a strong display of blooms year after year. Likewise, getting rid of shriveled old flowers helps stem the outbreaks of Hemerocallis gall midge. These are fly larvae that hatch from eggs laid inside daylily buds, then feast on the buds and destroy them in the process. Apart from gall midge, daylily flower buds are also vulnerable to aphids. Read more and learn how to get rid of aphids in your yard.


