How To DIY A Stunning Wood Slat Accent Wall For Under $20
We may receive a commission on purchases made from links.
Think of all the ways you could decorate an accent wall. From a dark or textured paint color to wallpaper, framed art, or vinyl decals — the list goes on and on. Installing wooden slats is another idea. If you're a seasoned DIYer, you could install the slats yourself for under $20 (if you already have all the necessary tools, that is). Even if you're not "seasoned," you may still find this project, which creates a unique, staggering effect, is relatively easy to complete without assistance.
Here's what you need: wood furring strips of varying lengths, a power miter saw or saw miter box, a brad nail gun (or just brad nails and a hammer), a torpedo level, a tape measure, and a stud finder. If you want to change the color of the wood, you can stain. Keep in mind, though, that sanding is recommended before staining, so be sure you have an orbital sander or a sanding block on hand. Again, assuming you already have all the aforementioned tools, the only items you'll need to purchase for this project are the wood furring strips and wood finish, if you opt for staining. You can purchase 8 foot long wood furring strips for about $1.57 each from Home Depot. You can also purchase dark wood Minwax stain from Walmart for about $8. What's nice about this project is that it offers a number of customization options to create what could easily become your favorite wall in your home.
Step-by-step installation instructions
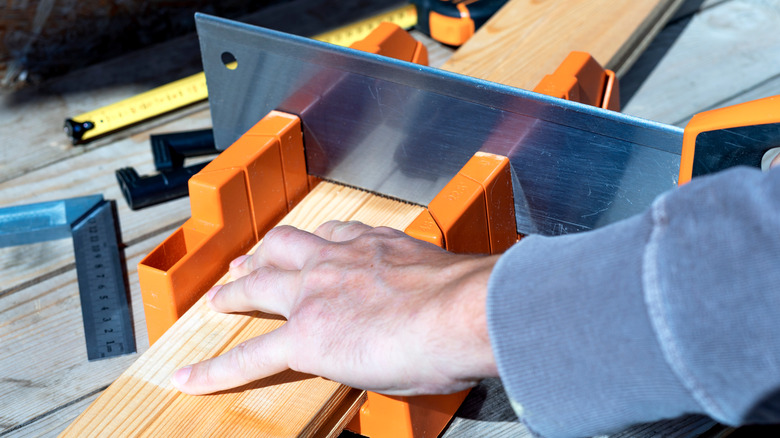
To start, decide what type of wood strips you want to use. You can buy them at your local hardware store or lumber yard. For this project, furring strips, cut between 1 foot and 3 feet to create a staggering effect, may be best. But you can have them cut shorter or longer, depending on your goals and wall length. Some stores may cut the strips for you. Otherwise, you'll need to cut them yourself with a power miter saw or saw miter box.
Next are the sanding, staining, and installation steps. Sand the front-facing side and edges of the strips using an orbital sander or sanding block. After brushing the dust off of the sanded wood, apply the stain of your choice. Once the strips have dried, you can begin nailing them to your wall, starting at the top of the wall, flush with the edge, and working your way down. Determine how wide you want the space between each strip to be and find a spacer that matches that width. A ¾-inch spacer may be best to get this look. In addition to your spacer, use a torpedo level between each strip. To attach each strip to the wall, use a brad nail gun, or brad nails and a hammer. A construction adhesive can also be used, if no stud lies behind a specific area of a strip.
Ways to customize your DIY wood slat accent wall
Luckily, there is more than one way to personalize this look. Since the slats are intended for an accent wall, you may want to paint the wall and opt for any shade that contrasts with the wood color.
Another way to customize the wood slats is by installing them vertically instead of horizontally while still varying the length of each strip to create a dripping effect. Or, have them cover the entire wall, top to bottom, or just a section of it. You can also install the slats in a symmetrical pattern by cutting every other piece to the exact same length, instead of a random arrangement. You can also position the slats on both ends of the wall to symmetrically frame a piece of furniture or wall decor. Want to add shelving to your wood slat accent wall? Place them in the gaps between the slats. Interested in adding multiple colors to the wall without painting it? Consider an ombre effect by using two or three shades of the same color, and paint each wood slat a different shade, or use multiple colors to create a more playful look. The possibilities are endless, so have fun and get creative.
