Use This Clever Jar Hack For A Stylish Way To Display Family Photos
You've heard of messages in a bottle, but what about the clever photo hack that lets you display cherished memories in glass jars surrounded by twinkling lights that look like bottled stars? You can always hang your family photos in frames (clever polaroid hack here), but this jar hack could be one of the most inventive and aesthetic ways to share them, and you can make it budget friendly, too! By using a jar, some battery-operated lights, printed photos, and a little string, you can create unique designs that can be placed on any surface around your home and even gifted to loved ones. These keepsake jars upgrade your standard frame and make the memories inside even more special.
Jars can serve a variety of purposes in your home once they're empty, like becoming a DIY tissue dispenser to add a hint of elegance to your home. Similarly, antique jars can transform into tiny terrariums with memorable results. However, this clever photo hack might be the best way to reuse your jars. Don't worry if you don't consider yourself a master at DIYs: You just need to be able to print out a few pictures and apply glue, tape, or even pushpins (depending on your jar) to hang them. Get as creative as you want with this project by adding your own embellishments, but if you prefer to keep it simple, that is easy to do, too.
Print your photos small enough to fit inside the jars
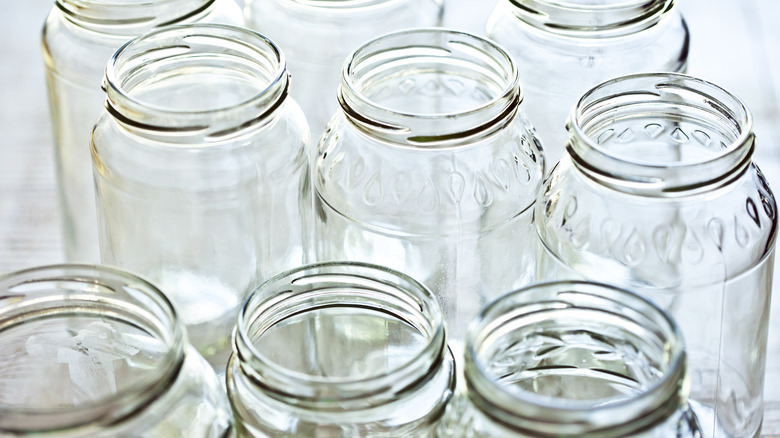
To get started on your jar displays, source the vessels you plan to use. These can be old jars you have lying around, or you can head over to Dollar Tree, Target, or Amazon to purchase new containers. Opting for different-shaped jars will elevate your displays, like these $7 heart selections from Amazon. You want the opening at the top to be wide enough that you can fit smaller photos through, so keep that in mind when purchasing your items. You can also buy small twinkle lights that can be operated by battery pack. Avoid the kind you need to plug into the wall, as this can limit jar placement possibilities and get a little tricky overall.
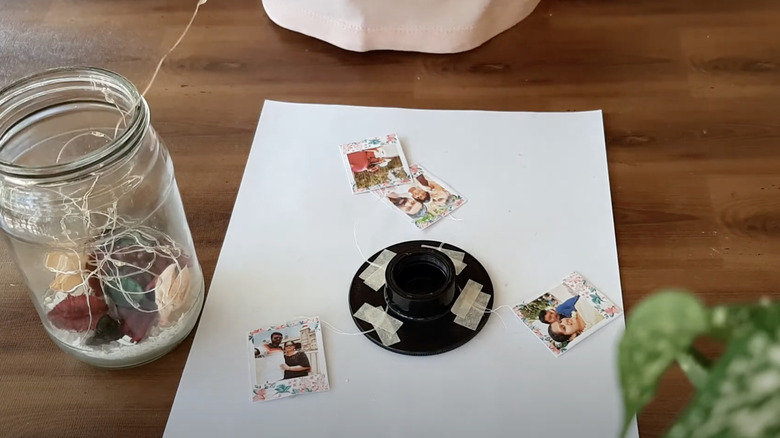
Print photos that are tiny enough to fit inside your vessels yet can still be viewed clearly. You will need to measure before printing, or you can cut existing photos into smaller sizes. Specialized websites like OddPrints can also be used to get the sizes you need. These will not only ensure the photo will fit in the jar but also set all of the subjects in the frame. To get these into your jars, you might need to roll them or fold them gently, so choose paper or mediums that allow this and won't get damaged. You will also need a thin white string, slim fishing wire, or any kind of cord that will complement the jar.
Secure your photos with string before closing the lid
The string can be glued onto the back of your photos, or you can use a pin to punch a tiny hole at the top and lace it through. The other end of the string will be attached to the lid of your jar, which you can play around with for the best fit. Either use the lid that matches your holder or swap it out for a similar option that works with the opening but might be easier to hang the photos from. If your jar has a cork top, you can use push pins to attach the strings or stick with glue or tape. Super glue will ensure your photos stay in place; then, you can add the battery-operated lights inside before dropping the pictures in.
If you want to customize or personalize this even more, you can add elements like crystals, shells, sand, or other trinkets inside the jar to represent memories attached to particular photos. If your home has a particular aesthetic you want to bring through, find colors that match so you can incorporate them into your jars (think of different color lights, accessories in greens or blues, or any shades you want). You can even use glass jars lying around the house as DIY bookends. With this, you will get two uses out of them when it comes time to choose a spot to display them!

