DIY A Portable Garden Tool Carrier With These Repurposed Items
Gone are the days where you need to adorn your waist with a gardening belt just to have your must-have gardening tools within reach. Instead, you can DIY a garden tool carrier that you can tote around your yard, by repurposing a bucket. Stay organized by using a bucket to store your tools and keep them all in one place. Plus, you can carry them from one end of your garden to the next since the bucket handle allows for easy lifting. No more wasting time going back and forth from your garden shed to your garden space to grab and replace tools!
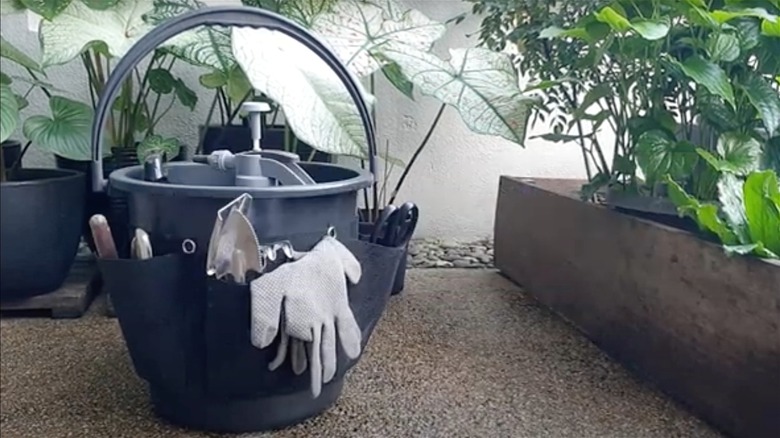
The bucket carrier can be made with a new or used plastic bucket. Customize the bucket with pockets that line the outside of the pail to create more of a caddy-like effect so you can stick your tools in individual pockets to up your organization even further. Adding a mechanism like this to your garden tool storage methods means you don't need a lofty storage space to keep your tools tidy — perfect for those living in apartments or smaller spaces.
How to make a DIY garden tool carrier
To repurpose an old bucket around your home into a DIY garden tool bucket, grab a 2 or 5-gallon bucket, depending on your strength and how many tools you need in your bucket. The 2-gallon bucket is great for those who want something more compact to carry and don't have many tools to store. Meanwhile, the 5-gallon bucket is better for those who prefer the extra storage space for more tools, but also don't mind a potentially heavier bucket.
You can find a bucket at your local home improvement store or even online. Choose one with a handle for easier transportation and get one with a lid if you'd like to secure your goods inside of the bucket. However, if you'd like your bucket to function more like an organized caddy, grab some fabric pockets, like those used in a fabric planter, and cut the fabric so that you have enough pockets to line the circumference of the bucket.
Attach the pockets to the bucket using duct tape and tacky glue. Apply glue to the outline of the side of the fabric without pockets and press the fabric against the plastic. To further secure the pockets, add strips of duct tape vertically between each pocket. The duct tape is temporary, as it will help lock the fabric in place and can be removed after 48 hours. Alternatively, you can attach a shoelace to the top portion of your fabric and use it to tie the pocket fabric around the bucket.
Customizing your garden tool carrier
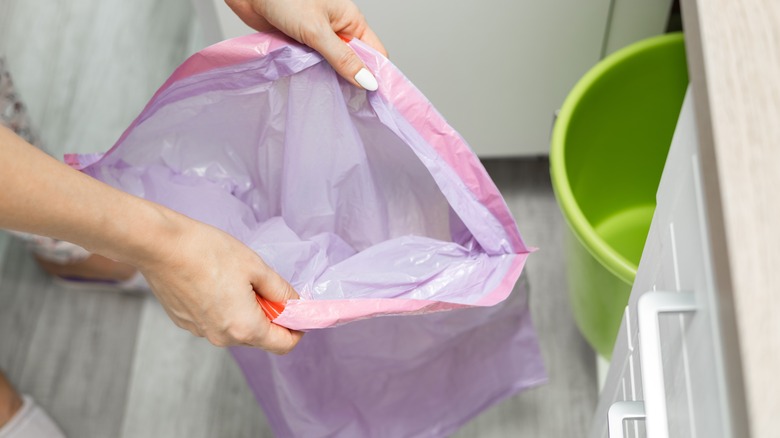
There are a few ways to customize your bucket garden tool carrier so that it meets your needs. One method is by by lining the center of your bucket with a trash bag. Then, as you work, you can place things like weeds or plant trimmings into the trash bag portion of your bucket, and now you have a portable garden tool carrier that also keeps your garden trash tidy.
Additionally, you can attach Velcro strips to create an accessible and easily detachable section for smaller items. You can take thin strips of Velcro tape and place them anywhere where the fabric pockets don't cover the plastic. These spots will act as another means of holding your most essential gardening tools or even small containers of fertilizer. Simply add pieces of Velcro to the surface of your tools or containers so that they stick to the Velcro tape and remain attached to the bucket as you move throughout your garden with ease.