How To DIY A TV Lift Cabinet For Movie Night In The Great Outdoors
We may receive a commission on purchases made from links.
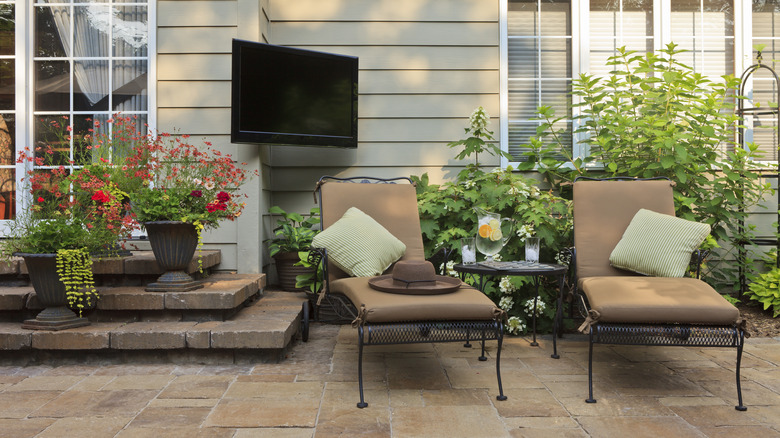
Imagine kicking back in your backyard, under the stars, and with a click of a button, a sleek TV quietly pops up from a chic cabinet, then smoothly hides away once the show's over. That's the wonder of a TV lift cabinet. Now, wandering into a store or scrolling online, you'll find these gems start at a steep $2,000, with some fancier versions breaking the bank at over $4,400. Then, why not make one yourself by putting together an appropriately sized wooden box, installing the lift system, and then mounting your TV? Nestled in your outdoor seating area, your DIY TV lift cabinet is all set for epic starlit movie marathons.
This TV cabinet idea isn't just a budget-saver but also a chance to flex your creative muscles and tailor it to your taste. And the cost specifics? Well, take the VIVO Motorized TV Stand for 32 to 48-inch screens, for example — it will set you back about $200 on Amazon. However, heftier TVs need stronger lifts, which cost a bit more. Now, for the cabinet: snatch some 2x4s for the frame (a 4-footer runs you about $3 at The Home Depot) and clad it in plywood; a ⅜-in x 4-ft x 8-ft pine piece is about $22 at Lowe's. To these, add piano hinges ($23), nails, screws, an impact driver, a saw (preferably a rented miter saw), paint, and wood glue, and you're pretty much ready to bring your outdoor cinema dream to life for less than $400.
Steps to make a DIY outdoor TV lift cabinet
This DIY kicks off with a sketch. Make sure to size your creation just right for your TV, with a little extra space for the lift. Next up, measure and cut 2x4s and plywood for the frame and cladding. Ideally, aim for the plywood pieces that wrap the face, width to width, top to top. Then, grab those 2x4s and put together the cabinet frame.
When cladding the frame, use wood glue and 1.5-inch nails first, then dial up the joint strength with screws. About jazzing up your TV cabinet, pick a paint color that echoes your sitting area's vibe. Perhaps white for the sides, with a more subdued shade gracing the top. However, don't skimp on sanding and priming. In addition, drill a couple of holes in the back panel using a Forstner bit for the cables to sneak through.
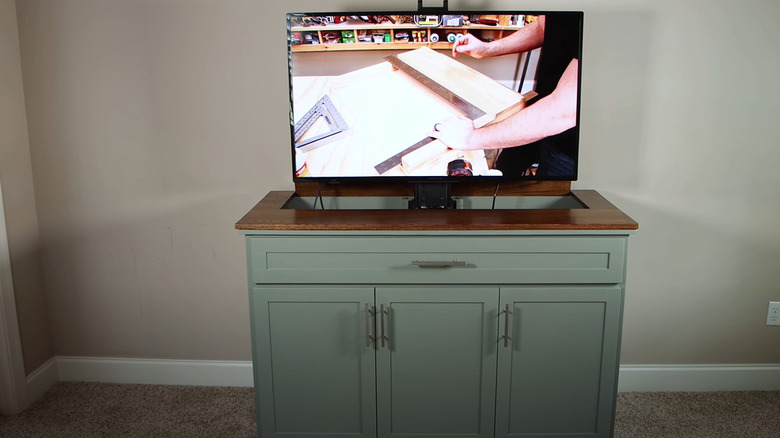
The lifting mechanism is the heart of this space-saving TV trick. Secure it to the base of the cabinet and add a couple of wooden supports at the back if needed — you might have to raise the lift just a smidge so your impact driver can fit underneath. Cap this off by securing the wooden lid with piano hinges. Now, get the lift set to just the right height, mount your TV with those brackets that came along for the ride, and tuck it into its fancy new home. Your new outdoor TV lift cabinet is ready to show off.
Personalizing your masterpece
To put a personal stamp on your DIY TV lift cabinet, try laying down thin wooden slats in an eye-catching pattern right on the front. Or, you could go all out with stencils, peel-and-stick decals, or a full-scale mural if they harmonize with your seating area's aesthetics. Craving a little sparkle? Loop some LED strip lights around the cabinet or the TV frame itself for that soft glow that makes movie nights magical — plus it's a total nighttime show-off. And if you're planning on moving this showstopper around, slap on heavy-duty caster wheels down below.
Now, about the placement of your TV lift cabinet, think of your deck, beside the outdoor fireplace, a rooftop terrace, or a sheltered place like a patio, porch, or pergola. To amp up the experience, weave an audio system into your TV cabinet, too. Bluetooth speakers are your best bet for a tidy look but scatter them around to envelop everyone in sound.
If you're feeling a bit eco-conscious, how about giving an old dresser a second lease on life as your DIY TV lift cabinet? Roll up your sleeves for a few modifications — strip down those drawers or shelves you don't need, chop off a bit of the top to make room for the TV, snip away the mid support, beef up the frame for the lift, top it off with style refresh, and boom. It's a clever way to repurpose old furniture and charm up your outdoors for cheap.