DIY Misters To Keep Your Patio Cool & Comfortable In The Summer Heat
We may receive a commission on purchases made from links.
Summer's stifling heat can ruin your outdoor experience, no matter how much shade or how many fans you've got on the patio. And alas, you can't exactly chill an outdoor area with an air conditioner the way you would your home's interior. But fortunately, there are inexpensive, DIY misting systems you can use to keep the patio feeling cool and enjoyable even as temperatures climb past decidedly comfortable levels.
Misting systems cool the surroundings by spraying fine particles of water into the air. As this water settles, it evaporates. This evaporation process removes heat from the air and lowers the ambient air temperature. In fact, you can get a misting system to bring the air temperature down by as much as 30 degrees Fahrenheit. To cool the patio or other outdoor areas by misting, all you need is a hose bib, a misting system (which is widely available at online retailers), and possibly a fan. These systems generally don't take much effort to install and easily qualify as one of the simplest DIY projects you can undertake. Below, we'll walk you through two types of inexpensive misting devices and their respective installation instructions.
Misting line with brass nozzles
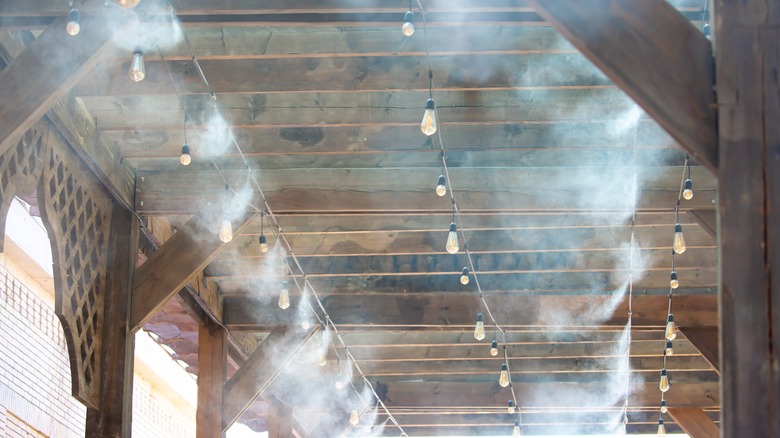
If you don't have fans set up around your patio, consider a simple misting system that relies on the water pressure to propagate the mist, like this one from Amazon. This system comprises individual misters on a hose that attaches to different types of outdoor water spigots. The misters are made of brass nozzles that let out water under pressure. The misters are spaced 3.28 feet apart, and the sections between them are detachable. This way, you can make the line shorter than its out-of-the-box length. You can get this mister in lengths of 26 feet, 59 feet, or 75 feet for $26.99, $42.99, and $52.99, respectively.
Installing this mister shouldn't take you more than half an hour. Follow this helpful video from @hauz.and.co on TikTok for step-by-step installation. The kit comes with clips that secure the hose and attach to surfaces with a nail. However, if you're hanging the mister system on a wooden material — like the beams of a pergola — consider buying some o-rings and zip ties to secure the system with a screw rather than a nail. Start by attaching the hose to your hose bib and pull the line to its intended location. You can fasten it to the wall of your house with the clips provided using nails, which work on different types of siding. Once you get the line to the location you need to mist, screw the o-rings into the wood, then use zip ties to hang the line on them. Detach sections you don't need, then seal the end with the plug provided.
Misting attachments for fans
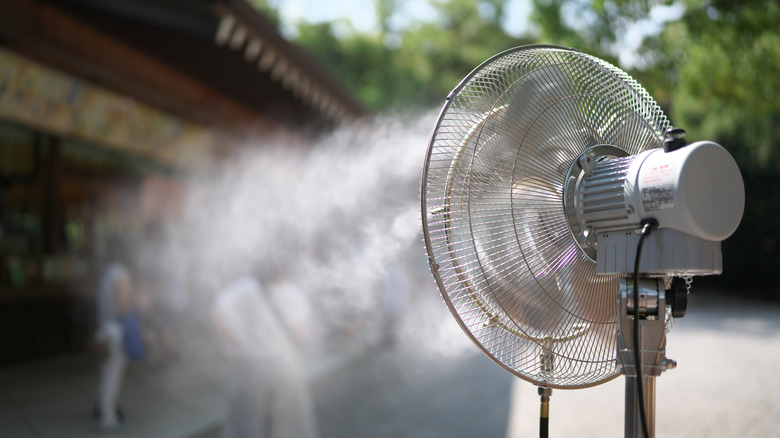
If you have fans set up on your patio, or you bring portable fans out in the summer, you can use a specially designed system like this one from Amazon to convert them into mister fans. This fan-mounted misting system is very similar to the one we described above. It also connects to the hose bib and comprises a line with brass nozzles that let out the mist. The only difference is in the configuration of the hose, which has a circular shape that's meant to connect to the grill of a fan. The misting ring is 9 inches in diameter, but you can easily detach its sections to fit smaller fans. The total length of the line, including the circular misting ring that clips on to the fan, is 19.36 feet. Excluding the misting rin, you have 16.4 feet of line between the fan and the hose bib. The kit costs $18.99 on Amazon.
To install this fan mister, start by clipping the misting ring to the fan with zip ties. Next, if the fan is mounted to an outdoor structure, you can secure the misting line to elements of the structure, like the posts or beams using o-rings and zip ties. If the fan is portable, you can skip this step. Finally, connect the threaded end of the line to the hose bib. If you use the bib for other purposes, you'll need to get a splitter to accommodate this misting system. That's it — you're done.


