This DIY Wood Shutter Project Will Boost Your Home's Curb Appeal
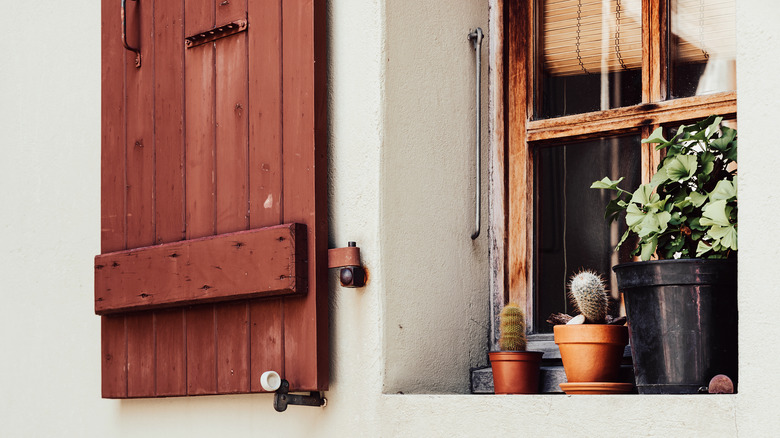
Have you ever wondered what would be a quick way to add some architectural interest to your home's exterior without extensive, pricey siding alterations? Simple wooden shutters may be the answer. Back in the day, shutters did everything electrical and mechanical systems do now — they controlled home heating, lighting, and ventilation. They were also crucial for safety and privacy. Nowadays, shutters afford an easy method to boost your home's curb appeal and imbue it with character without breaking the bank.
Below, we'll show you how to design and make simple stationary wooden shutters quickly, with relatively few tools and simple, readily-available materials. Cedar planks work well for homemade wooden shutters, since this tree species resists decay and rot, and generally fares well in the face of the outdoor elements. Apart from the planks, this beginner-level woodworking project requires wood glue, domino tenons, a saw, a sander, and some clamps. Depending on your exterior wall type, you may also want some anchors to secure the shutters in place.
How to build the DIY shutters
First, determine how tall and wide the shutters will be. A good rule of thumb is for the shutter width to be half or less the width of the window opening. Meanwhile, the height can be as tall as the window opening — or extending below and above the window opening just a tad. Once you've figured out these measurements, go ahead and pick up the required materials. Depending on the width of the window, and the consequent design shutter width, you may choose to go with 1x4, 1x6, or even 1x8 planks — go with whatever will look best in your opinion. When buying the wood, budget an extra plank to make horizontal cross pieces that span the width of the shutters at the top and bottom — this element really gives the shutters a rustic, cottage look.
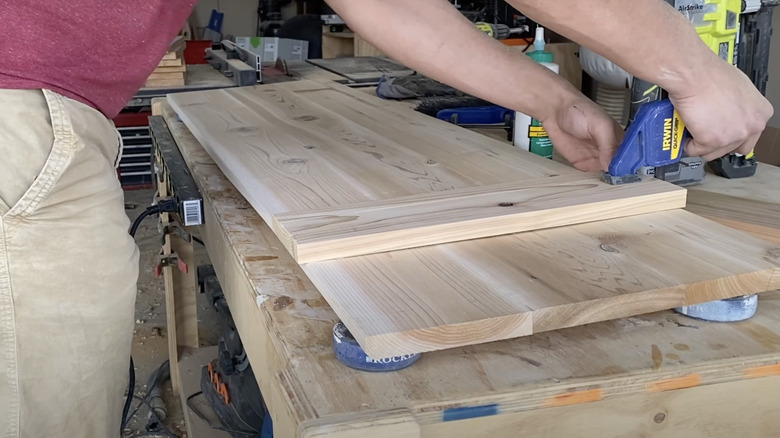
Back in your workshop, start by planing or sanding the planks so that you end up with two smooth surfaces and the depth of each plank is the same. Next, line up all your planks together and decide which go together well. To join the planks (in twos, threes, or fours, depending on your design), use the tendon and mortise joints along with a strong wood adhesive. Give the wood glue enough time to dry between the planks' edges, then cut and glue on the cross pieces, and the shutters are ready to go.
Proper steps for fastening the shutters to the home's exterior
How you install the shutters on your home's walls will depend on the exterior wall material. Brick or stone makes the job a bit trickier, as you have to fasten the shutters securely to the masonry. If you have a brick house, start by identifying the connection points. If possible, make these in the mortar instead of the brick itself, as the latter can shutter when you drill. Make holes using a hammer drill (ordinary drill will work, too). Then, attach the shutters to the wall using anchors like these from The Home Depot, or use special masonry screws — simple screws will not sit firmly in place.
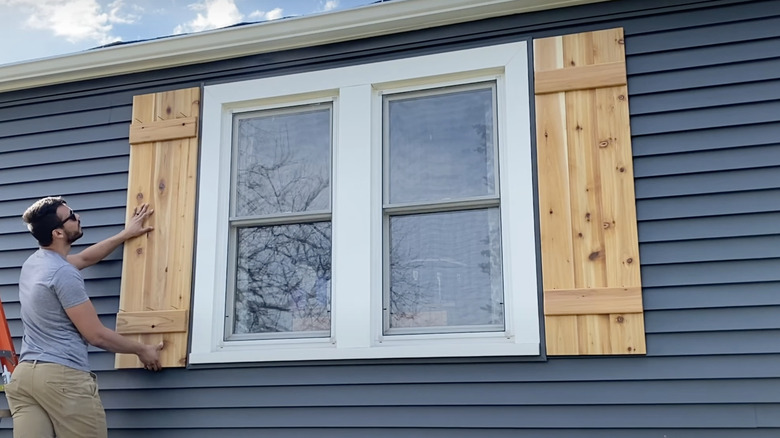
For vinyl siding, first hold the shutters up to their spot next to the window, using a level to make sure they're plumb. Mark a spot on the wall at each of the four shutter corners. Next, take the shutters down and drill pilot holes into them. Align the shutters with the markings you made earlier, and drill through the pilot holes and the siding. At this point, consider whether the screws you'll use to attach the shutters will penetrate a stud. If so, a ⅛-inch hole in the siding will work well. If not, make a ¼-inch hole in the siding and insert plastic anchors to hold the screws. Finally, use sufficiently long screws to fasten the shutters either to the studs beyond the vinyl, or to the vinyl using anchors.