The Drill-Free Trick For Hanging Outdoor String Lights
We may receive a commission on purchases made from links.
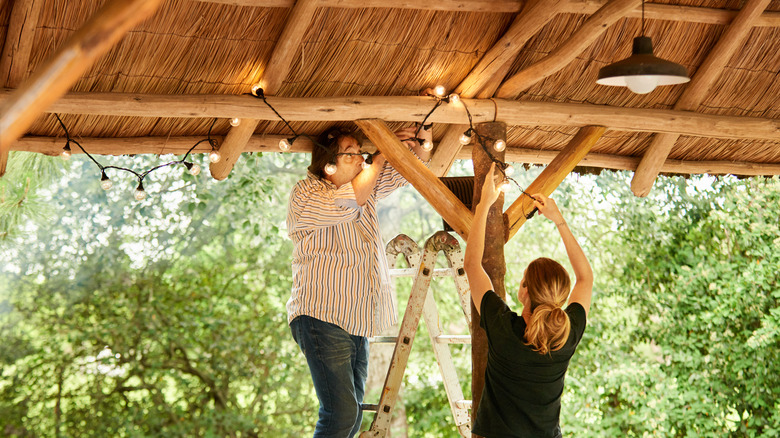
Nothing adds romance, ambiance, and coziness to an outdoor space the way string lights do. But picture this: You've set up your outdoor oasis, and you've found the best set of string lights out there, only to realize that you can't drill the hooks to hold them in place. Perhaps your apartment or condo rules prohibit drilling, you're not sure how to drill into concrete, or maybe you just want the lights to be easily removable. If drilling isn't possible, it may seem that your dream of relaxing under the warm, gentle glow of string lights is not meant to be. Well, the good news is that you can still easily attach such lights to most exterior surfaces using 3M tape, special adhesive products like Sugro, or by using light poles.
Drilling may be a sure-fire way to affix lights to a surface, but it isn't the only method. Below, we will show you the best way to hang string lights without drilling. This approach relies on clips and adhesive compounds instead of screws, and is easily tweaked to accommodate both smooth and coarse surfaces. You'll also learn how to use poles instead of clipping the string lights to the adjacent ceiling or walls.
How to install outdoor lights using hanging clips
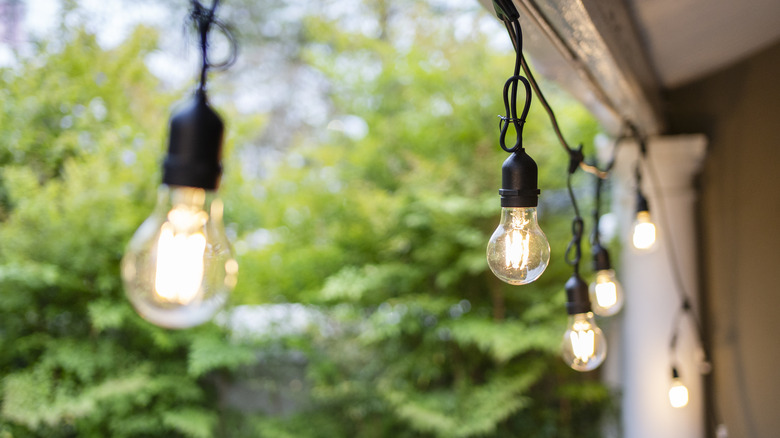
First, decide what pattern you want the lights to hang in. Your choices include the classic square that runs the lights along the perimeter of the ceiling, the zig-zag, the X-pattern, or the V-pattern. Next, visualize where the anchor points will go, and mark these spots with colored stickers. Consider how you will attach the string lights to these points. If all the surfaces are smooth — for example, if you've got metal soffit, or metal or vinyl siding — you can use clips like these Command ones from Amazon. These clips rely on a 3M adhesive strip to stay on the surface. However, if the surfaces are rougher (like brick or weathered concrete), it's best to mold your own hooks out of a sturdy glue product like Sugru. Use a mix of both solutions if some of the exterior surfaces are smooth and others are rough.
If using clips with 3M tape, start by cleaning the attachment surface with rubbing alcohol. Then, stick the tape onto the clip per the manufacturer's instructions, and attach the clip to the surface. Give it at least an hour to bond before hanging the lights. If opting for Sugru, roll part of the substance into a ball and press it onto the surface until it's flat. Next, mold the remaining Sugru into a hook and attach it to the patch above. Once they're in place, give the hooks 24 to 48 hours to cure, then hang the string lights on them.
How to hang outdoor lights using poles
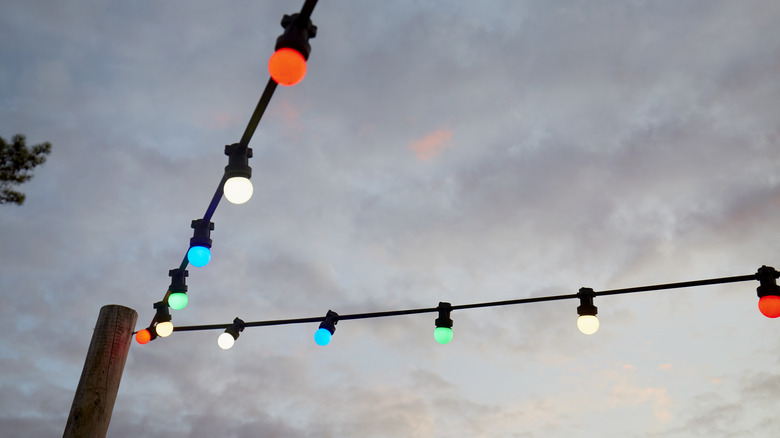
If your region is prone to strong winds, or the wall and ceiling surfaces aren't ideal for adhesives, you may not want to hang string lights from them. A better option may be to consider using string light poles. This will work especially well if you already have large, heavy planters in your outdoor space, or you can insert the poles directly into the ground. String light poles like these from Home Depot should do the trick. You can secure them in two ways: If you have planters, you can use the edged bottom attachment to stick them into the soil. Otherwise, you can fasten them to the deck. The top ends of the poles feature hooks that make it easy for you to hang the string lights.
Alternatively, you can easily fashion DIY string light poles yourself. You'll need to create a base for the poles using deep, wide, heavy-duty receptacles, like metal planters. Since these DIY light poles don't have a bottom plate for fastening, you'll need to set them in quick-drying cement to keep them upright and steady. The poles themselves can be made from aluminum or stainless steel rods, sealed wood planks (like two-by-twos), or even PVC pipes. If you've opted for PVC or wood, screw in cup hooks at the top of the poles and run the string lights through them. If the poles are metal, clips with 3M tape should work well.