Sanding The Floors? Don't Forget This One Key Preparation Step Or You'll Regret It
If you're getting ready to refinish your hardwood floors, you probably already have a checklist of things to do before the sanding job begins. It might look like this: move all the furniture and plants out of the room, roll up the rug, remove protruding nails from the floor, sweep the area, and keep mischievous paws away. However, while all of these steps are completely necessary, there's also another crucial step that people often skip in the preparation process. While clearing the floor is important (and obvious), you should also remove everything off the walls, clear off shelves, and empty the closets.
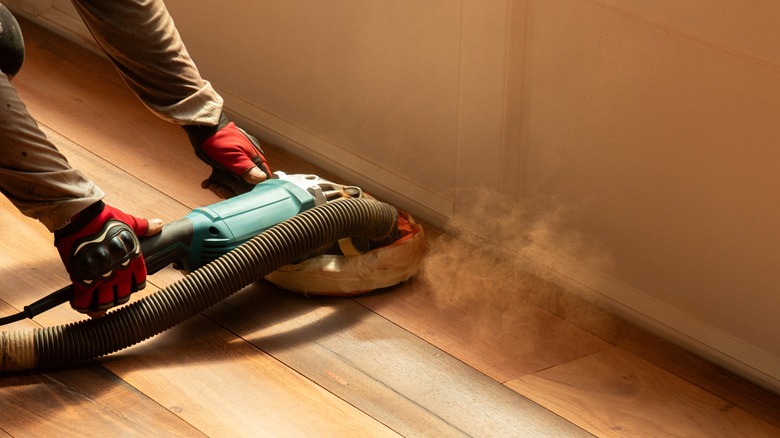
That's right — you really should completely empty the room if possible. Unless you're well equipped with a dustless sander or dust containment system that collects debris as you work, you can bet that dust will fly all over the place. Because not everyone owns dust-free sanding equipment, the best defense against a huge mess is to prep your space beforehand. Trust us, you'll save yourself a lot of work later on because everything, even your light fixture hanging from the ceiling, will get extremely dusty if you don't.
Take everything down off the walls
Ideally, you'll want to strip your walls before sanding your hardwood floors. If you have wallpaper on your walls, that can obviously stay — just don't forget to clean your wallpaper afterwards. Alternatively, you can take protective measures by covering your walls with dust sheets. Everything else should go in another room until the project is done. This includes artwork, mirrors, hanging plants, and window coverings, both blinds and curtains.
While you're at it, remove or temporarily raise any long pendant lights or chandeliers. Cleaning a light fixture is already a challenge within itself — imagine having to remove extra dust from all its nooks and crannies. But, don't worry if you can't take your light fixtures down or raise them. One clever hack is to cover them with plastic sheets to protect them from dust. Now is also a great time to check for loose fixtures and tighten them up since the sander's vibrations might loosen them even further. The last thing you'd want is newly refinished floors in exchange for a shattered or otherwise damaged light fixture.
You'll also want to clear shelves and closets
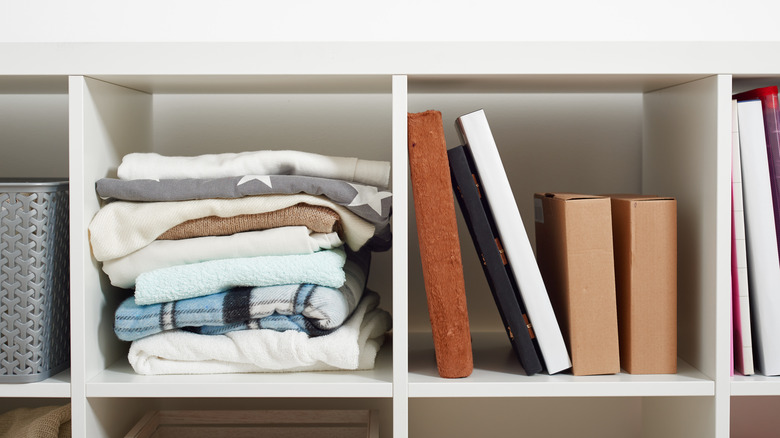
However, walls (and everything on them) aren't the only surfaces that gather dust when sanding. Shelves, counters, and mantels are big victims, too, so it's a good idea to clear off these surfaces and store your items elsewhere for the time being. This not only makes cleanup easier but also prevents accidental knocks and breaks during the sanding session.
Further, while it might be tempting to throw everything in your closet, we advise against doing so if you're refinishing the floors in your closet space. In fact, you should also empty out your closets to prevent finish fumes, or the odors from wood floor finishes that are applied after sanding, from taking over your clothes. It would also be extremely tedious to remove dust from your garments and other belongings. This may all seem excessive — and it probably is in most cases — but the goal here is to make post-sanding cleanup as easy as possible. If you complete this important preparation step, all you'll need to do once you're done sanding is vacuum the floor and clean your windows, walls, doors, and other permanent fixtures instead of wiping down every single item you own.


