The DIY Wood Pallet Project That'll Keep Your Gardening Station Organized
If you are often potting and repotting plants in your garden, having a designated station to complete this task can be very helpful. While there are options you can purchase online (also sometimes called potting benches), they typically cost $100 or more. Furthermore, they might not have enough storage space for your specific needs. To get the gardening station of your dreams on a budget, DIY one instead. To do this, you'll attach wooden crates together for storage shelves and build the frame out of wooden pieces taken from a pallet, then add a bin to hold soil while potting plants. This is just one of the many simple pallet wood projects even beginners can do.
There are a few tools you'll need for this project, including a circular saw, table saw, crowbar, hammer, wood glue, clamps, brad nail gun, electric screwdriver, screws, and two sawhorses. For materials, a pallet is required, which could be salvaged from a retailer or neighbor. Three long wooden planks are also needed. Four wooden crates will make the shelves, and these currently go for $10 each at Joann. You'll also need a bin with a lip or handles that jut out from the sides, and you could buy one from Dollar Tree for $1.25. Finally, if you want to hang items on your station, you can do so with cup hooks, available at Lowe's for about $1.50 each.
Building the frame of your gardening station
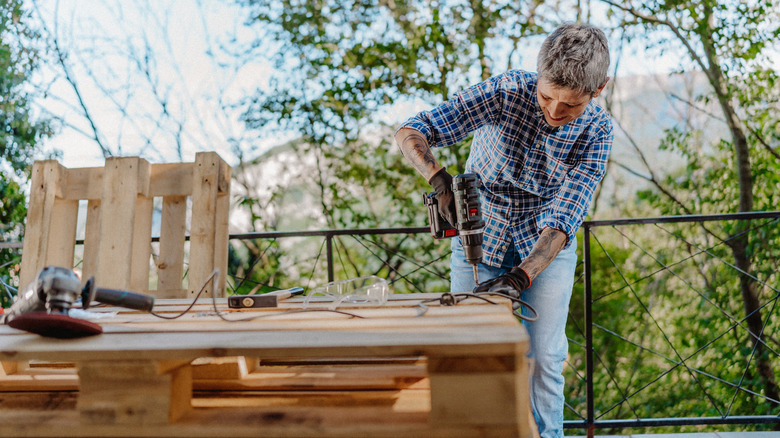
To begin, you'll need to remove the horizontal planks from the pallet. Start by using your circular saw to cut the boards out of the sides of the pallet, then use a crowbar to pry them up off of the middle. Once freed, remove the nails from the boards with the back of a hammer. Next, put these boards aside and connect your wooden crates together in pairs, with one on top of the other. You'll do this with wood glue and use clamps to ensure they're securely connected to one another while they dry.
Once dry, flip the crates over so that their openings are facing towards the ground and place them about the same distance away from each other as the length of your bin. This will ensure that the bin can fit between them once the project is done. At that distance, use brad nails or screws to attach three pallet boards horizontally to the back of the crates.
Flip the station up so that the openings in the crates are facing towards you and place it on sawhorses. Then, attach more pallet boards to the sides as well as the front and back corners with brad nails. These boards should be equal lengths, and you should square the bottoms with your table saw before attaching them. Next, using screws, attach three long wooden planks to the back vertically. These boards should extend above the height of the crates.
Finishing the project and organizing your gardening items
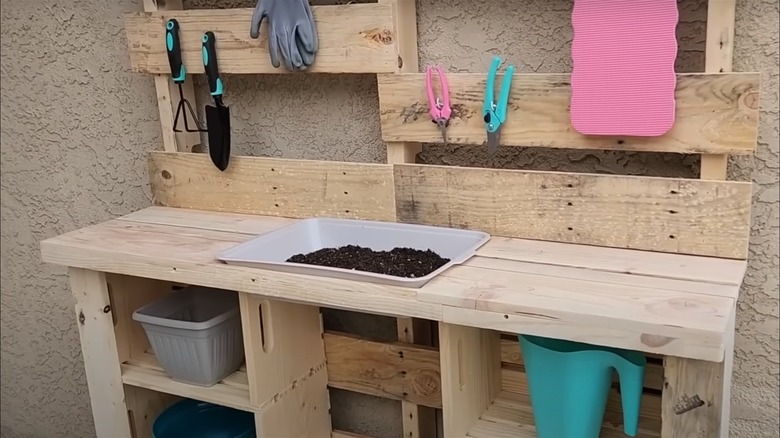
All that's left are the finishing touches. You need to create flat surfaces on top of the crates to use as work stations. Cut pieces of the deconstructed wood pallet so that they fit on top of the crates and then attach them using wood glue and brad nails. Next, using brad nails, attach some of the pallet planks horizontally along the tall wooden pieces, leaving some space between boards. Then, twist cup hooks into the horizontal boards above your work station wherever you desire. Finally, just place the plastic bin between the two surfaces.
You can then organize all of your gardening essentials however you desire. On the cup hooks, consider hanging all your small tools. If desired, you could also suspend baskets, which you could get at Walmart for under $4, from nails to hold all your small supplies like seed packets and gloves. On the crate shelves below, keep all your planters, bags of extra soil, fertilizers, and watering cans tidy.
If you have pieces of the pallet left over, consider completing one of these unique small wood pallet ideas for your home and garden. Furthermore, if you don't like the look of the raw wood, consider sanding and painting the gardening station or staining it for a fresh look. Or, if you don't like the appearance of this specific gardening station, check out TikTok's simple DIY woodworking project that every gardener needs.