Turn Any Ottoman Into A Coffee Table With A Simple DIY
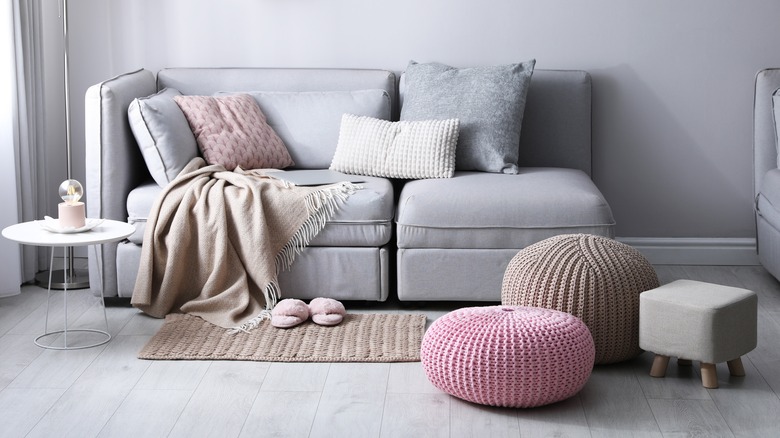
Ottomans, poofs, and other similar padded pieces can be some of the most multi-functional furnishings in any home, serving as a perfect place to put your feet up, extra seating, and a usable surface for setting down everything from books to beverages. Whatever the size of your ottoman, one of the things that makes it such a cozy addition, all that padding and upholstery, is also the one thing that may make it less useful for serving as a hard, solid surface. While most ottomans can be temporarily modified with a simple tray or charger plate, the surface is often limited and liable to move around or shift, resulting in crowding and spills. Internet crafters, however, have found an ingenious DIY solution that creates a simple cover that can simply slip over your ottoman to serve as a tabletop.
Not only is this table moveable and easy to add to your ottoman or take away, it's also fully customizable, which means you can design it to fit your existing ottoman perfectly. It's also very budget friendly, using only inexpensive cuts of 1-2 inch plywood attached at the joints (or you can use pieces of reclaimed, salvaged, or extra wood from your workshop). It's a great strategy to protect ottomans made with more delicate materials or light colored fabrics from damage and stains. It also gives you more opportunities for using and decorating your ottoman.
Creating a table for your ottoman
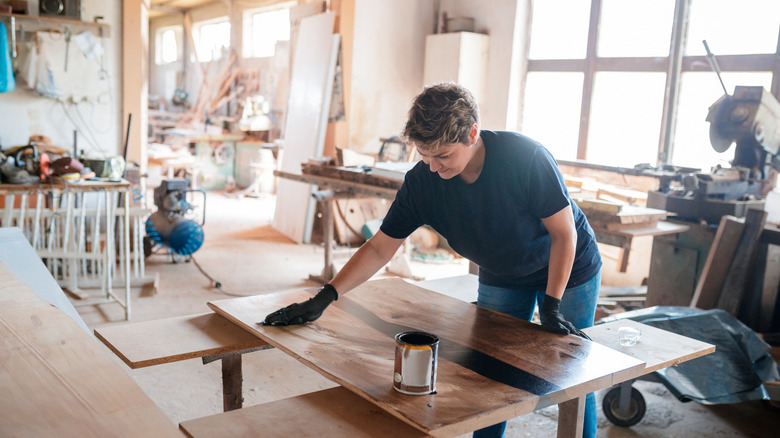
To create your ottoman table, you will need three cuts of wood — two equal pieces that form the legs and one wider piece that forms the top surface. There are a number of techniques recommended to fasten the pieces of the table together, including just using simple steel L-brackets to brace the top and sides together. Another DIYer uses liquid nails and clamps to hold the pieces together, driving some small wood screws through for extra hold. You can also use a pocket screw jig for seamless look without visible nail holes, or you can cut your pieces with a 45 degree angle on the edges to fit together more smoothly.
When the table is assembled, fill any holes that are visible with wood putty and sand down the surface, preparing it for your desired stain or paint shade. When dry, you may want to add a final poly coat for protection, particularly if you plan to use it for setting drinks on to prevent any staining or water marks.
Customizing your ottoman table
While the lines of this table are fairly simple and no-nonsense, perfect for more contemporary spaces, there are ways to add detailing and customize your table to fit your particular design aesthetic. You can buy millwork details like scroll, florets, and other pieces that you can add to the side with wood glue for a more baroque and wood-carved look. Or use a weathered-finish painting technique to impart a cottage or shabby-chic vibe to the top and sides.
For a more primitive style, cut your plywood into smaller-width pieces or use a router to create grooves that mimic individual pieces. With a slightly higher budget, you can also use thicker cuts of wood, including live edge pieces, which give a more luxurious boho look to the simple table. To make the table even easier to move, consider adding some casters to the bottom which will allow you to roll the table back and forth. When you want the ottoman to be solely padded, this table stands on its own or can be moved aside or stored away very easily.