Turn An IKEA Storage Find Into A High-End Looking Cabinet To Dress Up Your Wall
IKEA hacks are all over social media, with so many finding a thrill in turning the company's basic budget pieces into unique DIY design statements. One of the long-time crowd favorites for upgrading with DIY creativity is the IKEA MOPPE mini storage chest, thanks to its small footprint and even smaller price tag of under $30 each. Made of stainable birch plywood and featuring six small drawers of various sizes, the MOPPE storage chest is one of the top-rated IKEA products you need to organize your home office, jewelry collection, kids toys, craft supplies, and so much more.
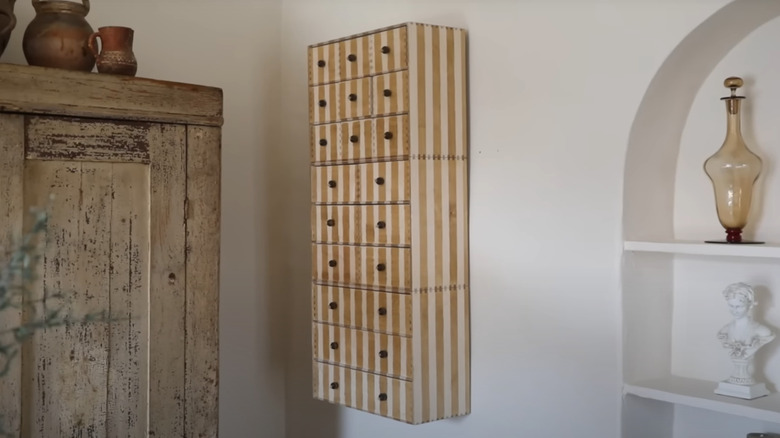
But rather than just plop it on top of a desk or shelf, consider (literally!) elevating this humble drawer unit by taking to the walls. Follow Lone Fox's DIY tutorial on YouTube to transform the basic IKEA MOPPE storage chest into a high-end wall-mounted cabinet to dress up any wall. By combining multiple MOPPE units into one hanging cabinet and adding an adorable feathered stripe pattern, you can create a stunning storage and organization solution you'll want to put on display in your home.
How to DIY an IKEA MOPPE striped wall cabinet
The creative DIY project features three stacked MOPPE storage chests, a fun vertically-striped wood stain pattern, and custom bead hardware, which is then mounted on the wall. To create this attractive storage solution yourself, begin by removing all drawers and use wood glue and clamps to secure your three MOPPE units together in a vertical tower. Once dry, flip the drawers around so that the solid back panels are now facing forward (no visible finger pull recesses), and reposition the drawers in your desired configuration.
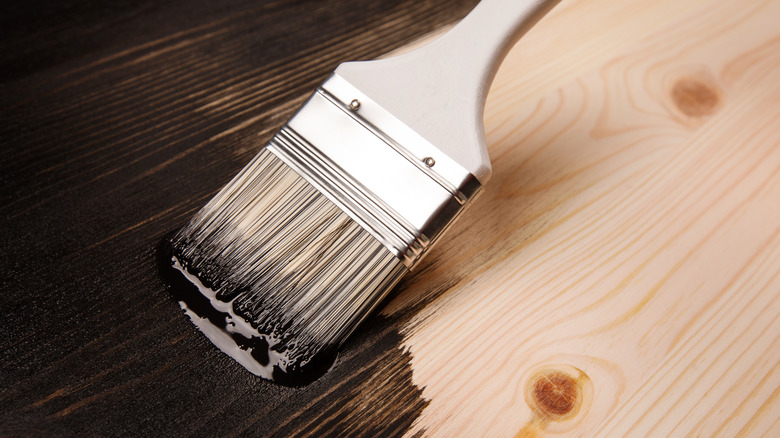
Laying the unit on its back, use painter's tape to apply vertical stripes along all visible sides of the storage tower, pressing firmly for proper adhesion. To streamline this process, use another piece of tape as a spacer between stripes to guide the placement. Once all stripes have been taped out, use a medium wood stain on the visible areas. Remove the tape to reveal your feathered stripe pattern. The DIYer used dark-stained wood beads as hardware, affixed with natural jute twine. In the center of a piece of twine, create a knot larger than the hole in the bead and slide the bead over the two loose ends, allowing the knot to hold the bead in place from the front. Slide the ends of the twine into a drilled hole in the drawer, knotting it inside the drawer to secure the bead in place. Then use two D-rings to attach the unit to the wall.
Further customizing your new IKEA MOPPE wall cabinet
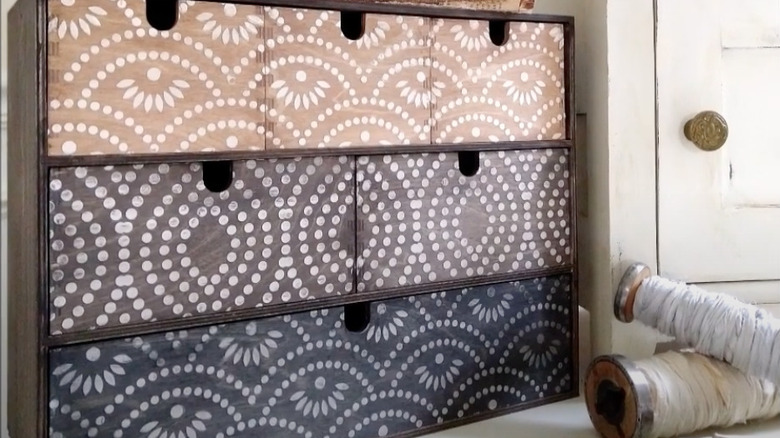
If feathered stripes and beaded hardware don't fit your home's aesthetic, the customization options for your new IKEA MOPPE wall cabinet are endless. Try taking inspiration from this simple transformation that upgrades the IKEA MOPPE to have a gorgeous apothecary table look by staining the piece a rich medium tone and adding label tag holder pulls to each drawer. For a more bohemian, eclectic look, use small stencils to create various patterns on each drawer or a large mandala medallion stencil over multiple drawers. Alternatively, apply faux marble finish contact paper to the front of the drawers and adorn with gold hardware for a more modern glam look. When in doubt, grab your favorite paint colors and simply give each drawer a quick coat, either all matching or in a fun combination like an ombré effect.
Another way to customize this IKEA MOPPE wall cabinet to fit your home is to alter the layout. Perhaps a tall vertical tower doesn't work for the space you had in mind. Instead, use four units and make either a horizontal or vertical rectangular 2x2 unit. You can also use two or more MOPPE storage chests attached horizontally to create a long wall-mounted storage unit, even adding a wood top to create an elegant surface for display. No matter which finish or configuration best suits your home, use this easy IKEA MOPPE hack to add a fabulous storage solution for organizing your space in style.


