Common Mistakes To Avoid When Installing A New Door
Are you getting ready to tackle a door installation project at home? A door's unsophisticated appearance may mislead you into thinking that hanging it is a breeze. The truth is that it's anything but simple. Whether you're swapping out a new door slab (also known as "leaf") or putting in a framed door, all of the assembly's elements must be perfectly level, plumb, and square for the door to function properly and avoid premature wear. Likewise, the hinges demand precise installation to keep the door leaf steady and distribute its loads evenly.
There are many errors that inexperienced DIYers can make when installing a new door, but some are more egregious than others. Below, we've put together a list of the gravest door installation mistakes — ones that affect the door's operation and harm its components over time. Many of these errors stem from failing to ensure the key tenets of a door's alignment — being level and plumb. Below, you'll learn how these errors are made, what their consequences are, and how you can avoid them easily.
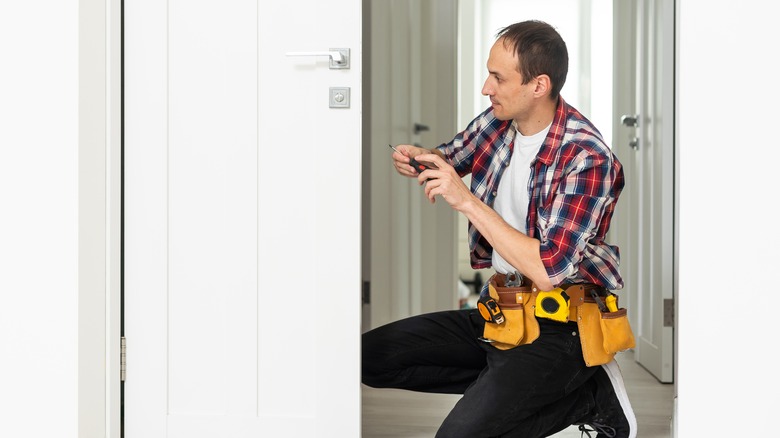
Incorrectly fastened hinges can cause the door to become out of level

There are several ways inexperienced DIYers can mess up hinge installation on a door. You can mortise (or secure) them too deeply, or let them sit too proud of the adjoining jamb. One of the hinges may protrude as a result and be out of plumb with the other one, in which case the leaf will not be evenly hung. This situation will make it hard for you to open and close the door, as the misaligned leaf will contact surrounding surfaces as it rotates on the hinge. The resulting friction will damage the door's finishes and core over time, too. What's more, the improperly distributed loads will cause the hinges to wear out much faster than they should. To avoid this error, line the hinges up vertically and make sure that their knuckle cutouts sit flush against the face of the door.
Another common mistake is to fasten the hinges with improperly sized screws. 3 ½-inch screws are ideal for the purpose; screws smaller than this size cease to hold the door securely over time, and the leaf will shift. Likewise, over-tightening the hinge screws can cause eventual warping of the door leaves.
Improperly hung door leaves will cause issues with alignment
If you're hanging a new leaf into an existing frame, incorrect installation may cause the slab to sag or be out of plane. These mistakes are quite visible, and usually ruin the aesthetic of the door assembly. What's more, they can cause the lock mechanism, hinges, door leaf, and trim to suffer undue strain and wear. We've discussed the importance of installing the hinges to the jamb above, but fastening the leaf to the hinge correctly is just as paramount. If you don't secure the leaf tightly enough to the top hinge, the door may be unlevel and sag. Sagging describes a condition in which the top corner on the latch side is farther from the hinge jamb than the bottom latch-side corner. This type of error is easy to avoid if you tighten the screws connecting the leaf to the hinges just right.
Another leaf installation error can happen if you don't check whether the leaf is plumb when you hang it. This error causes the door to be out of plane. That's when a part of the door sticks out beyond the jamb — or even protrudes past the surface of the wall. In some cases, being out of plane causes a sticky door, which will require extra effort to open until it's fixed. To avoid making this error, use a vertical level to ensure that the door is plumb during installation.
Uneven door sills and floors can prevent the door slab from closing and opening easily
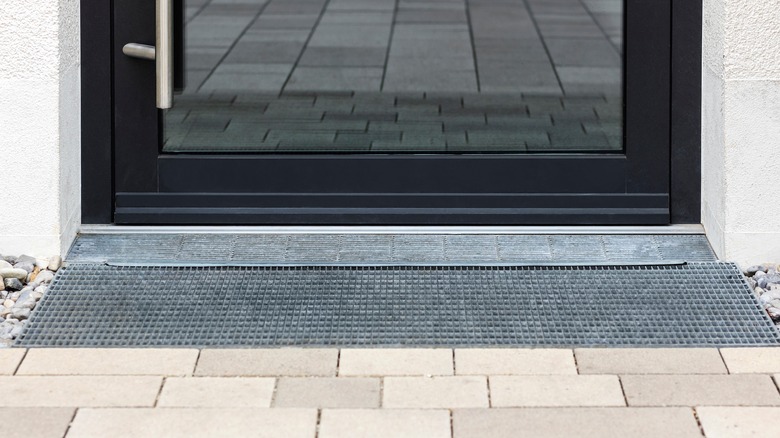
Failing to check whether the floor or sill beneath a door are level can cause problems with door operation. If the sill is unlevel and you're hanging a new door leaf into an existing opening, the sill may rub against the door when you swing it. This condition prevents the door from operating smoothly and wears the door slab down at the bottom. So, before hanging the new leaf, use a level to check whether the sill is even. If it isn't, measure the height discrepancy, and see how it relates to the height of the door. If you establish that the door slab will come in contact with the sill, cut the bottom of the door with a planer to achieve the right clearance.
Now, if you're installing a framed door into an opening, it still pays to check whether the floor beneath it is perfectly level. If it isn't, the jamb will not be square. This condition will put undue stress on the hinges and prevent the door from staying closed or open when you want it to. If you find that the floor surface isn't level, you'll have to calculate the discrepancy using a tape measure and a level. A laser level like this one from Lowe's will simplify the task for you. Next, cut the bottom of the jamb affected by the height difference by the measurement — this will allow the jamb to sit square in the opening.
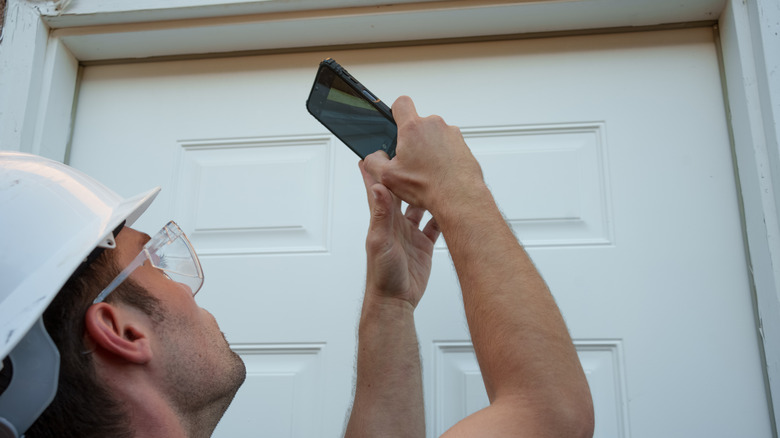
Lacking the right tools and materials will lead to shortcuts and poorer installation quality

Door installation may seem as simple as mortising a few new hinges or screwing the jambs on to a frame. This false sense of ease can cause DIYers to dive into a door installation project without the needed tools. Not having the right items on hand may cause you to take shortcuts that degrade the installation quality.
To fit a door successfully — whether it's just a new slab or a framed assembly — you need at least the following equipment and materials. A drill with driver bits lets you fasten the door jambs to the opening. You'll also use it to install the hinges if you're hanging a new slab — although a screwdriver will work in a pinch in this case. When mortising door hinges, you can use either a router or a simple chisel and utility knife. In the latter case, you'll have to score the recess outline with the knife, then chisel it to the right depth (a hammer may come in handy here). Having a planer handy is a good idea, too — you never know when you'll need to trim the edges of the door leaf to make the assembly level, square, and plumb. Of course, you won't know if the door is aligned without a level — and you may need shims when squaring the jambs. Finally, the hinges themselves are a no-brainer if you're putting up a new slab and the old ones are, well, old.
Failing to caulk exterior doors will lead to energy loss

Are you replacing an exterior door? Forgetting to caulk it, or caulking improperly will leave a gap in your home's envelope. This unsealed opening will create drafts and invite unwanted pests into the home. It will also facilitate heat transfer in and out of the house whenever you're trying to heat or cool the interior space. This is bad news if you're trying to curb home energy costs. What's worse, the lack of caulking around an exterior door can allow rainwater to seep into the home. This water can damage the home's finishes, insulation, and structural components.
Before you seal the doors, make sure you're using the right caulking compound. On the exterior, opt for a silicone-based caulk like this one sold at Home Depot. On the inside, you can opt for a latex product instead. However, if the gaps between the edges of the opening and the door frame are too wide, use an expandable foam spray similar to this version from Home Depot to make sure that the gaps are properly covered. The caulking procedure is not difficult, and it works the same way for sealing the interior and exterior of the frame. You load the cartridge into the caulking gun, slice off its top, then apply a continuous layer of the sealant along the interface between the casing and the wall. Don't have a caulking gun? Read more and learn how to caulk without a gun.
Poorly installed shims can make the entire door assembly unlevel

Shims are small wooden wedges used to correct misalignments between the door frame and the opening. You insert these wedges in the gap between the jamb and the rough opening, usually at hinge level, and elsewhere as needed to make the frame plumb and level. Improper shimming can cause a number of issues with the door you're installing. For example, a common mistake inexperienced installers make when shimming is inserting both shims facing the same direction, so that the narrow and wide edges are together. This amplifies the shim's tapering and causes the door frames to twist. This error is easy to avert — just align the shims in opposite directions before inserting them into the gap. This way, the width of the shim fits evenly inside the gap and does not distort the frame.
Another error is to over-shim one of the jambs. It may be tempting to insert more shims than needed into a gap to make the frame square or to make it fit tightly in the opening. But with too much filler, you can cause the door slab's edge (or its hinges) to press against the jamb before the door can close. As a result, the door will swing open on its own whenever you attempt to close it. To prevent this shimming error, try opening and closing the door, and make sure it does not pop open on its own while you're inserting shims.