The Essential Tip For Making A DIY Peel-And-Stick Backsplash Last In Your Bathroom
Whether you're a renter looking for an easy-to-DIY tweak or simply want to save a buck on installing a bathroom backsplash the traditional way, peel-and-stick tiles are a great option. Best of all, in addition to being budget-friendly and coming in a wide range of colors, shapes, and patterns, they can last for years on end. That said, getting the most out of these tiles requires the proper installation — even if instructions say otherwise, that entails using some caulk.
Many peel-and-stick tiles are humidity-resistant, created specifically for bathrooms. However, in the event that moisture gets behind any of those tiles, there's a possibility their lifespan will be impacted. From adhesive breaking down and causing the tiles to peel off the wall to warping and other disasters, you could be left with a very messy situation. As such, keeping the underside of your peel-and-stick backsplash is paramount.
The solution? As it turns out, a little caulk around the tiles can go a long way in keeping things intact, moisture-free, and looking good. So, with that in mind, load up your caulk gun, and let's get to it.
Caulk around any areas where moisture could get in
Strictly speaking, caulking your peel-and-stick backsplash isn't always necessary, especially if you've gone with a stick-on option made specifically for high-humidity areas like bathrooms. However, it's definitely a great add-on for anyone with concerns about things lifting, peeling, or warping.
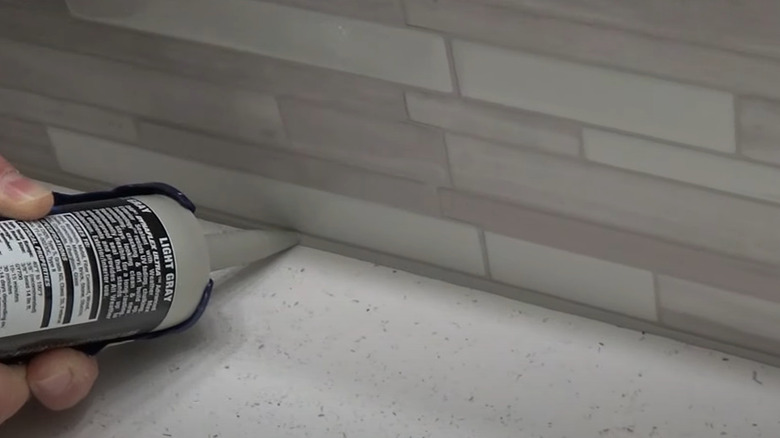
Granted, you only need to caulk to seal up the areas where it might be possible for moisture to enter. In other words, focus on the perimeter of the backsplash. It's also advisable to caulk anywhere you've had to cut the stick-on to accommodate things like lights, mirrors, or built-in features.
As for the perfect caulk for the job, your best bet would be a waterproof, siliconized acrylic caulk. For a seamless finish, opt for something in the color of the "grout" in your faux tile backsplash. Amazon stocks a variety of colors for around $5; alternatively, if you're not finding a match, head to your local hardware store to see if there's a greater selection. Use a caulking gun to ensure this DIY hack looks as professional as possible (though there are ways to caulk if you don't already have a caulking gun on hand).
It's essential to prep your wall first
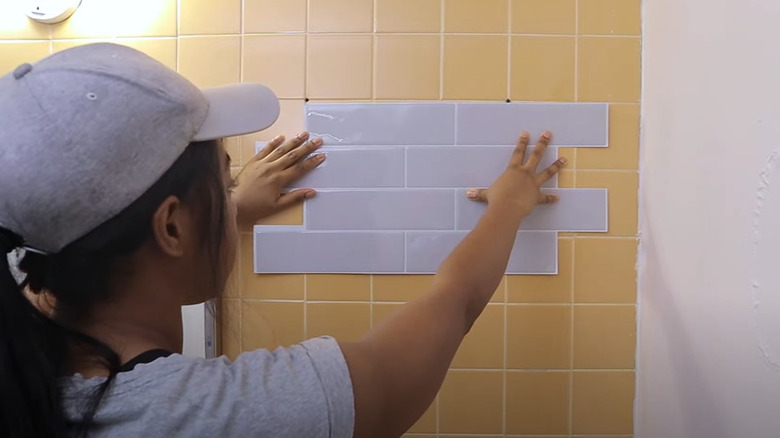
In addition to caulking your peel-and-stick, another thing that'll help your backsplash last is to pay attention to how you install it. The key is to prep your surface — be it a wall or existing tiles — properly before doing anything else.
For starters, everything should be squeaky clean, as any dust, dirt, or oiliness will stop the adhesive from working as effectively as possible. Then, ensure it's completely dry before taking the next step (we're trying to avoid moisture wherever possible, remember?). Finally, be sure to smooth out any bubbles as you install each tile sheet.
A brand-new backsplash can completely transform a room, and with so many peel-and-stick options available, you can go for something incredibly unique. Being able to DIY it is a major perk, no doubt — but the really great thing is that even if you're doing this yourself, if you install it the right way and top it off with some caulk, you'll be able to admire your work for years to come.