Ways To Repurpose A Plastic Bucket Into A Stylish DIY Coffee Table
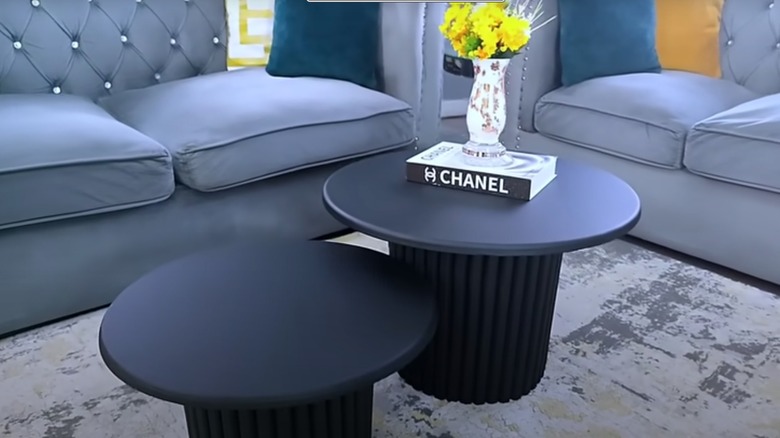
Sleek and modern coffee tables are a must in contemporary interior design spaces. They can often be one of the most unique and dynamic elements in a living room whatever their size and shape, the best of them being both functional and an important décor element. They can also be quite costly, with well-designed coffee tables from trendy home retailers like Wayfair and West Elm usually selling for hundreds of dollars. YouTube DIYer Roxy Nimmiz, however, has an ingenious solution that offers a budget-friendly DIY with all the style of much more expensive models. With a plastic bucket and some inexpensive MDF board, you can create a stunningly gorgeous fluted set of nesting tables that perfectly fit contemporary-style and mid-century modern homes.
These results are beautiful, simple, and sculptural. Using nesting tables is an elegant coffee table hack for small spaces. The dual table also offers flexibility in placement, making it great for smaller spaces that might not fit a large conventional square or circular table. They can be moved around and separated to serve as side tables when needed. With some weather-proofing, they make perfect outdoor seating area additions, or can be used separately as accent tables or nightstands.
Building a fluted bucket table
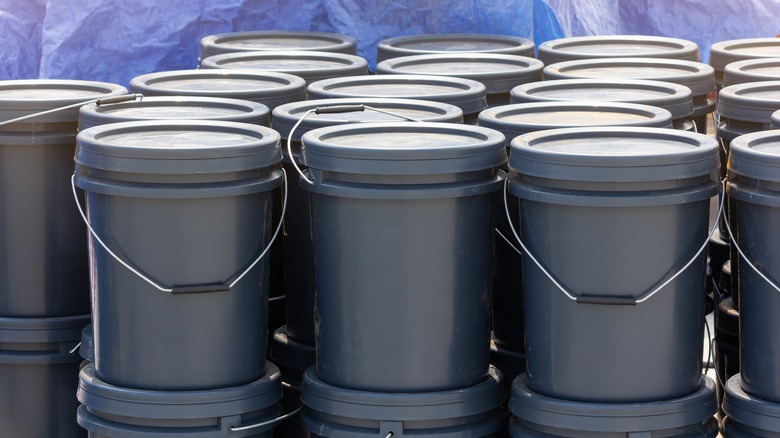
To create your fluted table, you will need a sturdy plastic bucket with a lid. For the set, it will require two different sizes. You can use a new plastic bucket, or upcycle one from products like paint or pantry items. The project requires a smooth finish all around, so begin by using a small hacksaw to remove the handle and any attachments. Since many buckets feature a raised border at the top, use a strip of cardboard applied with hot glue to create an even surface before applying the fluting. Or use a hot knife to remove the plastic rim or other protruding elements altogether.
Cut down segments of MDF trim or wooden dowels to the height of your bucket, then apply them around the perimeter using Liquid Nails or other similar adhesive. You can also use a few dabs of hot glue to keep them in place as the other adhesive sets. When it is fully dried, the base of the table is ready for sanding and painting. For the top of the table, use a circle of 1-inch thick MDF board, which you will also need to sand and apply a spot putty to ensure a smooth finish for the paint. After the top paint has dried, attach the base to the top with a liberal amount of Liquid Nails and allow it to dry thoroughly, using a level and a tape measure to ensure even and exact center placement.
Customizing your bucket table
While this DIYer uses a matte black finish, the options for customizing your table with paint are many. For a similar modern look, opt for a glossy white or gray. You can also use the table as an opportunity for a dash of bold color like cobalt blue or red in an otherwise neutral space. While the design skews modern, you can add a bit more of a rustic feel by sanding and staining the MDF with a wood finish for a more natural look, or using a distressed painting technique that adds wear and age to the tables
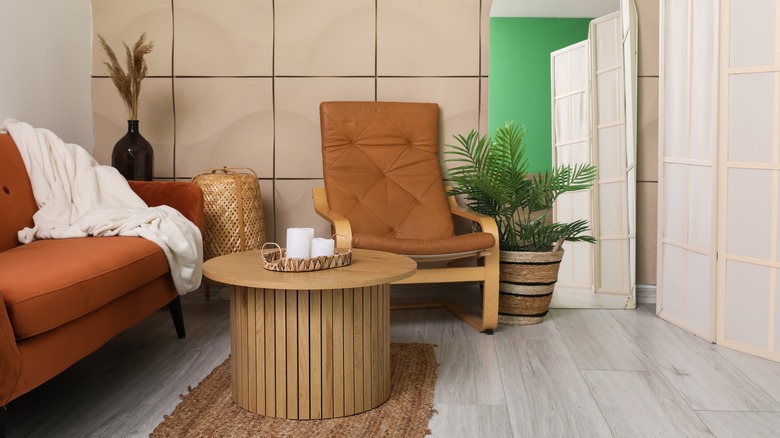
Vary the width of the fluting on the base of the table by using thicker or thinner strips of molding. Slender wooden dowels will create an even more textured look. Or, for a mosaic finish, try mirror fragments, glass tiles, or other elements on the base in lieu of fluting. You can also use two buckets as a base for a larger oval coffee table with a larger MDF top piece or use square pieces in place of the circular ones. For tables with a larger top, you may want to add some sand or rocks to the base before building for extra weight to prevent it from tipping.


