14 Clever Ways To Repurpose Erasers You Aren't Using In Your Home Office
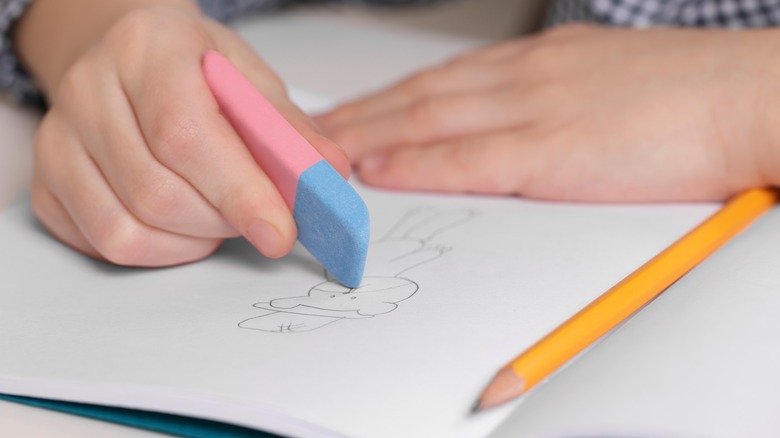
Erasers are made of a unique blend of synthetic rubber or vinyl that can be used to lift marks on the surface of paper through abrasion. They are great for clearing away mistakes on paper, because the graphite used in pencils sits on the surface of the paper, rather than sinking in. Unlike ink, it can be removed without causing damage to the page. But did you know they have plenty of other uses around the house as well?
This gently abrasive quality and rubbery texture might have been intended for one use, but if you have excess erasers in your home office, there are other ways you can utilize them. For example, because they're designed to rub away graphite, they're also great for lifting surface marks on plenty of other materials. Beyond that, you can use them to safely store pushpins, add cushion to a hammer head, prevent slamming cabinet doors, and so much more. If you're willing to take a more creative look at the items you have on hand, even something as small as an eraser, you can save yourself a ton of time, money, and effort in the long run. Rather than buying new products, repurpose what you already have at home — it'll help to both clear away unnecessary clutter and reduce the amount of waste you create.
1. Create DIY ink stamps
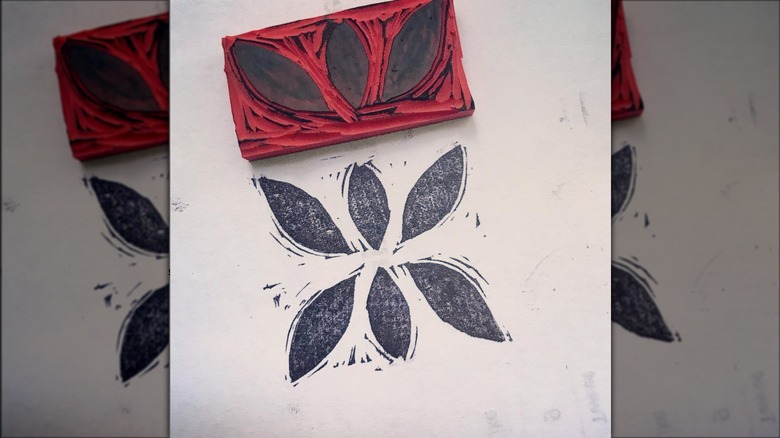
If you've ever branched out into the world of linocutting, you know the material you carve is very similar to the texture and feel of an eraser. Because of this, if you have an old eraser lying around, it can make the perfect base for your very own personalized stamp. Carve away the surface of your eraser to create a pattern, then coat it in ink to start stamping. This is a great way to add your personal touch to documents or stationery. The stamp can also be used with paint to create consistent patterns on your DIY projects.
2. Add cushion to a hammer
If you're in need of a rubber mallet, but all you have is a hammer, there's a simple modification you can make to add some cushioning to the tool. Grab an eraser, then cut it down to the size of the head of your hammer. The thicker the eraser, the more cushioning you'll have. After it's been trimmed down, attach it to the head of the hammer with glue, or, for a more temporary solution, some double-sided tape. This rubbery buffer will decrease the force of the impact, ensuring you're not left with any dents or cracks.
3. Add an eraser to repurpose an electric toothbrush
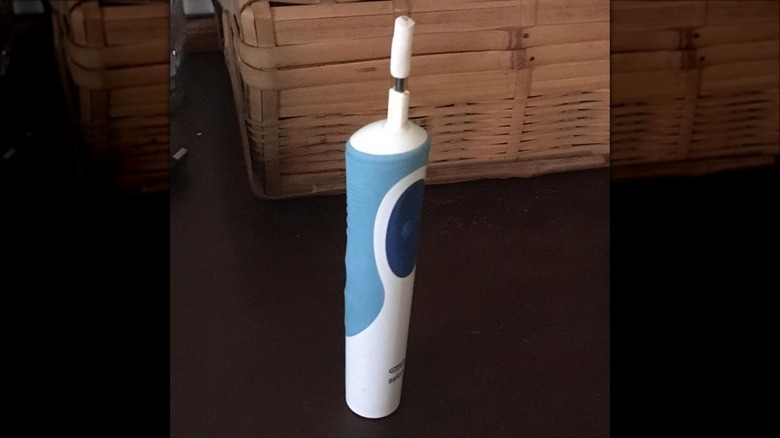
Electric erasers are a major time saver for artists who work primarily with pencil or charcoal. They can help quickly add highlights, sharpen lines, and clear away unnecessary strokes. Still, spending money on something with such limited use can feel ridiculous. With a bit of ingenuity, however, you can make your own electric eraser. Take an old electric toothbrush, then remove the brush head and replace it with a piece of eraser. Once it begins to wear down, it's best to swap it out with a new eraser piece, so avoid using glue to secure it.
4. Decorate pen holders
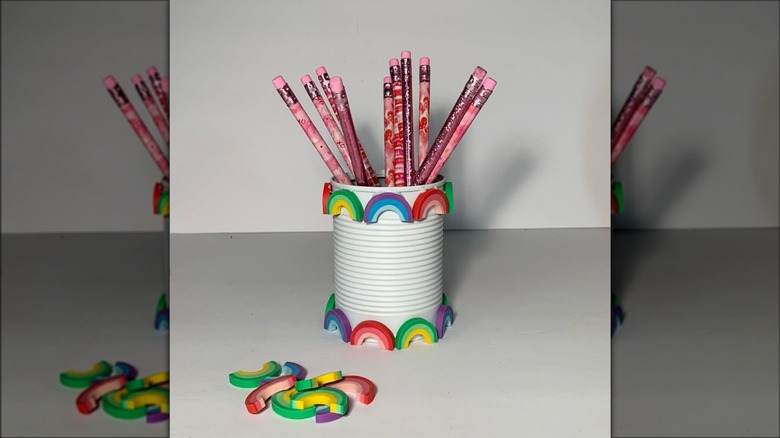
Novelty erasers can certainly bring some fun to your office or school supplies, but, unfortunately, they're usually not the best at actually erasing pencil marks. If you have some cute erasers that you still want to incorporate into your space, consider using them as decorations on a pen holder or organizer. These tiny erasers are the perfect size to glue onto your surfaces to add some more color, but if you want less of a permanent change, you can also glue them onto a repurposed magnet to give you the flexibility to move them around your space.
5. Play a novelty eraser matching game
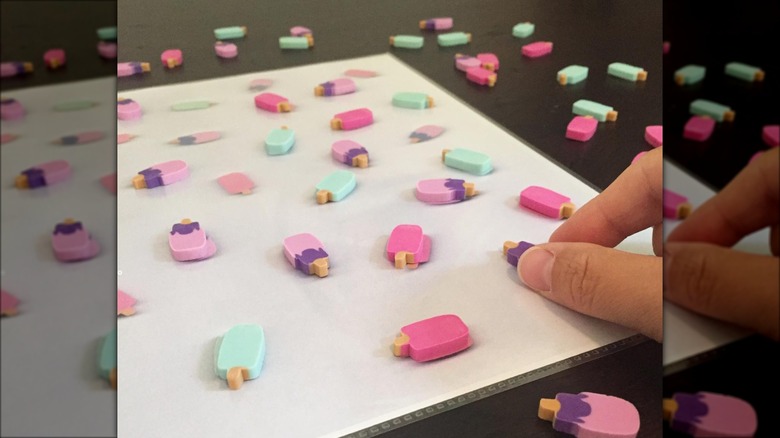
Keeping your kids entertained without making a massive mess can be a struggle, but this simple matching game is a great way to ensure they're occupied, having fun, and developing their fine motor skills. Take some novelty erasers, then scan and print a board using a printer or smart device. From there, kids can pair the erasers to their matches on the board. If you only have regular erasers on hand, you could also cut them down and draw out numbers, letters, or shapes on the eraser pieces and the paper to create a similar game with a slightly more educational twist.
6. Safely store pushpins
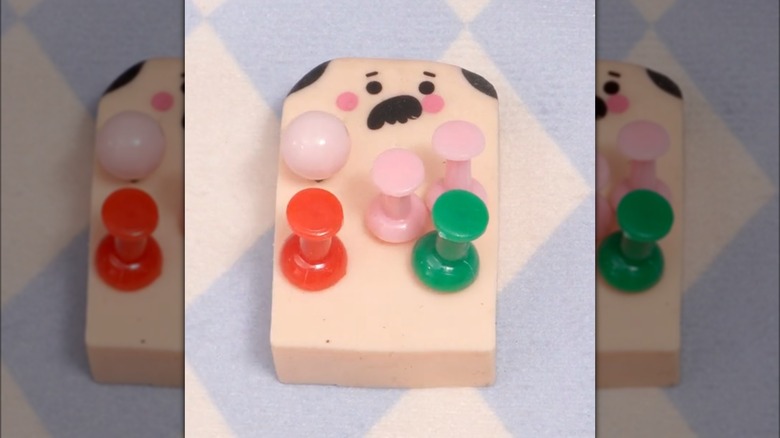
Reaching into your desk drawer only to get pricked with a pushpin is never a pleasant surprise, so if you're looking for a more convenient and safe storage method, consider pressing them into an old eraser. The flexible material won't damage the pointed ends of your pushpins, but it will keep them secure. And because the material erasers are made of is so resilient, you can also place your pushpins into them over and over again without having to worry about the eraser falling apart or losing its integrity.
7. Clean tarnished metal
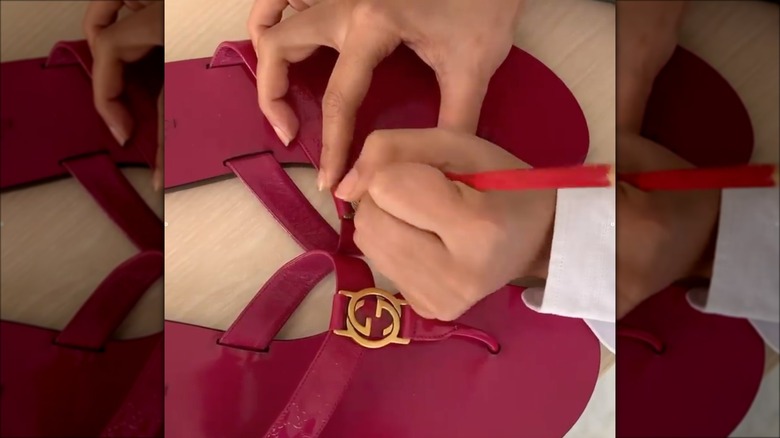
Tarnished metal can seriously distract from the look of a purse or a pair of shoes, but discoloration from frequent wear is inevitable. If you don't want to shell out the money on a professional cleaning, try using an eraser to tidy up first. While a once-over with an eraser likely won't fix more severe signs of damage, it can help to clear away marks, debris, and residue on the surface of the metal that might be dulling its shine. After you're done, give it a wipe with a damp cloth to clear away any eraser bits, and you should notice a solid improvement.
8. Ulitlize an eraser as a drilling stabilizer
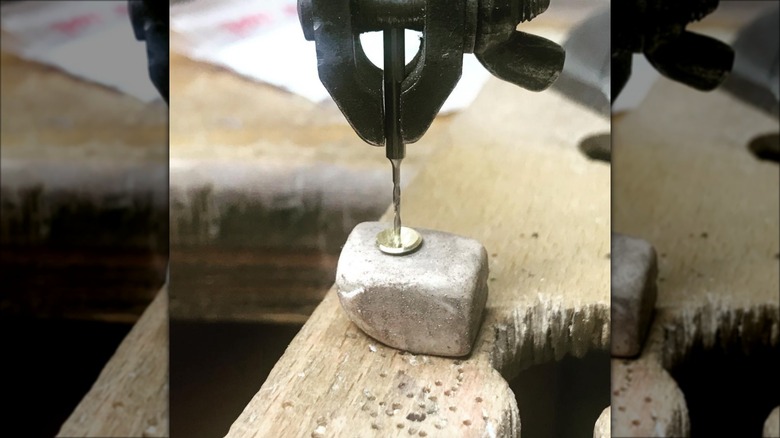
Hobbies like jewelry, watch, and toy making all require massive attention to detail, but if your piece just won't remain stable while working on it, it can be hard to accomplish exactly what you're trying to do. If you're looking for a way to get more control over your project, especially when using a drill, consider placing your piece on an eraser to keep it from rocking around. With this added help, you can comfortably drill through the piece without causing damage to your workspace or worrying about it flying away or shifting around with force.
9. Clean the buttons on a car key fob
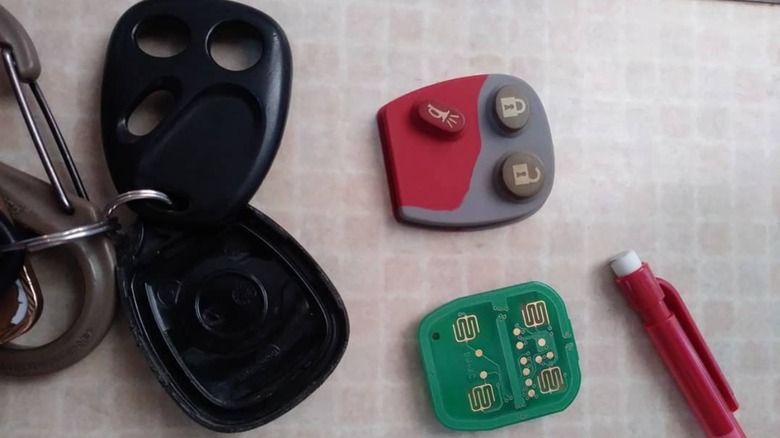
Car key fobs are notorious for causing issues, but if you notice that your buttons aren't working even after changing the battery, it might be time for a deep clean. Because it's not the best idea to expose the inner components of the fob to liquid, you're a bit limited with your cleaning options, but an eraser can help clear away debris in a pinch. Disassemble the fob, then erase away any debris you find sandwiched between the buttons and the inner components. After putting everything back together, your fob should be much more responsive when you press the buttons.
10. Remove glue from scissors
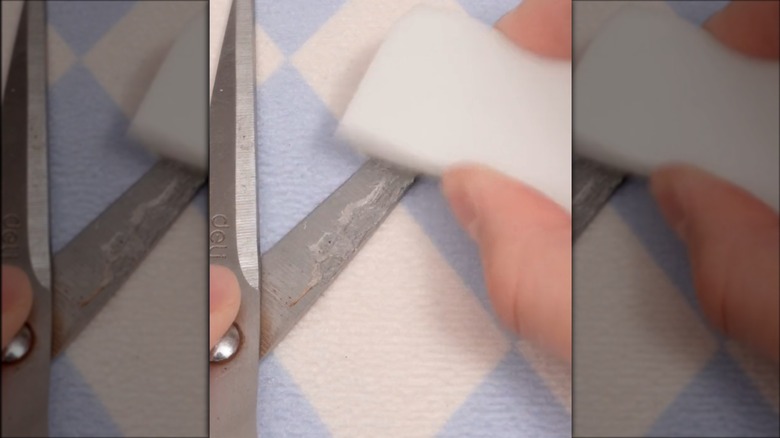
Crafting can get messy, so it's not uncommon to find your tools absolutely covered in debris after completing a project, especially if that project included glue. To help remove dried-on glue from smooth surfaces, give it a good rub with an eraser. The rubbery texture will help to lift away those annoying stuck-on pieces from just about everything. Unfortunately, this likely won't do much for super glue or nail glue residue, but it can certainly still come in handy if you need to clean up craft glue or glitter glue that found its way off the intended target.
11. Remove shoe scuffs
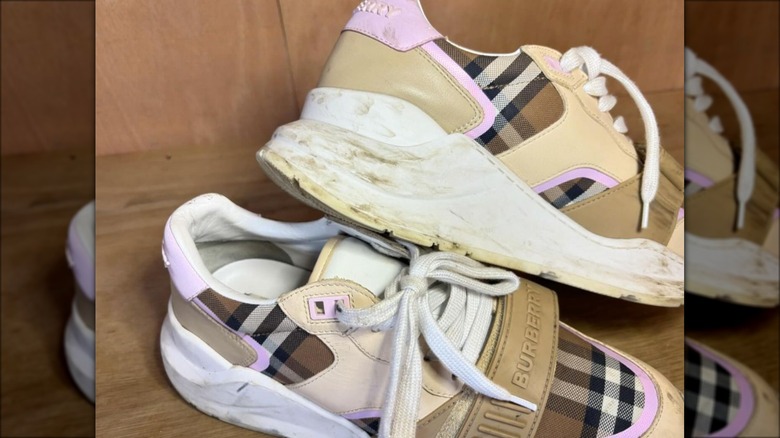
Magic erasers are fantastic for cleaning up dirty shoes, but shockingly, rubber erasers can do a pretty good job, too. If you have dark marks and scuffs on the non-fabric parts of your shoes, like the soles or any leather pieces, a quick rub with an eraser can help to clear them away. This likely won't do much for heavy discoloration or dirt marks, but it is an ultra-gentle and super-efficient way to help lift those annoying black streaks that you're likely to get with regular wear, especially if you don't want to expose your shoes to water.
12. Prevent doors from slamming
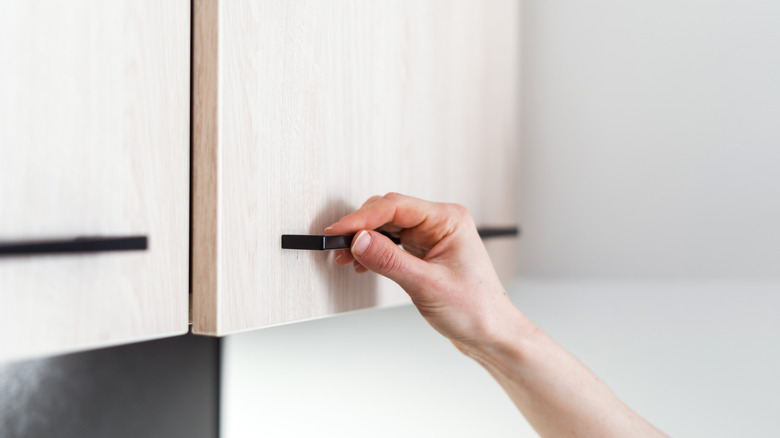
If you putter around the kitchen early in the morning or enjoy an occasional snack at midnight, noisy cabinet doors can be a massive annoyance for you and everyone else in the house. Many cabinets come with small rubber bumpers to help dull the noise, but if you're lacking this add-on, or yours are beginning to wear down, you can make your own out of an eraser. Cut the material into thin slices, then apply them where your doors meet your cabinets using glue or mounting putty for a rental-friendly DIY. This tiny sliver of rubber will significantly muffle the noise of the cabinet closing.
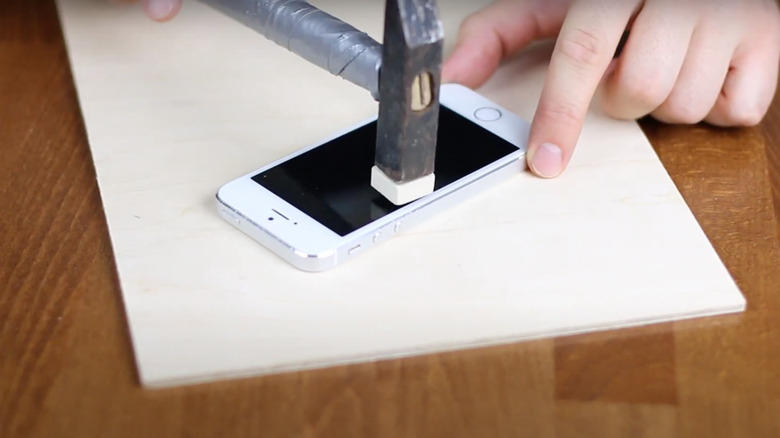
13. Minimize scratches on screens
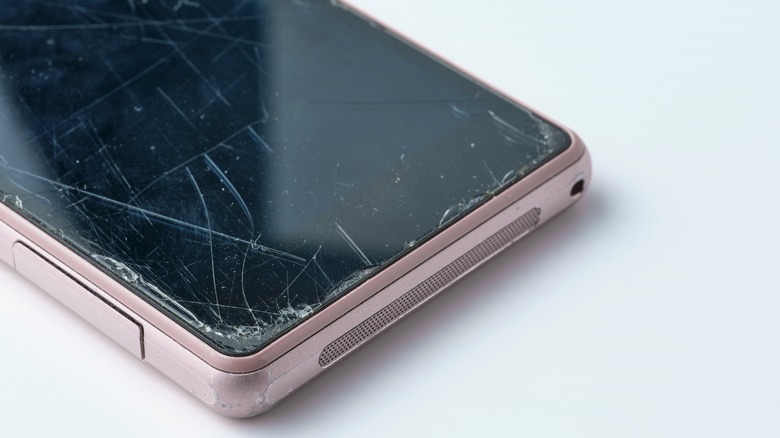
Nowadays, our phones come with us just about everywhere, so it's not uncommon to end up with scratches on your screen. A screen protector is, of course, your best first line of protection, but if you have some minor damage from your phone rubbing up against your keys or an accidental drop, an eraser can surprisingly help fix your scratched screen. Give your phone a good clean with some glass cleaning wipes to ensure there's no debris in the crack, then rub an eraser over it to help minimize its appearance and create a more even surface.
14. Remove surface scuffs from cars
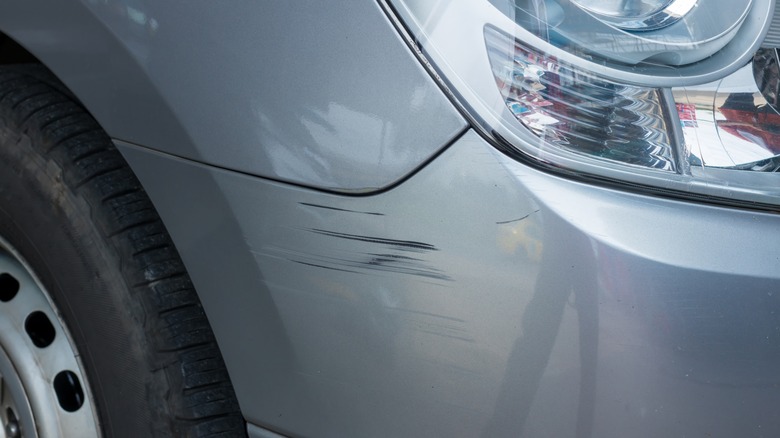
Damage to your car — even minor scuffs — is never fun to deal with and can often cost a ton of money to repair. Sometimes, however, these little dings and scratches look much more serious due to debris from a tire, curb, or other car rubbing against yours. Before bringing it in for a full-on repair, consider going over the scratches with an eraser to help gently lift away more superficial issues. (You can also try this hack on scuffed paint in your home.) This won't reverse a massive dent or deep scrape, but it might be all you need to clear away a minor scratch.