The Best Method For Replacing A Toilet Fill Valve
When your toilet is having problems, you know you shouldn't ignore them. However, any such issues feel like tasks that only a plumber should handle. Replacing a toilet only requires a few steps, for example, but it can be an intimidating job for the homeowner who only has a little experience with plumbing-related DIY projects.
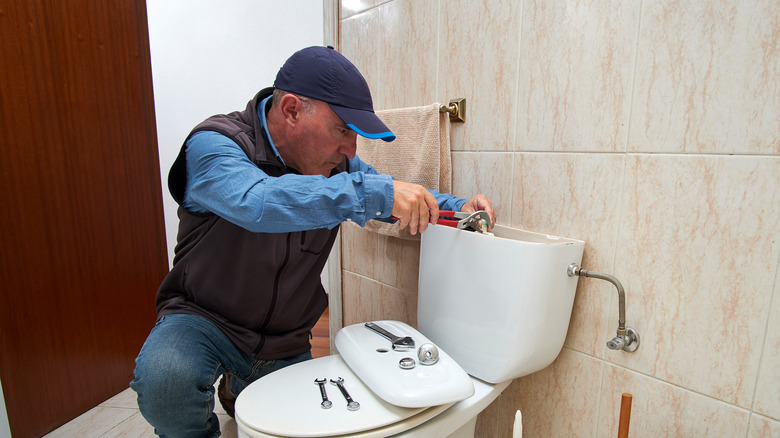
If you are willing to try to fix certain toilet problems on your own, one of the easiest and most effective jobs you can do is to replace a toilet fill valve. The best way to accomplish this task is to have two people involved. This piece requires you to unscrew a nut from underneath the tank, but you have to be able to hold the valve steady inside the tank; otherwise, it may spin when you try to unscrew the nut. It can also sometimes be stuck when you try to unscrew it because you don't use it often. Having two people may help when it's stuck.
We'll explain the replacement process in more detail, but we first should mention that this fix has some risk of leaks. You don't have to search very long on the internet to find descriptions of leaks after making an error while doing this repair. If you have worries about leaks, reach out to a plumber. This repair can fix problems like having a toilet tank that's slow to refill and having a constantly running appliance. Fixing these issues can save you quite a bit on water bills.
Steps to remove a toilet fill value yourself
If you're sure that the problem relates to the toilet fill valve, start the removal process by shutting off the water supply to the appliance. You'll usually have a knob coming out of the wall or floor near the back of the toilet. Turn the knob clockwise until it stops moving, usually one-quarter turn for some models and multiple turns for other models. It should turn easily without needing to force it. Flush the toilet and make sure that the tank doesn't refill (because you have the water supply turned off). Flush a couple more times to remove as much water from the tank as possible. Use a towel or a sponge to get any remaining water out of the tank.
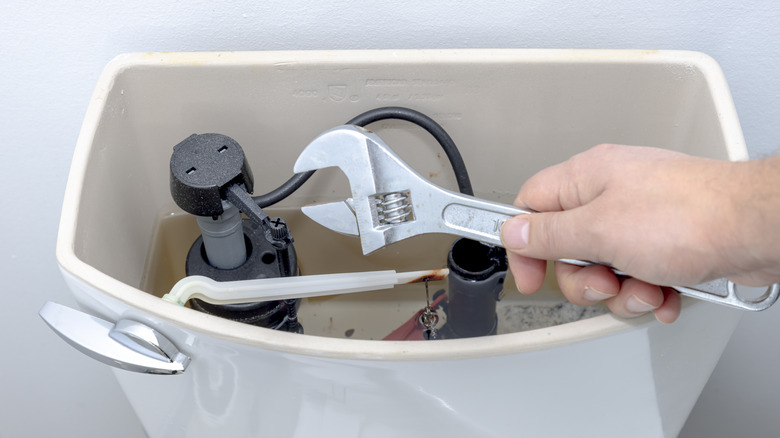
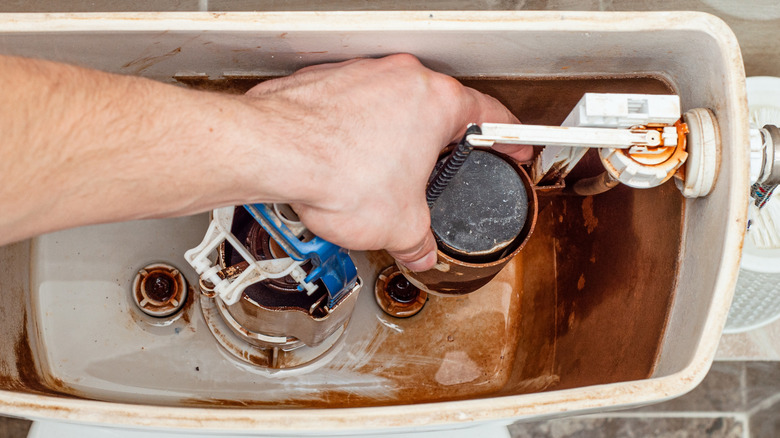
The old fill valve is the vertical post with a float attached to it. Use a wrench or channel lock pliers on the nut on the outside of the tank and turn it counterclockwise to loosen and remove the nut. As mentioned earlier, having a second person holding the fill valve post or holding the second nut at the base of the post on the inside of the tank as you turn the exterior nut can make loosening it easier. If it's really stuck, use a product like WD-40 on it to try to loosen it. Once it's loose, pull the post completely out of the tank.
Installing the new toilet fill valve as a DIY project
Before removing the old fill valve, you'll want to purchase a replacement part that matches. If you know the model number of toilet you have, you can potentially find a replacement that way. Some tanks have the model number stamped on the inside. Otherwise, measure the height of your current fill valve post and note the shape and design. You can then find a replacement at the local hardware store by selecting a similar universal fill valve.
With the new fill valve in hand, insert the base into the opening on the inside of the tank. You may have to add a rubber washer to the post before you insert it. Attach the overflow hose to the overflow tube in the tank. Hand-tighten the mounting nut on the fill valve with the beveled side upward. Then, you can attach the water supply locknut to the portion of the fill valve that's sticking out of the bottom of the tank. Hand-tighten it first. Then use the wrench to go one-half turn farther. If you overtighten this nut, you could crack the tank.
Reopen the water supply and watch the tank. If you see leaks from the bottom of the tank, turn off the water again and try reattaching the fill valve. Follow the directions that came with the fill valve to adjust the height of the float to ensure the proper water height inside the tank.