The Best Way To DIY Epoxy Garage Floors To Transform Your Space
We may receive a commission on purchases made from links.
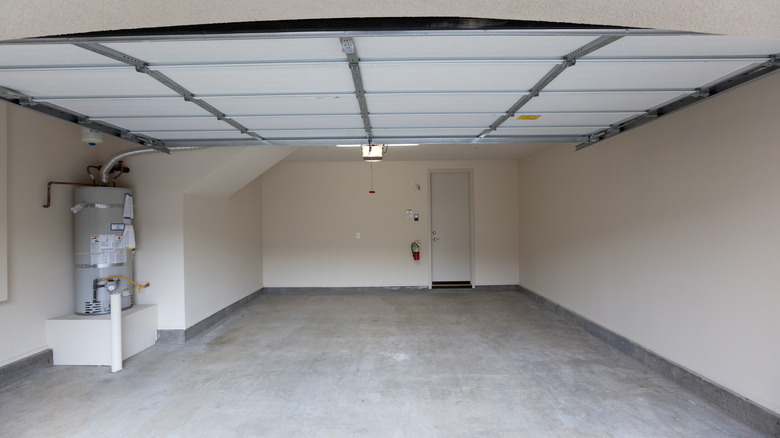
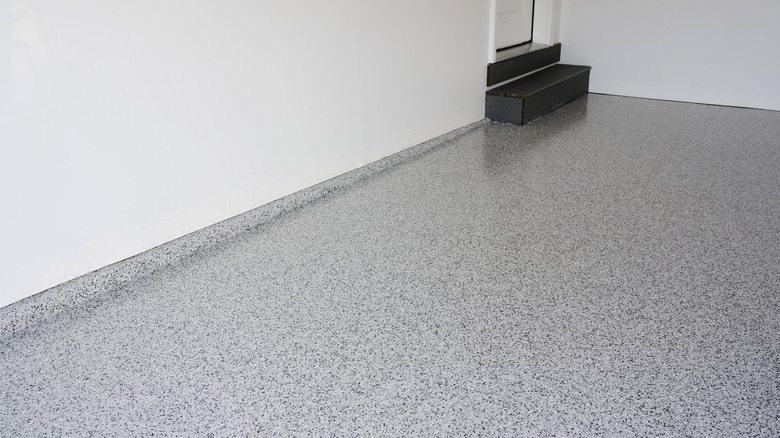
Picture your once dull garage floor undergoing a dramatic transformation into something that epitomizes cleanliness, shine, and durability. Well, that can be more than just a daydream — epoxy is poised to make it happen. This stuff is not your run-of-the-mill floor dressing. We're talking beauty and resilience in one — it withstands heavy machinery and high traffic and shrugs off the kind of spills that garages are notorious for. And the cherry on top? You get to choose from a palette of colors for that vibe you're going for. Executing this flooring option for your garage entails giving that surface a real-deal scrub, fixing the flaws on the floor, and then mixing and spreading that epoxy.
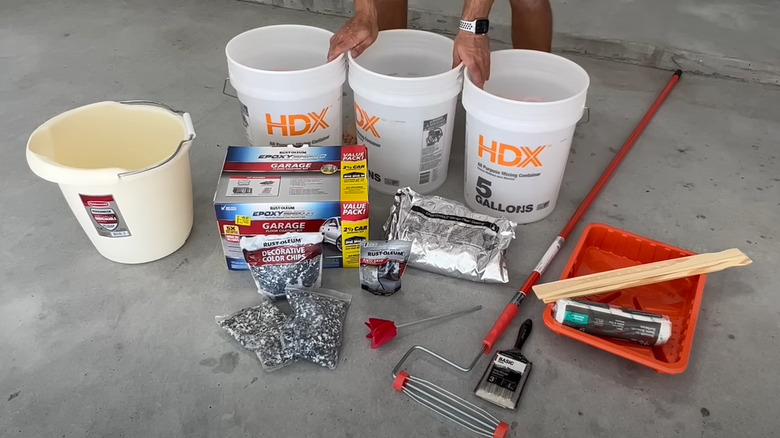
According to Bob Vila, professional labor alone can gobble up almost two-thirds of your epoxy garage flooring expenditure. Going DIY will afford your wallet hefty relief. Plus, a little DIY bragging rights never hurt anybody. Now, the cost of DIY epoxying a garage floor varies with how much ground you want to cover. Take the Rust-Oleum EpoxyShield 240 oz Gray High-Gloss 2.5-Car Garage Floor Kit at The Home Depot. It goes for about $179 and is good for 500 square feet. If you've got additional space or are all about multiple-coat durability, you'll need more kits.
But with even those twists and turns, this is a project that newbies can tackle. Expect to put in roughly 8 to 10 hours of work distributed over several days, but imagine the satisfaction when you're done.
How to DIY epoxy garage floor step-by-step
The DIY epoxy garage floor project kicks off with tidying up the space. You're aiming for a blank canvas to slap epoxy on. Go ahead and cover up anything that's sticking out (think tools and equipment) with dust sheets or tarps. Those old stains and random tape pieces — scrape all that away, then summon a leaf blower for dust removal. Got grease or sticky grime on the floor? A degreaser like the Mean Green Super Strength Cleanser & Degreaser at Walmart ($6.18) will suffice.
Next, bring in the heavy artillery: the power washer. Give that floor a thorough blast to get all the deep-seated dirt out, then roughen it up for the epoxy to grip. If using a handheld grinder sounds like a chore, rent a walk-behind floor grinder. Or, as an alternative, slap on etching acid, let it sit for half an hour, then rinse thoroughly with a pressure washer or hose. Let your garage floor rest for 24 hours.
When it's go-time for the epoxy coating, start with a primer to prevent moisture issues. Then, concoct your epoxy — a drill attachment will help mix the ingredients evenly. Done, start by tackling the edges with a paintbrush, then spread out to the center with a roller. Feeling creative? Sprinkle decorative chips on the wet epoxy for a bit of flair. Play it safe by waiting 25 hours before walking on the refreshed garage floor or 48 hours before introducing heavy equipment.
Extra considerations for epoxying garage floor
Roughing up the concrete when upgrading your garage floor is going to kick up a dust storm, which is bad for your lungs. Plus, those epoxy and etching acid fumes are not body-friendly. So, gear up in solid safety equipment, including a respirator, and open the garage door and windows to keep the air moving. For noisy grinders, ear muffs will suffice.
Don't even think about putting epoxy on your garage floor if the weather is throwing a fit. Super cold temperatures will put the brakes on the curing process, leaving you with less-than-stellar results. Extremely high temperatures don't work, either. In addition, do a little detective work for moisture. That's because water compromises epoxy's bonding and curing. Tape a dust sheet on the floor and leave it for a day. If you notice signs of condensation on the underside, that's your cue to contact a concrete repair specialist before going any further.
Epoxy hardens fast. If you've got a lot of ground to cover, work with small batches at a time. Once you slap on that first coat, give it a day to do its thing, and if it looks good, follow up with the next. To walk over fresh epoxy during the application without leaving your signature, spike shoes do the trick. When you need to pause the work for a few hours, tuck your rollers or paint brushes in an airtight plastic bag to keep them from turning into unusable bricks.