DIY Deck Stairs: Here's Everything You Need To Know About Making Stringers
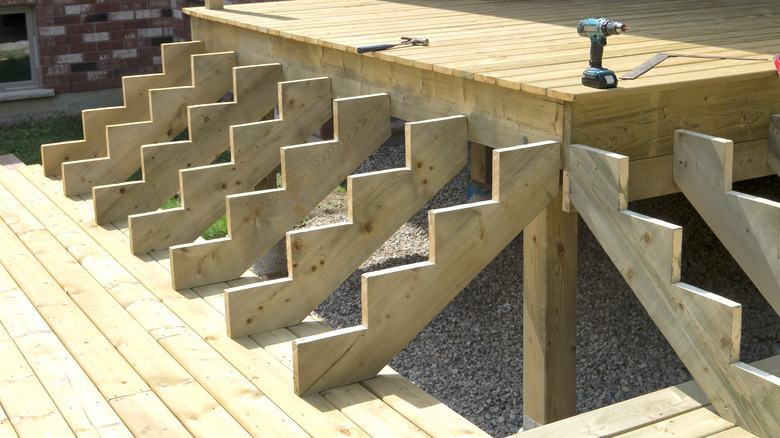
Building stairs, whether for your deck or the inside of your home, is one of the more complex DIY tasks out there. Since stairs transport users along a vertical distance, they should be sturdy and safe enough to prevent nasty falls. The stairs' stringers, located on the sides of the stairs, must be designed and cut with care, since they're the structural members holding up the stairs' dead and live loads. To ensure the safety of the said live loads, the stringers need to have sufficient bearing capacity and be cut perfectly to accommodate the risers and threads.
For you, the ambitious DIYer, this means three things: buying thick-enough boards, (possibly) getting to know local ordinances, and doing lots of good math. The ideal board size for stair stringers is 2x12 inches, since smaller boards will not safely support the stairs' loads. This size also conforms with the International Residential Code (IRC) requirements. That said, local authorities in cities, towns, and counties often add their own unique requirements to the state-adopted version of the IRC. That's why it's wise to check with local building officials to confirm the minimum stringer board dimensions before you start building your deck stairs. With these nuances sorted out, you can finally dive into the fun part: measuring and cutting the stringers.
How to measure stair stringer dimensions
To measure the stringers properly, you'll have to figure out the number of steps, the rise and run dimensions of each step, and the total rise and run of the stairs. Start by measuring the total rise (i.e. the height) of the staircase, from the top surface to the bottom. Next, establish the approximate height of each riser. A standard height is 7½ inches, but double-check with your building code to ensure that your selected height is code-compliant. Now, you can safely quantify the number of steps by dividing the total rise by the rough riser height. Then, decide whether you want the stringer to serve as the last tread before the top landing, or if you want to align the stringer with the landing. If you go with the former, you'll need to leave the stringer one rise short. Finally, determine the exact riser height to a fraction of an inch by dividing the total rise by the number of steps.
Now, it's time to figure out the steps' runs. The International Residential Code requires a minimum step run of 10 inches for residential occupancies, so be sure not to make it any shorter. The last step in the stringer calculation is to multiply the step run by the number of steps. This gives you the total run of the staircase and will help you choose the right length for your stringer board.
How to properly cut stair stringers
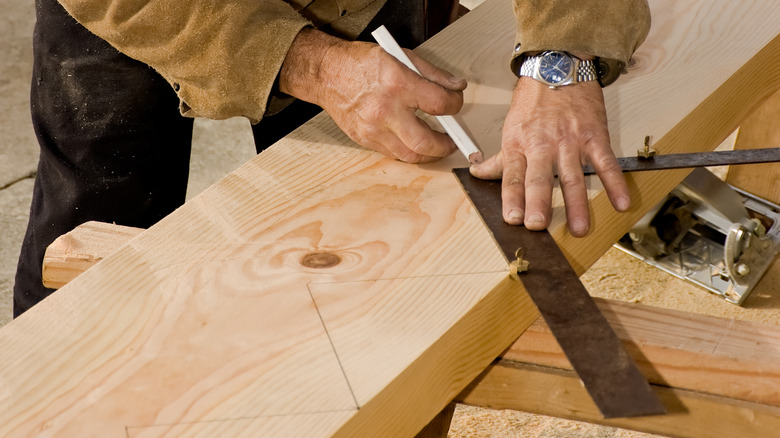
Before you cut the stringers, you have to transpose your calculations onto the boards. For this, you'll need a carpenter's square (also known as a Speed Square), two stair gauges, and a pencil. Attach the two gauges to the square — one marking the rise dimension, the other the run. With the gauges holding the square in the correct position on the board, you can trace the triangular shape of the framing square repeatedly from one end of the board to the next. That's it! Your template is ready and you can start sawing.
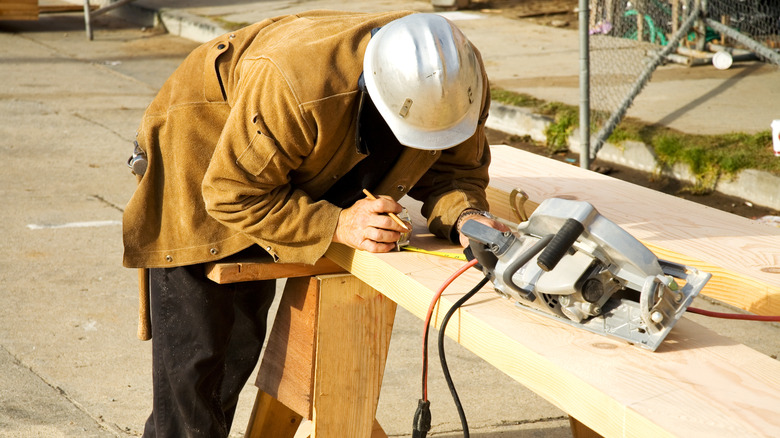
A handsaw or a reciprocating saw are the best tools for cutting stair stringers. However, you can make the cutting job easier by making notches at the markings first with a circular saw. Regardless of the tools you're using, be sure to secure the board to your work surface. The board is large, heavy, and awkward, and the last thing you want is for it to shift around and the preciseness of your cuts. Likewise, don't forget to use proper protective equipment, like safety goggles and gloves, to keep your eyes and hands safe in the process. Once you've made cuts along all the marked lines, you have one stringer ready. Now, to save yourself time, you can use it as a stencil when marking the second stringer board. Soon, your stringer will be set to install, and you'll be one step closer to the deck stairs of your dreams.


