10 Genius Hacks To Remove Rust From Your Garden Tools
Gardening can be hard work, even during the best of conditions. You get your motivation ready to tackle the garden to-dos, pull out your trusty gloves and garden hat, and go to grab your tools. Then you see it — rust! Ugh, now what do yo do? Are your tools safe to use? Answer: Sort of. Do you need to throw them out and buy new ones? Nope, especially if you keep reading.
Don't worry, we're here to help. Rust may be annoying to deal with, but it's a solvable problem that you can usually take care of in just a few hours. So before you throw out those garden tools, consider giving one of these genius hacks a try using stuff you've probably already got on hand. Not only will you give your best-loved tools a new life, but you'll get to save your gardening budget for something else, like more plants!
Why rust is a problem for garden tools
What is rust? Rust occurs when metal becomes oxidized due to exposure to dew, moist soils, acidic soil pH levels, or being stored in humid environments like sheds. The oxidation leads to corrosion which ends up making the steel brittle and can cause the metal to break down over time. Plants can also get rust that's a type of fungal infection, but that's a separate issue that has its own treatment requirements.
So, it's important to take care of rust before gardening. It can impact the functionality of your tools, and introducing it into fresh cuts can create a gateway for diseases and bacteria to grow. The plants will then need to divert resources to fight off the intruders, possibly causing your beautiful blooms to wilt. Plus, the more steps you take to prevent or remove rust now, the more likely it is your gardening tools will last longer, saving you money.
White vinegar is the go-to option for getting rid of rust fast
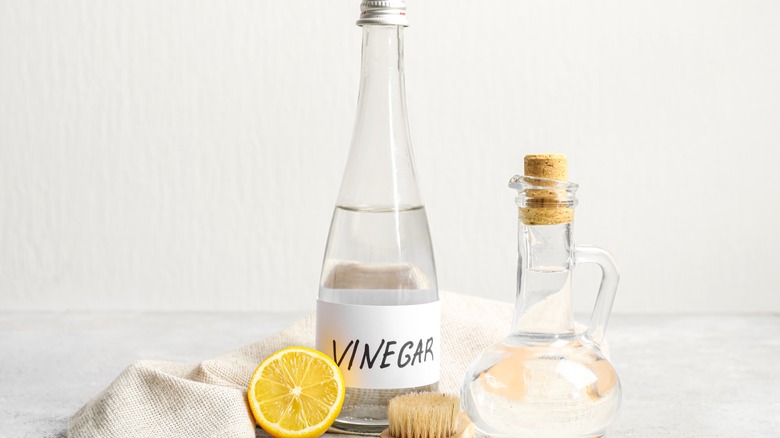
Professional cleaners will tell you that plain old white vinegar is a champ at removing rust without harming metals. What makes it so useful as a cleaning agent? The secret is acetic acid, a byproduct of sugar fermentation. The sugar turns into alcohol and the alcohol then turns into acetic acid, which becomes the main component of vinegar. White vinegar has the highest concentration of acetic acid, which neutralizes the rust and converts it into a salt that lifts away from metal.
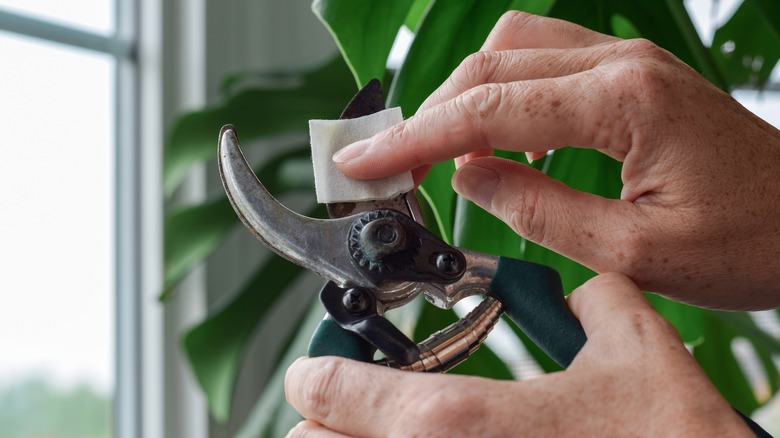
Cleaning your garden tools with vinegar is a simple fix. Not only because it's super cheap, but it's gentle enough that you don't need to dilute it unless you're sensitive to smells. You can use it in a few ways, depending on the severity of the rust. If there's a small rust spot forming, soak a scrubbing pad or paper towel in vinegar and thoroughly scrub the spot, then rinse it with water and wipe it dry. If the rust is more severe you can dunk your tools right in a bowl full of vinegar, scrub, then rinse and dry them. Finally, if the spot treatments and dunks don't work, soak the tools overnight in a fresh bowl of vinegar. Then, scrub them in the morning before you rinse them off and allow them to dry.
Add a little baking soda to your vinegar for extra oomph
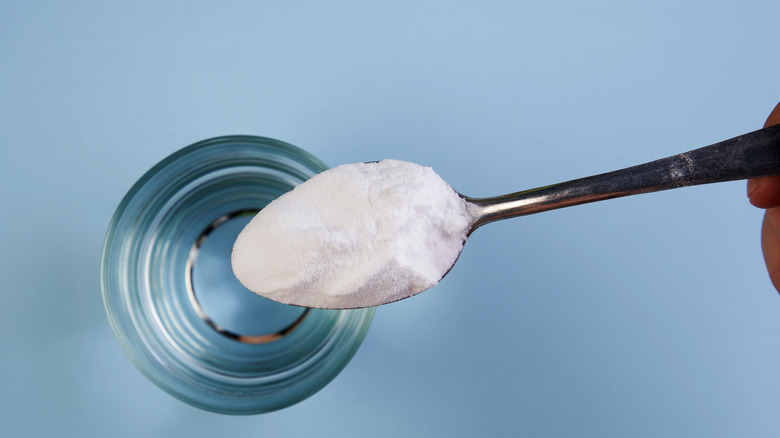
Remember the volcano demonstrations you had to do in science class with baking soda and vinegar? The foaming combination of baking soda and vinegar is not only a science fair project. It's also a powerful foe for corrosion thanks to the mild fizzing effect the baking soda creates with vinegar that easily dissolves rust.
To use this method you'll need a bowl or bucket that will fit your tools and have enough space for the foam to rise. First, add enough vinegar to cover the tools, making sure to leave enough clearance for the foaming action. Next, throw your tools in, then add the baking soda and let it do its thing. If the foam starts to dissipate, you can either swirl the vinegar around or add more baking soda. Once the foaming stops, scrub any remaining rust off with a scrubbing pad or wire brush, then rinse and let dry.
Use a scoop of peanut butter to remove rust
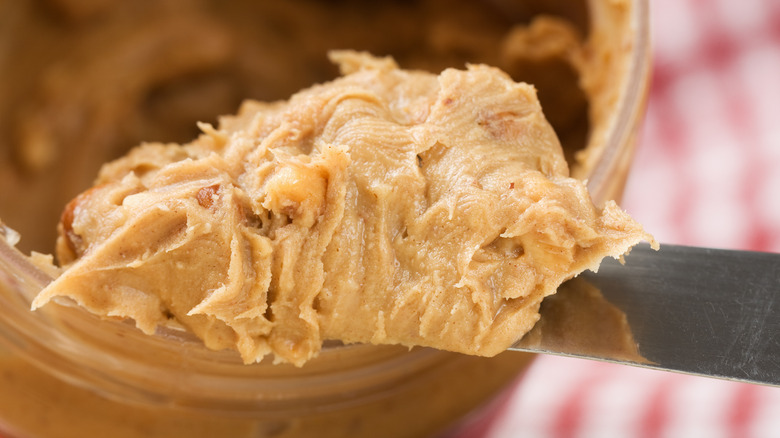
Sandwich maker, smoothie enhancer, and now cleaning agent; is there anything PB can't do? While we're big fans, we understand if you're skeptical about rubbing your gardening tools down with a dollop of peanut butter. So what makes it so effective for rust removal? Well, peanut butter is full of oils that prevent steel from oxidizing, making it both an excellent protectant and cleaner. You'll want to use the smooth version instead of crunchy since the bits of peanuts could clog up joints or moving parts.
To use, put a small scoop of your favorite PB on a paper towel and rub your steel tools down with a circular motion, then rinse and wipe with a clean cloth. Once you're done, make sure you clean your tools thoroughly, especially the nooks and crannies. Peanut butter residue can cause mold or bacteria to grow that could be accidentally transferred to your plants and flowers.
A ketchup rub can get rid of rust fast

Tomatoes are naturally full of citric and ascorbic acid both of which convert rust into a water-soluble salt. While you could just cut a tomato in half and go to town on your pruning shears. Social media users and cleaning gurus say it's best to go for ketchup as your rust remover. The condiment contains a little extra cleaning power from vinegar and the consistency lets you smother it on your tools easily.
Use a clean paper towel to spread the ketchup over your tools and let them sit for an hour or so. Once the ketchup begins to dry, use a cloth to scrub it away, along with the rust. Then, rinse the tools thoroughly and wipe them dry with a clean cloth. Clean any joints or moving pieces well to make sure there's no leftover ketchup gunking up the parts.
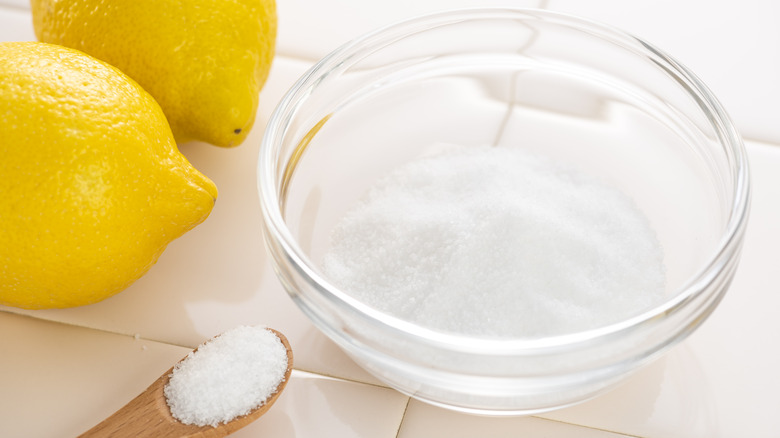
Give your garden tools a lemon and salt rub to remove rust
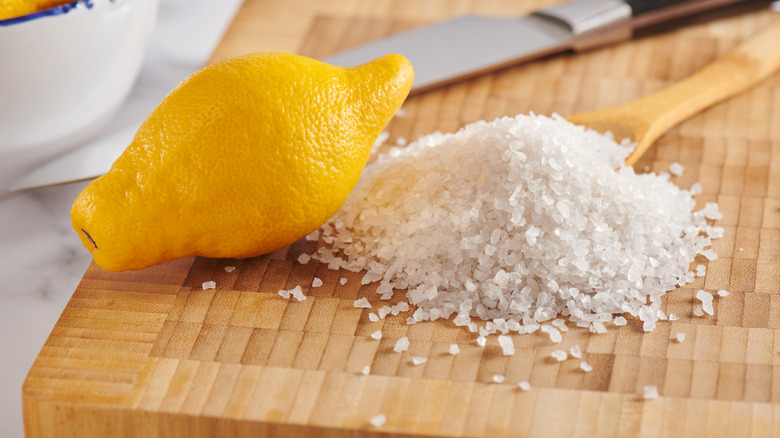
Meet the best-smelling rust-removing duo we've covered so far. Lemons contain citric acid, which is a mild cleaner that can deal with light rust deposits. Plus, lemon juice has the bonus effect of killing mold, making tools sterile for cutting into live plant tissue safely. Unfortunately, some chemists say that citric acid won't work well on severe rusts alone; it needs to be combined with something else for maximum efficacy. That's where salt comes in. Loose salt acts as an abrasive agent that can help break down rust particles.
To remove rust, simply add enough lemon juice to salt to create a paste-like consistency. Any type of salt will do, but some cleaning pros say kosher salt is best since it's pure sodium chloride and free of trace minerals. Rub the paste directly into rusty areas and let it sit for up to two hours. If you need to scrub, use the lemon rind instead of a towel or sponge for an added citric acid kick. Then, rinse your tools thoroughly and dry them thoroughly.
Skip mashing a potato and use it to get rid of rust instead
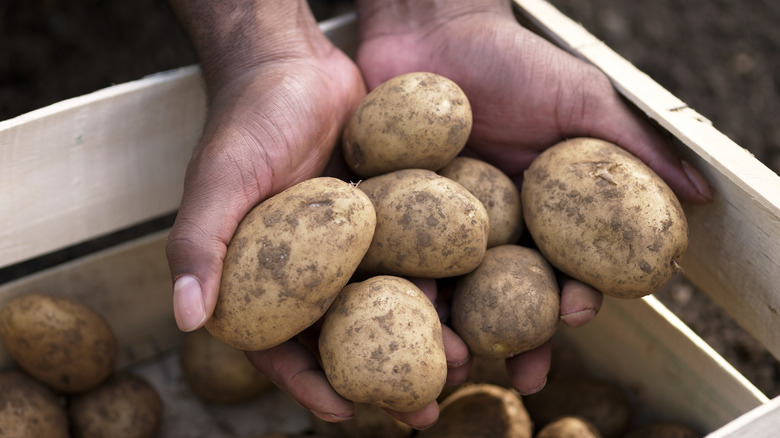
Cleaning specialists and scientists on social media both swear by the power of potatoes to remove rust. The science behind this lies in the power of the oxalic acid that potatoes naturally contain. This acid creates a chemical reaction called "double displacement" when it comes in contact with rust and converts it into iron oxalate, a water-soluble salt. It's so good at its job that it's actually one of the main ingredients you'll find in big brand cleaning products.
But, you can save yourself the cost of buying a new cleaning spray and simply cut a potato in half to use as a rust killer. To use, simply rub the halved potato over the rust spots, then rinse with water and dry with a clean towel. While you can use it on its own, adding a drop of dish soap and a sprinkle of salt may speed up your results. The dish soap acts as a mild lubricant to move the potato smoothly over flaky rust spots while the salt acts as an abrasive to help break up bigger patches.
Crumpled sheets of aluminum foil are rust-removing champs
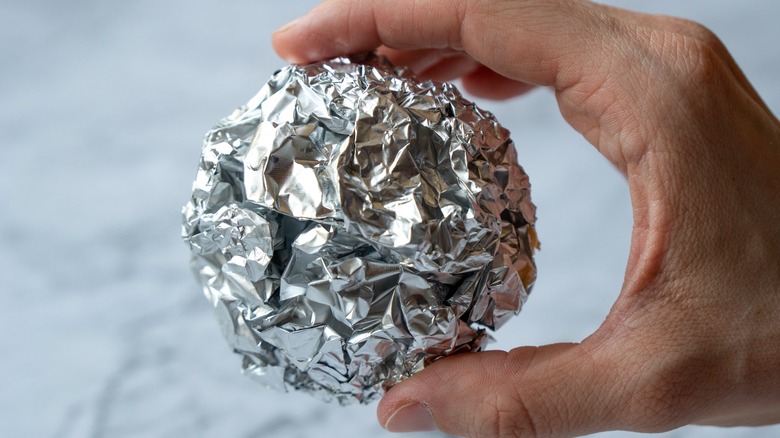
Don't be fooled by its simplicity; using aluminum foil is a rust-removal hack that's trended on social media and has been backed by pro cleaners for years. But what makes aluminum foil such a menace to rusty metals? The secret lies in the surface area created by crumbling it up. Each little peak acts as its own scrubbing mechanism that can get into even the hardest-to-reach areas. Also, it's readily available in most kitchens and only requires a small sheet to work.
To use, tear off a strip of foil from the roll, crumble it into a ball, and start scrubbing the rusty spots. Once you're finished, rinse the flakes off and pat the tools dry with a soft, clean towel. To make this hack work even better, experts say you can simply dip the foil in water. Jennifer Rodriguez, chief hygiene officer at Pro Housekeepers, explains to Homes and Gardens, "If the aluminum becomes dry, re-wet it to ensure a continuous reaction." It's also probably a good idea to use clean aluminum foil instead of that sheet that just held your burger, too, since you don't want to introduce any food particles or sugars to your tools.
Use straight citric acid to dissolve rust
Commonly found in citrus fruits (hence the name), citric acid is a mild acid that hobby machinists say is excellent for dissolving light rust deposits safely when diluted in water. The citric acid bath works by converting iron oxide (rust) into a salt that dissolves in liquids without harming the steel underneath. Plus, it's non-toxic and biodegradable, making it a safe acid to keep around the home.
You can find pure citric acid as a powder in the baking aisle since it's commonly used to preserve foods or add flavor to beverages. You'll also need fresh water, a plastic tub, and a clean towel. Simply add a tablespoon of acid for about every cup and a half of water and soak your tools overnight. You can also use a scrubbing pad or wire brush if you need to remove rust in hinges or springs. Once your tools are done soaking in the mild acid bath, rinse them with warm water and dry them with a clean cloth.
Phosphoric acid works well for getting rid of rust, too
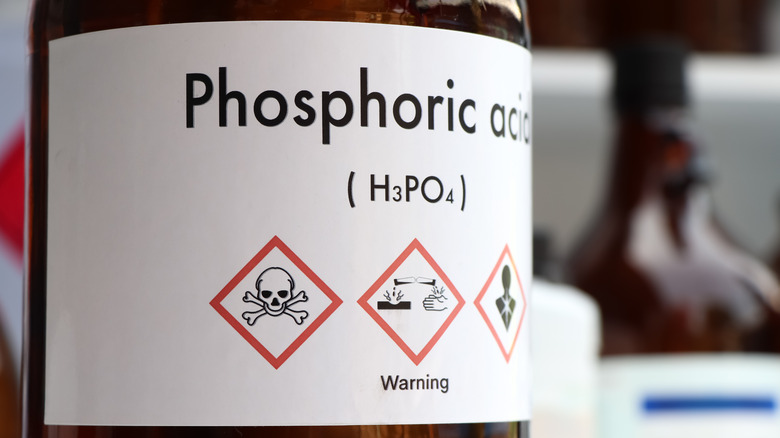
It might sound like your kitchen is becoming a chemist's lab, but stick with us here because Redditors swear that phosphoric acid is awesome for rust removal. It works by neutralizing iron oxidation by converting it into iron phosphate, a salt that naturally dissolves in the acid. The best part is that the salt conversion only works on oxidization, meaning it won't corrode the metal underneath the rust. One thing to note, though: there's some anecdotal evidence that it might darken metals, so take that into consideration if aesthetics are a priority.
Most options of phosphoric acid you'll find in stores will come pre-diluted. That said, you may want to add more water just to make it go a little further. To use, add the acid (and optional water) to a plastic tub and drop your tools in for a soak. Depending on the severity, you may need to soak them for a few hours or overnight. To speed up the process you can scrub the tools with a wire brush. Once the rust is gone just rinse them with clean water and pat dry.
Drink water and save the soda for rust-removing duty instead
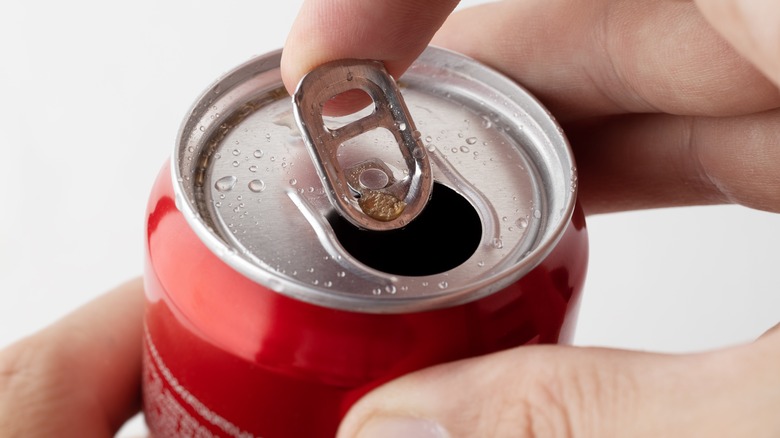
If you don't want to search the grocery store for a bunch of acids, DIY hobbyists recommend using a can of cola instead! Sodas are a triple threat to rust on your tools because they contain phosphoric acid, citric acid, and carbon dioxide. We've covered the ways the acids help, but the CO2 means that you get the added bonus of the bubbles helping to lift loose rust flakes, too. You could opt for club soda, since it's full of rust-eating acids that won't harm metal and has fewer additives than a traditional can of pop would.
To create a soda soak start by pouring a few cans into a plastic tub. You'll want fresh soda instead of flat so that you get the added benefit of the bubbles. Once the tub has enough liquid to thoroughly cover your tools, it's time to dunk them. If you want, you can use a soda-soaked sponge to further clean the tools, too. When the rust is gone, rinse the tools thoroughly with fresh water so they won't get sticky. Then, pat them dry with a clean towel and you're good to go.
How to prevent rust from getting on your garden tools
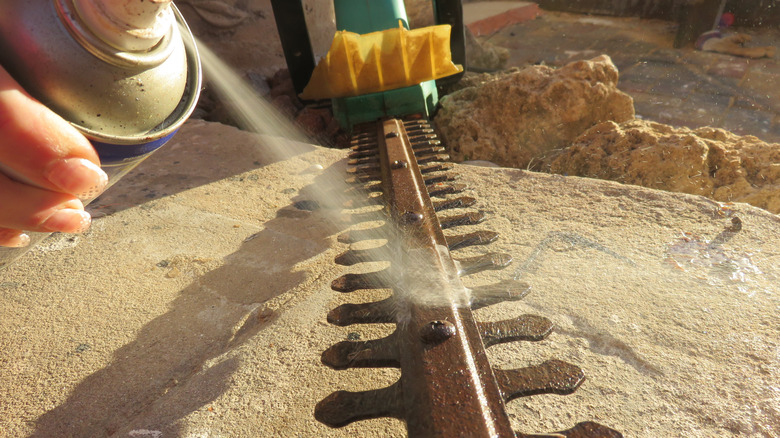
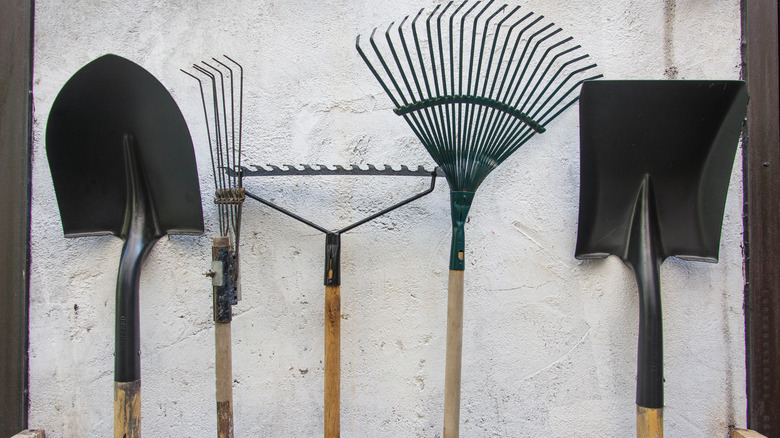
Rust specialists know just how much of a hassle dealing with rust can become. That's why they recommend making rust prevention a priority. After every use, wipe your tools down with a clean cloth and make sure they're dry before storing them in a place that has low humidity. If your shed is naturally humid, don't worry; you've still got options for storing your garden tools while avoiding rust. Use a plastic tub or unused plant pot that's filled with a combination of sand and oil, such as mineral oil or WD-40. Use enough oil to create the consistency you'd want if you were building a sand castle. The sand works double duty as an abrasive and stops humid air from hitting your tools. Meanwhile, the oil helps coat the metal, allowing you to safely store your tools for entire seasons if necessary.
Also, consider applying a protective coating that prevents oxidation like spray paint, a rust inhibitor spray, and even mineral oil. If you prefer to stick to more natural protective coatings, look for nut or seed oils and waxes. Linseed oil is an excellent option for garden tools since it will harden when exposed to air, creating a natural barrier that prevents rust. However, you might want to save it for tools that don't have moving parts or cut it with mineral spirits, as it can gunk up joints and hinges.