Helpful Tips Savvy DIYers Will Want To Know Before Using Wood Stain
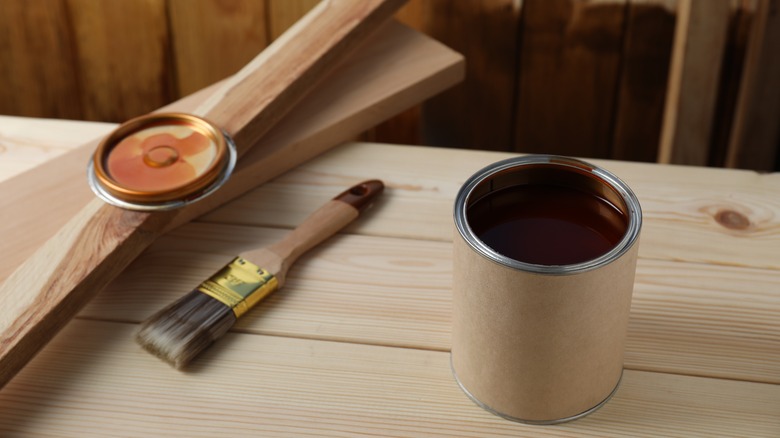
Stain offers an effective way of treating wood and giving it color without concealing its innate beauty. When applied and sealed properly, stain leaves a silky smooth finish that's as pleasing to the touch as it is to the eyes. But getting to that perfect stained finish that accentuates the wood's grain takes a bit of specialized knowledge — something all aspiring DIYers should acquire. After all, wood stain leaves a permanent pigment behind, so redoing the job after a mistake can be challenging and demand a good deal of effort.
The first thing to know is that not all stains are created equal. Some types may be suitable for your project, while some are best left on the store shelf (for now). At the same time, producing an even, defect-free finish requires prep work that goes beyond mere sanding. And even sanding should be done in stages to make sure that the wood grain is ready to receive the coat of stain. Below, we've put together a list of handy tips that should help you see your DIY staining project to success. You'll learn how to choose the ideal stain type and how to prepare the wood for its new finish.
Choose the most suitable type of wood stain
Before you start, select a stain type that matches the surface you're treating and your existing wood tones. Disparate combinations can clash, which is why you should be careful mixing wood tones (per an interior designer). Choosing the wrong stain may also leave you with a lackluster surface, or even require a wasteful do-over. As a general rule, large surfaces look their best with a coat of oil-based stain. That's because this type of stain creates a consistent, streak-free finish once it's dry. That said, the curing process takes a while — sometimes as long as four full days. During this time, oil-based stain will off-gas VOCs. To protect yourself from the fumes, it's best to apply the stain outdoors and leave the treated wood there until the smell is gone.
If you're dealing with smaller surfaces (such as trim), a water-based alternative may be appropriate. This stain type dries quickly, and you should be ready to seal the surface just a day or two after application. Also, water-based stain does not give off the same noxious fumes that accompany oil-based stains, so it's a bit easier to work with. That said, stains with a water base have a major disadvantage. Since they penetrate the surface of the wood, they cause the fibers to swell up and separate in the process. As a result, the treated area will not be smooth. Finally, gel-based stain is a forgiving, DIY-friendly solution that works great on walls or door casings, because it bonds to vertical surfaces well.
Prepare the wood before staining
Sanding is a key step that prepares the wood for its stain coat. By sanding the wood, you make it smooth, eliminate bits of old stain or paint, and correct any minor dents and imperfections in its surface. When sanding bare wood that has no stain or paint on it, start with coarse, 80-grit sandpaper. Use 120-grit to remove existing finishes, before switching to 180-grit paper to make the surface as smooth as possible. At this point, you should wipe the dust away and go over the sanded wood area with a wet cloth. When the wood dries, give it another round of extra-fine-grit sanding.
Alas, thorough sanding doesn't leave all types of wood 100% ready for stain. Many softwoods and several hardwood species are prone to developing blemishes when they're stained. This happens as the stain makes its way into the natural pores and gaps in the wood. The way to prevent these unsightly streaks is to treat the timber with a suitable pre-stain wood conditioner. The conditioner evens out the wood by filling in the tiny voids, so that the surface is smooth when you finally apply stain. There are different conditioners for oil- and water-based stains, so be sure to buy one that matches the stain type (and color). Some manufacturers state that you don't need to apply conditioner before using gel-based stain products. If in doubt, you can always stain a test patch and see if it comes out uneven.


