12 Ways You're Damaging Your Hardwood Floors Without Even Noticing
We may receive a commission on purchases made from links.
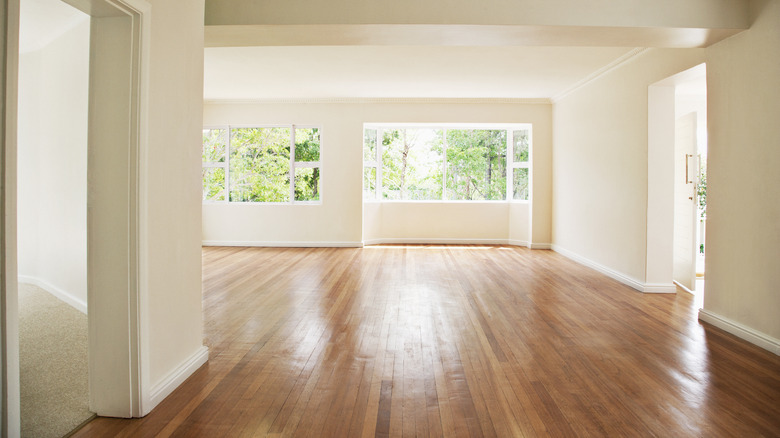
Hardwood floors are a luxury that most people look for when buying a house. Rather than old, dingy carpets or dated linoleum, most people want the timeless and elegant look of hardwood in their rooms. It's not only beautiful, but also hardwearing. Floors can last up to 100 years if they're correctly taken care of, and when there are dents or scratches, you can sand the floors down and refinish them again. However, the trick is to properly maintain them so they actually last that long. While most know not to drag heavy furniture across the room to avoid scratching the floors, or mopping spills quickly to prevent warping or softening, there are many more things that can accidentally harm your floorboards.
For instance, using vinegar to wash and disinfect your floors can slowly eat away at the finish, and using a vacuum with a beater brush can create micro-abrasions on its surface. Since wood is tough, you won't likely see damage if you do these things once or twice. But if you continually clean this way for years on end, you will begin to see that the floors seem duller and have scuffs and marks marring their surface. To avoid that scenario, here are all the ways you're accidentally damaging your floors without noticing.
Putting rugs with plastic mats on the floor
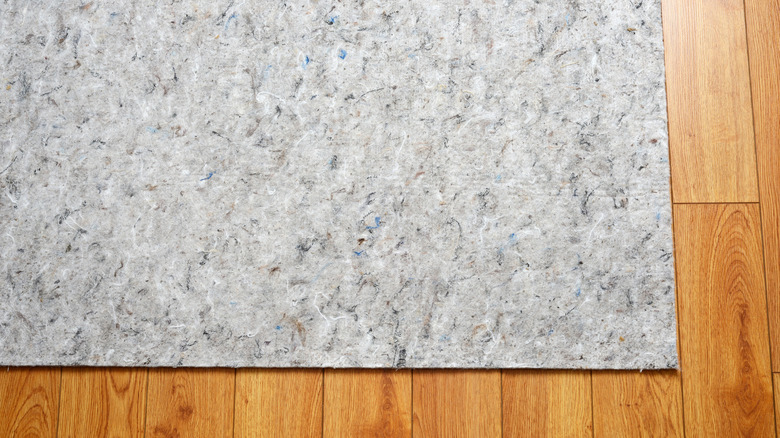
You would think that putting down area rugs would help protect your wooden floors from dents and scratches. They provide an extra layer between the floor and furniture legs, and will keep foot traffic wear and tear to a minimum. However, that's only true if the rugs don't utilize plastic mats underneath. These mats are usually added for extra comfort (they provide extra padding) and to help keep the rug in place. But, while they are useful, some versions can discolor and damage your wooden floors. While natural rubber pads are fine, lower-quality plastic mats aren't. These are usually made from PVC and include an adhesive that can slowly eat away at the floor finish, leaving behind unsightly marks and discoloration.
To avoid this, skip the plastic options and instead choose a rubber pad. However, you want to take extra care and select natural rubber, rather than synthetic. The latter will put you in the same pickle as buying a cheap plastic pad. The natural rubber option is made from rubber trees, and it has properties that make it grippy. It doesn't need to use any adhesives or chemicals to stay in place, so you don't run the risk of ruining the varnish underneath.
Allowing your house to stay humid during the summer
For many people, the beginning of summer also means the beginning of increased humidity. If you live in an area where the air turns thick once June rolls around, you might want to consider investing in a dehumidifier, especially if you have wooden floors. That's because humidity increases the amount of moisture in the air, and the natural enemy of wood is water. If you allow humidity to linger in your home, your wooden floors will slowly absorb the moisture in the air and begin to swell. This can lead to eventual warping as the boards expand.
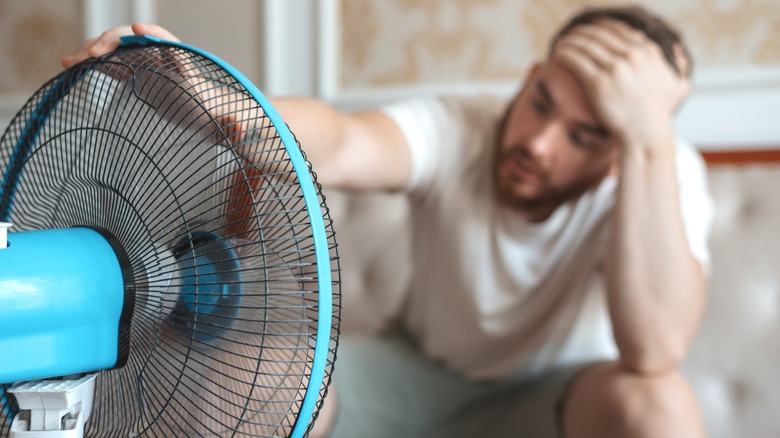
You want your humidity level to hover between 30% and 50%, and you can keep an eye on the levels by investing in a humidity reader. You can get one for under $15 on Amazon. If your levels are reading high, one of the best ways to prevent humidity from destroying your hardwood floor is to invest in a dehumidifier. This handy appliance will suck the excess moisture from the air, helping to lower the levels and keep your floors safe. In addition to that, you also want to run fans to keep the air circulating and turn on the air conditioning when you can. The AC helps to dry the air by sucking in hot air, filtering it through the evaporator coil (which removes the moisture), and blowing cold, dry air out.
Walking around the house with shoes
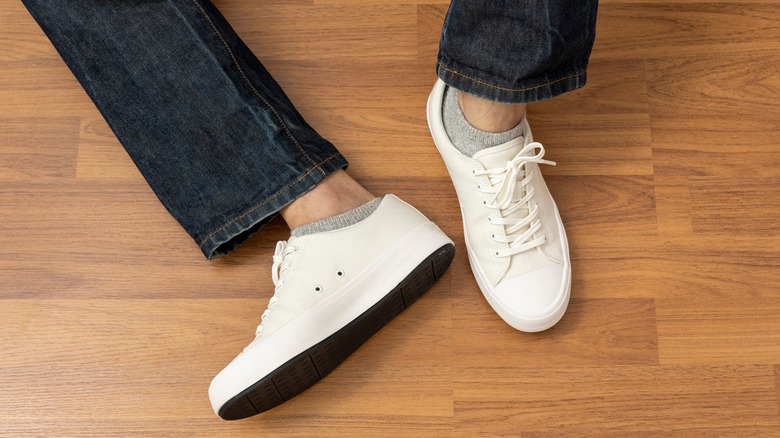
According to a poll done by CBS News and YouGov, 1/3 of Americans wear shoes inside their homes. While this might be convenient for some, it can also lead to heavier wear on your hardwood floors. Not only do they increase the risk of scuffs (your socks would never leave behind marks like those!), but they can also create small micro-abrasions. That's because dirt, small pebbles, and debris get lodged inside the patterns of the soles, and they can cause small nicks every time you walk across the floor. This will slowly deteriorate the wood, increasing the amount of wear and tear.
To avoid this problem, always remove your shoes when entering the house. Create a nook with a bench and ample shoe storage by the front door to make the process easier, which will encourage you to do it more often. If you have guests or visitors often, also ask them to remove their shoes upon entering. You can point them towards the shoe storage rack as a subtle hint of your expectations, and can even offer single-use slippers for those who would rather not walk around barefoot or in their socks. You can get a 20-pack for $27 on Amazon.
Mopping with a super wet mop or rag
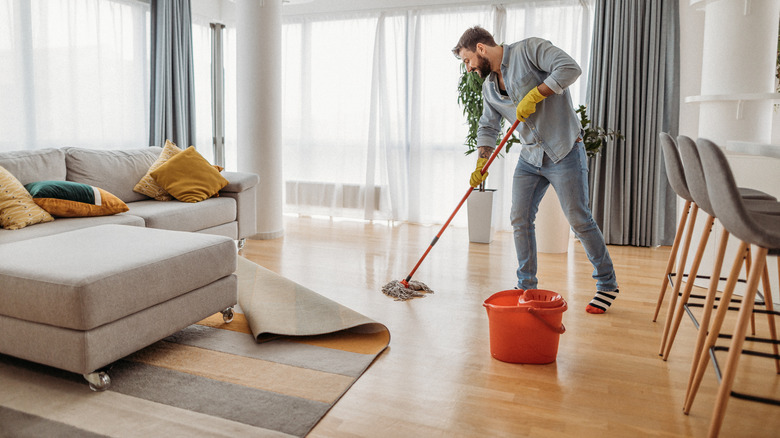
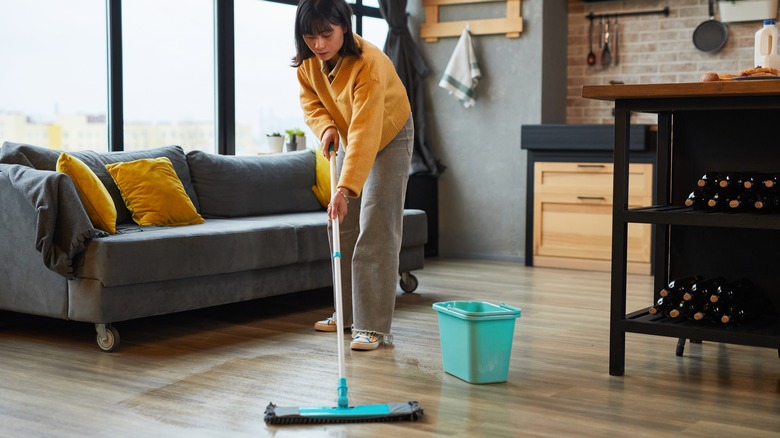
You might think that using a ton of water to wash your floors makes them cleaner. After all, you need a good amount of water to wash everything from laundry to dishes. But standing moisture can cause your floorboards to swell slowly, much like humidity. That's because wood is porous, and it soaks up any water that is in its vicinity. If you heavily saturate a mop head, slop it on the floors, and leave behind small puddles or damp streaks, your floor will slowly absorb that moisture. This can eventually lead to cupping, warping, or even discoloration.
Instead, use a lightly damp mop to clean the floors. You never want to see it drip — if it does, it is a clear sign you need to wring it out more. One easy way to ensure your mop is never too wet is to use a spin-dry mop system. This includes a bucket with a spinning wringer that turns with the press of a pedal. You put your mop head into the wringer and the force of the spin removes excess water — much like a salad spinner. This ensures the mop is damp and not soaking wet. A great option is the O-Cedar EasyWring Spin-Mop and Bucket System, which you can get for $35 at Target.
Not vacuuming the floors before mopping
It's important to routinely vacuum debris off your floors. This not only prevents immediate damage, but also ensures the long lifespan of your floor's finish. Things like small pebbles and hard dirt chunks can easily leave behind micro-abrasions if you're not careful. These gritty pieces will either get tangled up in the strings of the mop or get flattened by the hard surface of a Swiffer and drag across the floorboards. This will leave behind tiny scratches. While you might not notice them right away, they will begin to wear the finish after continual use. "Always vacuum up any loose dirt or dust before applying any cleaning agents," Rotem Eylor, founder and CEO of Republic Floor, told House Digest.
To avoid this, make sure to vacuum your floors consistently, but especially before wet mopping. However, if you feel like this is too much work — especially if your vacuum is heavy or corded — then there is an easier alternative. Consider dry mopping with a microfiber cloth instead. There are two ways to go about this. The first is to use a Swiffer with its dry cloth products, such as the Dry Mop Refills, which retail for about $14 on Amazon. The second is to use a microfiber dust mop pad, which is a reusable option. An example of this is the Bona Microfiber Dusting Pad, which you can purchase for $10 at Home Depot. Simply run the dry cloth over your floorboards, picking up any debris along the way.
Using a vacuum with a beater bar
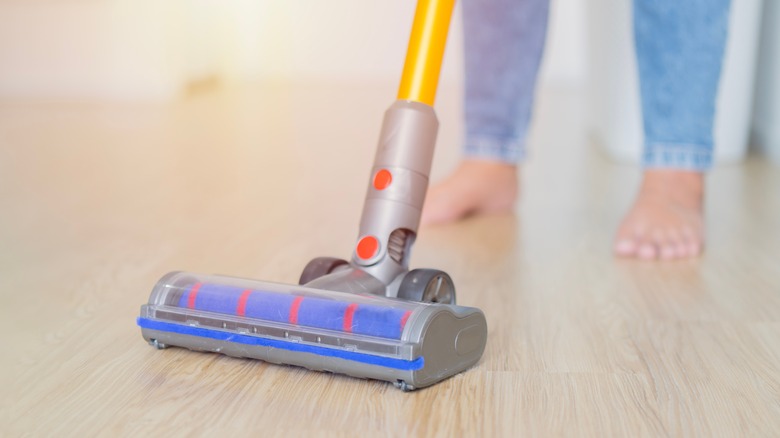
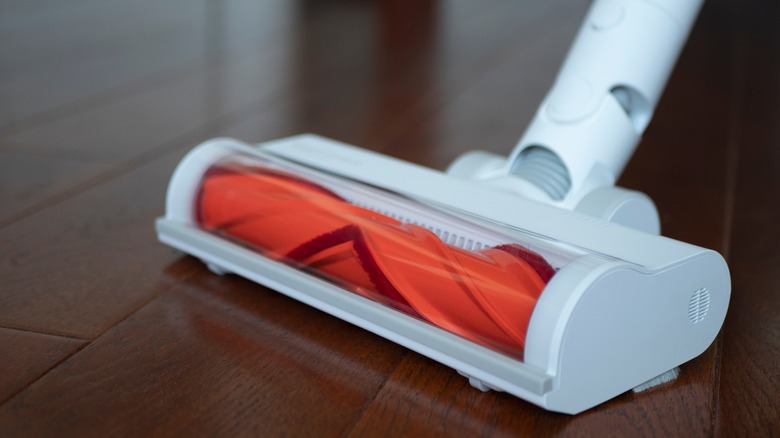
To keep your wood flooring looking like new, make sure you choose the correct vacuum to whisk away any dust and dirt on the floor. That means choosing a vacuum without a beater bar. "Do not use a vacuum with a beater bar so as to not damage/scratch the flooring," Rotem Eylor, founder and CEO of Republic Floor, told House Digest. The stiff bristles can create their own micro-abrasions and wear down the finish, defeating the purpose of vacuuming the grit in the first place.
Instead, use a vacuum without any roller brushes. Such an example is the NaceCare Henry Allergy 160 Canister Vacuum, which retails for $500. It's a canister vacuum, so you can easily swap out the hose attachments. One of them is a vacuum head without a roller brush, allowing you to safely clean the floor. You also want to ensure the vacuum has rubber wheels, since they are softer than hard plastic ones. This will also minimize the risk of scratches, especially if you have a softer wood for your flooring, such as fir or cedar. If you don't want to have multiple vacuums for different surfaces, you can also get one that toggles between floor and carpet cleaning. When you put it on "floor mode," the beater brush gets turned off, making it safer to use.
Using vinegar to clean the floors
One of the old-school cleaning methods to wash and disinfect wooden floors is to use vinegar. But is vinegar safe to use? As it turns out, no. Since the cleaning agent has a high pH level, clocking in at a pH of 2 or 3, it can slowly eat away at the polyurethane top coat that seals your hardwood floors. This can create a dull finish, stripping away the wood's glossy appearance and making it seem old or neglected. After continual use, it might even eat away the finish completely in some areas, which can leave the exposed hardwood vulnerable to stains and scratches.
Instead of vinegar, all you need is a little bit of soap and water to clean your wooden floors. Add a few drops of dish soap to a gallon of warm water. Make sure not to overdo it with the soap, or else you will leave behind a sticky residue on the floors. Use a soft microfiber cloth mop to clean the surface, ensuring it's consistently wrung out and only damp, rather than wet. This will ensure you won't leave behind small puddles, which can warp or discolor the wood after continual exposure.
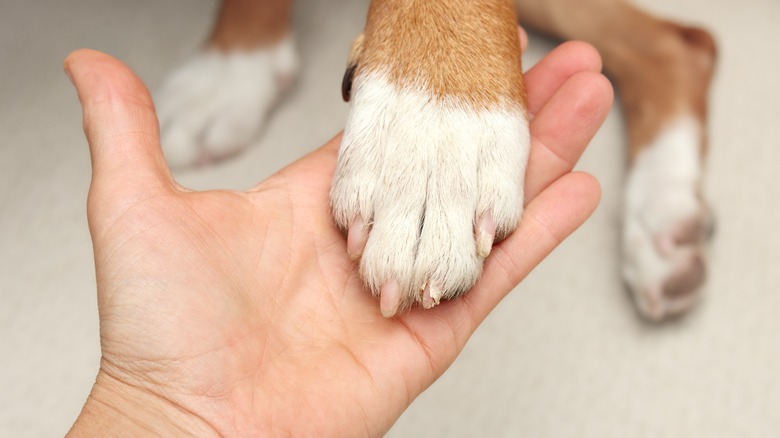
Not trimming your pets' nails
Do you have dogs and cats running around your house? While they're an important part of the family, we all know that they can be a little tough on flooring, especially if they shed. You likely have special vacuums designed to suck up the copious amounts of fur that are sweeping across your floors or embedding itself into your carpets. But it's not just their hair that can marr the appearance of your floors — it's also their nails. If you don't trim them consistently, longer nails can knick the floorboards. After a time, you will notice light scratches on the topcoat's surface.
To prevent this from happening, make sure you consistently trim your pets' nails. This can mean either doing them yourself or taking them to the groomer. If you want even more protection, there are several extra things you can do. The first is to take your pets on walks outside. The hard surface of concrete sidewalks or roads will help file down longer nails, ensuring they're blunt in between clippings. You can also invest in area rugs and runners, minimizing their contact with the wood underneath. If you don't want to cover your whole house with them, simply place them in rooms your pets like to hangout in the most.
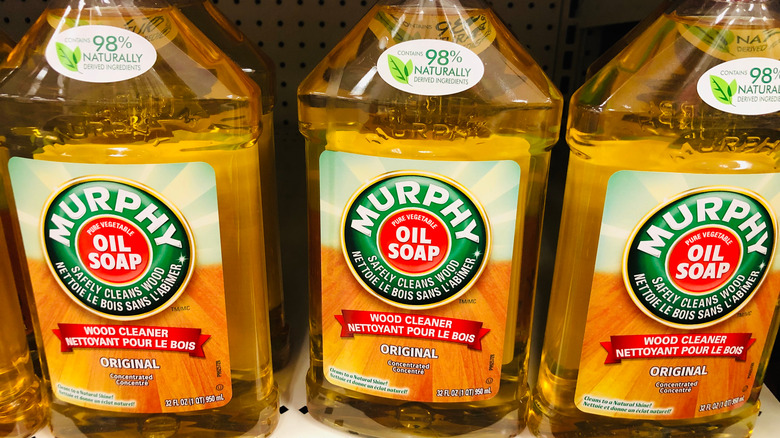
Using Murphy Oil Soap
Just because a product is specifically formulated for hardwood doesn't mean that it's good for it. One such example is Murphy Oil Soap. Flooring experts recommend avoiding this cleaning product since it's an oil that is meant to polish your floors, not clean them. It contains ingredients such as citronella oil, which gets left behind on the floor after the mop water evaporates. This might give you a shiny finish, but the oil is very difficult to remove. If you use it continuously, you add additional layers of oil each time, which eventually leads to a waxy buildup. To remove it, you will need to use something acidic like vinegar to eat away at it, or in extreme cases, strip the floors and refinish them. "Murphy's Oil soap has ruined millions of square feet of wood flooring. And I mean millions and millions of square feet." Houzz Professional S.J. McCarthy shared on the forum.
To avoid this, make sure you're maintaining your floors correctly. For regular cleaning, a mixture of warm water and a few drops of dish soap is all you need to clean any dirt or grime. If you want to polish them, use a polishing product about once a year. That's all you really need to keep your finish intact, fill in tiny micro-abrasions, and keep your floors looking glossy and maintained. This will ensure you don't create excessive buildup.
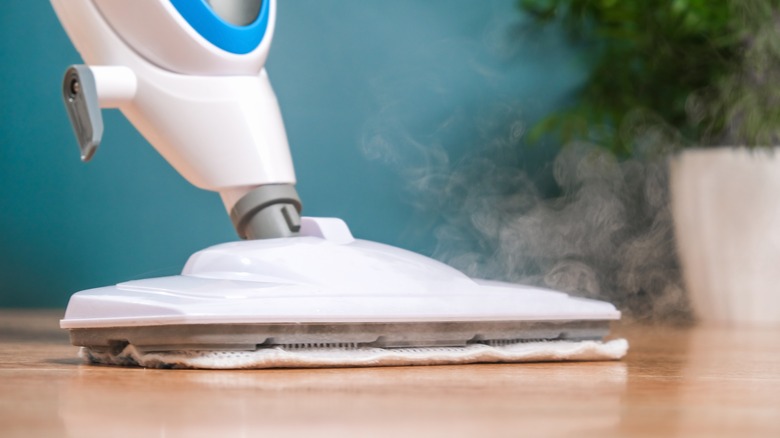
Using a steam mop
Steam mops seem like a great purchase for your wooden floors. They're super easy to use, since they don't require a messy bucket, and they get deep into the surface, removing grime buildup. However, these handy tools can wreak havoc on your hardwood. That's because steam is just another form of water, and an excess of water is wood's natural enemy. "Drastic temperature changes and moisture may warp the wood," Steve Stocki, manager of marketing and merchandising at Lumber Liquidators, told Consumer Reports. Since wood is porous, it absorbs whatever water sits on it, and this can lead to swelling. The swelling might be unnoticeable at first, but after repeated use, it can lead to malformations, such as buckling or warping. The same thing happens when hot, humid air lingers over wood. It causes it to absorb the moisture, which makes it expand. Applying steam directly to the floorboards worsens this issue.
If you want to give your floors a deep clean, all you need is water and soap. Soap can remove everything from dirt to bacteria, and washing the floors with a mop gives you control to ring it dry. If you want to disinfect them, try using gentle, wood-safe cleaners, such as Lysol Clean & Fresh Multi-Surface Cleaner. You can use this every quarter or bi-annually to give your floors a deep clean, since it kills 99.9% of viruses and bacteria.
Not putting felt pads on the bottom of your furniture
You might have felt pads on the bottom of your dining room chairs to prevent accidental scratches on your wooden floors, but those aren't the only pieces that need some cushioning. Heavy couches and dressers can cause dents on the floors, and bulky pieces that rarely get moved, such as bookcases or china cabinets, can create discoloration. Heavy equipment, like workout bikes, can also lead to depressions in the floorboards, marring its pristine look.
An easy way to avoid this is to add felt furniture pads to all the heavy items in your home. You can get these everywhere from dollar stores to hardware stores to Amazon, but not all pads are created equal. For example, if you want to add them to a piece of furniture you move frequently, such as a kitchen chair, opt for a product that has strong adhesive and is made for more "heavy duty" uses. On the other hand, if you want something bigger or have an unusual shape you need to cover, you can try large felt pads, such as these from Scotch, which you can buy for $6 at Lowe's. These allow you to cut your own shapes and sizes.
Not drawing the curtains
We all know the bleaching effects of the sun on outdoor furniture, but did you know the same is true for indoor pieces? UV light can pass through the window panes in your home and bounce off the wood, fading it over time. After years of exposure, you might notice that the color has lightened and even faded. In extreme cases, like in south-facing rooms where the sun is the most intense, contined exposure can even damage the wood fibers, causing the boards to become weaker. This can make them more susceptible to cracks, dents, water warping, and staining. To avoid that, you need to protect your floors from the sunlight.
The easiest way you can do that is to draw your curtains or shades whenever the sun is the most intense. You don't have to live in total darkness during the day; simply draw them when the sun is at its highest point for a couple of hours. If you have the opportunity to update your windows, you can also invest in panes that filter UV light, such as Low-E panes. These glass panes are coated with a film that reflects heat away from the house, blocking the UV rays in the process. Since these windows are more expensive than non-coated ones, consider only adding them to the sunniest rooms if they're a strain on your budget.
