9 Laminate Flooring Issues & Tips And Tricks To Fix Them
Laminate flooring is an affordable, eco-friendly alternative to wood or stone, but it can come with a unique set of issues. For one, the flooring is sensitive to temperature, so if you install it incorrectly, you can face issues like warping, bubbling, gapping and even bowing as it expands and contracts. It can also get a little squeaky, just like wood can. If you live in a busy home, you might even find that your laminate flooring gets really scratched and doesn't look as good as the day you moved in.
Laminate also tends to be sensitive to water, which can be a real headache if you have a leak in your home or a pet that forgot to wait until they were outside to use the toilet. Luckily, there are relatively easy ways to confront most of these laminate flooring issues. And no, not a single one involves needing to rip out all the planks and start over by replacing them — something that is most costly and time-consuming. Instead, sometimes a material as simple as baby powder or a brown pen can have your laminate flooring looking as good as new in as little as five minutes. These are common laminate flooring issues plus the best tips and tricks to fix them.
1. You can use duct tape to fix gaps in the tiles
When the weather changes, it's fairly normal to see some gaps appear in between the tiles of your laminate flooring. This is because the material can expand and contract, depending on the amount of heat present. This can be frustrating, as the gaps can be unsightly, especially if there are too many of them. You might also have gaps in your flooring due to improper installation. If the gaps are too small to need a complete flooring restoration, you should be lucky enough to use a quick hack using duct tape to fix your separated laminate flooring.
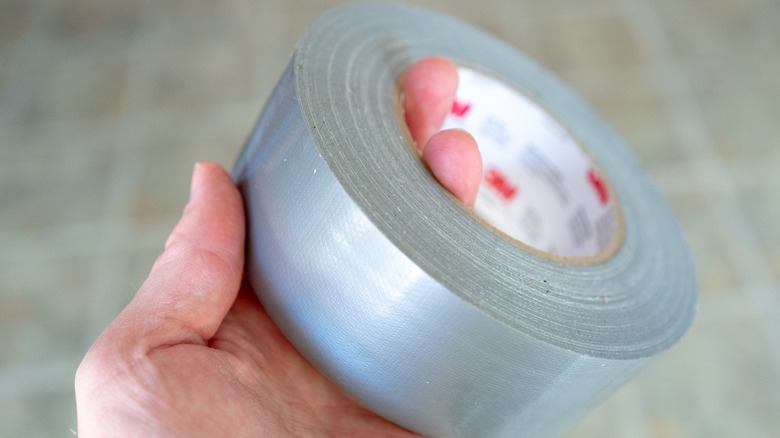
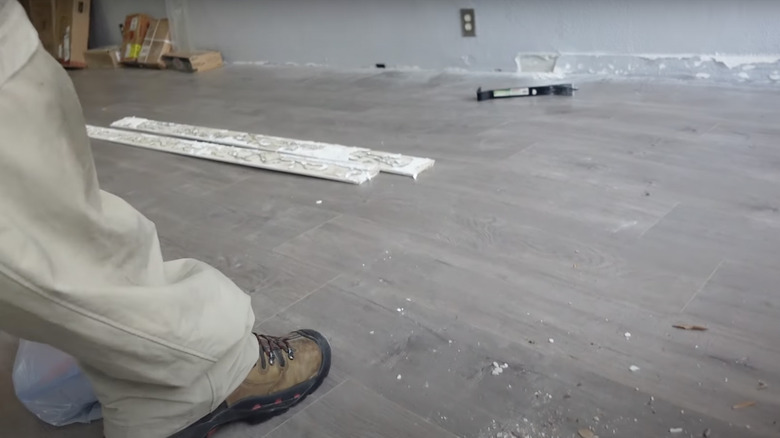
Take a roll of duct tape and press a sticky piece long-ways across the plank you want to move. Don't tear the piece off the roll, but keep the roll in your hand. The roll should be on the end of the plank in the direction you want the plank to move. Put your foot over the tape on the plank and pull the roll up towards your chest. Next, kick hard towards the point where the tape bends up from the floor, ending with firm pressure on the floor. Because the tape is holding onto the plank, the force from your kick will move it in the direction you want it to go in. Repeat the process as necessary to close the gap on the other side of the plank caused by this adjustment.
2. You can also use a wooden board to fix gaps in laminate planks
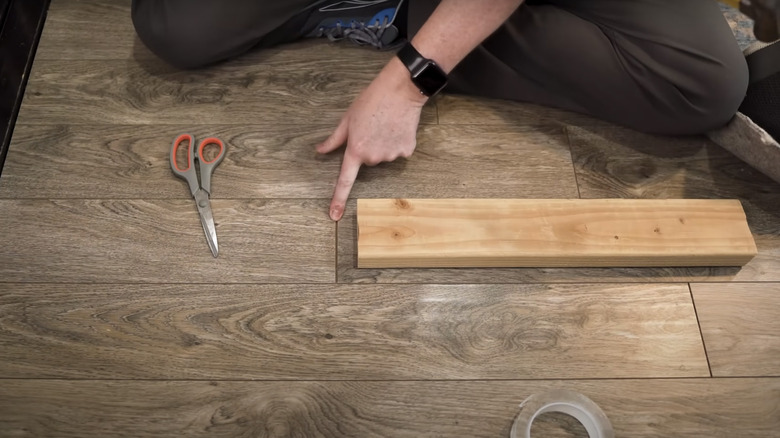
If you don't have any duct tape on hand, or you prefer a different method, you can also use a wooden board to fix gaps. Along with double-sided tape and a hammer, this hack aligns boards that have moved temporarily for the reasons listed above. The process is quite simple. First, vacuum the gap you aim to close up to make sure there isn't anything stuck. Next, take a roll of large double-sided tape. It should be about the same size as a duct tape roll, and not the kind you might use in the office. Lay the piece the long way across the plank you wish to move. If the plank is particularly thick, use two pieces for the best results.
Press the wooden board firmly onto the tape. You can press it down with your hands, so you don't need the hammer for this bit. Instead, use the hammer to move the board along to close the gap. Just don't overdo it, as you don't want to create a peak by ramming two planks into each other. As with the duct tape hack, you will need to repeat this process with other planks, too as there will now be gaps on the other side.
3. You can use baby powder to silence squeaks
If your laminate floor is squeaking, it's likely to be quite annoying. While you might be more likely to tolerate a squeaky hardwood floor, as it's part of its character, laminate squeak can drive you crazy. There are so many different causes for the squeaking, like an improperly prepared subfloor or cracked tongues in boards. No matter the cause, if the problem stops at squeaking and isn't causing warping or cracking, it's an easy enough fix. Baby powder has many uses around the house, and one fun trick is to use it to silence your squeaky floors (it works on hardwood too).
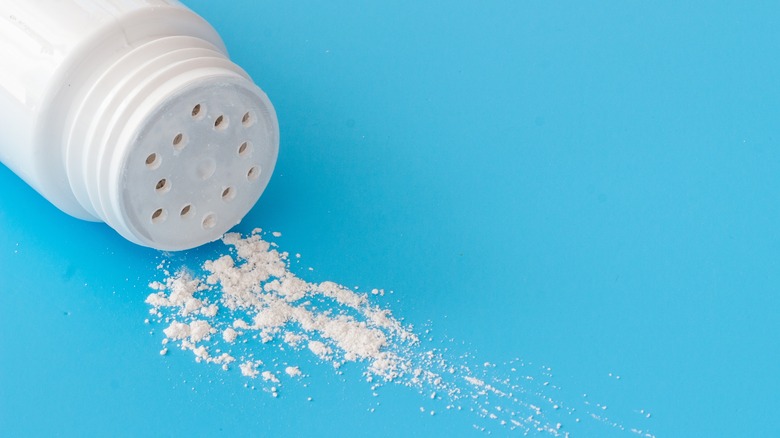
It's an easy enough process. Sprinkle a little powder straight from the bottle into the grooves around the squeaky boards. You can then work it into the cracks with your hands, paintbrush, rag, or other tool of your choice. Use a lot of powder, so much so that the crack looks full of it once it's worked in. From there, you can wipe away any that isn't settled in the crack. If the boards are rubbing together to cause the squeak, this will stop it. If you don't want to use baby powder, the same trick works with sawdust too. It stops the friction just enough to keep things quiet.
4. Wood stain pens are a quick fix for shallow scratches
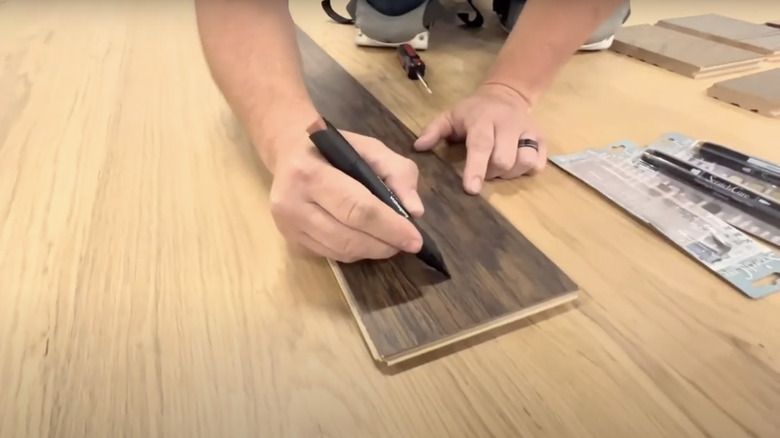
If you have superficial scratches on your laminate flooring, you can use a stain pen as a quick fix. These pens don't fill in deeper gouges, but they are great for cosmetic touch ups. This means that if your scratch needs any sort of filling in, you can still use the pen, but the results won't be as nice unless you use a wood filler as well. Wood stain pens come in a variety of colors, like different shades of brown, gray, and black. So, you can use the shade that is the closest match to your floor. In fact, it is recommended to purchase a few options and compare the packaging to your planking for the best fit. Avoid the temptation to use a permanent marker or fabric pen as these markers can leave unsightly stains that transfer onto clothing and shoes.
Instead, you can order a stain pen online or pick one up in person from the local home maintenance store. They are easy to use. Simply clean the area first to make sure there isn't any dirt or debris in the scratch. Next, color over the scratch with the pen, being careful to follow the grain of the wood. Once the area is dry, it should look as good as new.
5. Bubbling can be fixed on a plank-by-plank basis — with minimal sawing
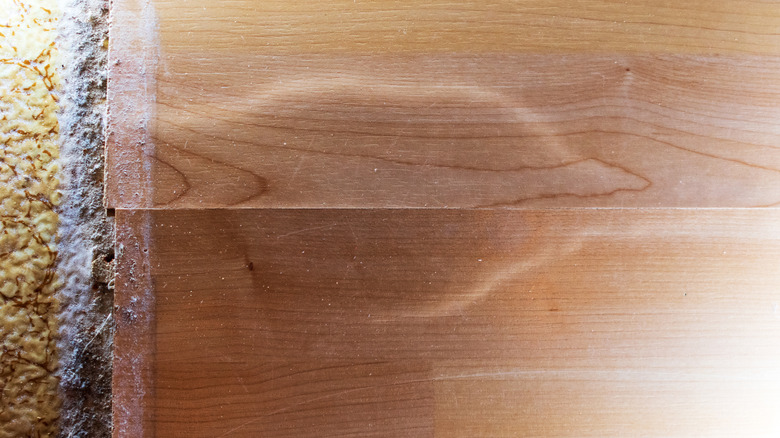
When moisture gets trapped underneath planks of laminate flooring, it can cause them to swell or bubble up in certain spots. This can happen in many different situations, some unintentional like pet accidents, excessive water during cleaning, or even a leak in the house. In other instances, it's due to negligence during installation, like moisture being trapped in the subfloor or improper underlayment. If your planks are bubbling, you might need to completely replace the whole set, depending on the cause and severity of the damage.
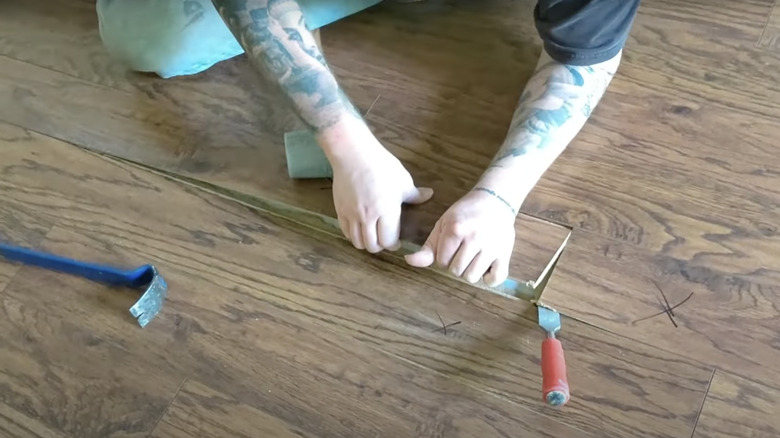
However, if the damage is contained to just a few spots, it is possible to replace only the impacted planks. You only have to use a saw once, relying mostly on a chisel and pry bar with these step-by-step instructions from Jones Knows on YouTube. Use the tools to pry up the planks one by one. Don't be afraid about breaking the boards when they come out, as you will just throw them away anyway. Once removed, slide the replacement planks in, often at an angle, for a snug fit. When sliding in the last board, remove the locking system from one side(with a saw this time) so it clicks in easily.
6. Popping smaller bubbles in your laminate is also an option
If you notice smaller bubbles and want to take care of them without replacing the whole plank, it may be possible. Although the aesthetics of this solution aren't perfect, it is certainly doable for those in a pinch. These smaller blights are caused by the same mistakes that result in larger bubbles — anything from a room that is far too humid to a floor that was installed with large gaps that collect spills.
To fix minor bubbling, the tools you will need to use on your laminate include a spray bottle of water, an X-ACTO knife or similar, wood glue, and something really heavy, like a dictionary or kettlebell. First, get the area around the bubbles wet enough to soften the material a bit. Then, use the knife to cut open the bubble, gently. From there, you can use wood glue, and tweezers if you need them, to lay the cut piece as flat as you can. Set the heavy object on top of your work so that it sets even flatter. Be sure you leave the pressure on your workspace for at least 12 hours, as the longer it sits the better the chance the results will stick.
7. Relieving pressure with trimmings and molding can keep the perimeter flat
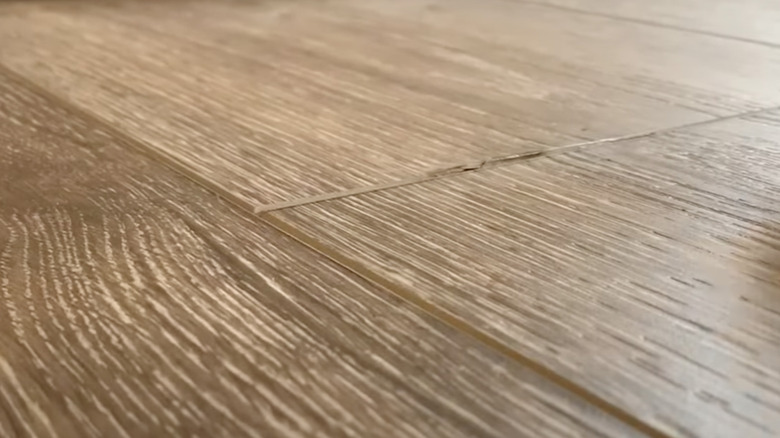
Peaking is the name for the problem where laminate planks are installed too tightly. Whether crammed in together initially, or installed without room for expansion in the heat, these peaks form as the planks push up against each other and begin to rise up. The best way to prevent this from happening is during installation. If you give the floor a bit of expansion space around its perimeter or between the flooring and moldings, as the boards shift and settle, nothing will look amiss.
Yet, if it's too late for prevention, you can work on addressing the problem in front of you. To fix peaking, carefully cut out a section of flooring near the wall or molding to allow for expansion. This should be tiny, typically about the same width as the gaps that appear between planks during changes in temperature, or around ¼ of an inch. It's better to cut less than you need than to cut too much. To help the peaked areas settle back as they should be, place heavy objects like large books, kettlebells, or even heavy pieces of furniture with large, flat bases on top of them to help press them down.
8. Lifting in the middle occurs because the floor planks have nowhere to go, so give them space
While peaking is a problem that impacts individual planks, lifting is an issue that tends to happen to entire sections of the floor, sometimes as tall as 6 inches or more! You might especially notice it in the middle of the room. The laminate flooring will begin to lift like a loose carpet. If your laminate floor is starting to feel a little bit bouncy underfoot, the problem may already have begun. The cause of this problem is surprisingly simple: the planks are being pinched or locked in.
To fix the issue, you have to give the flooring somewhere to go. This way, it can expand and rest flush with the ground like it's supposed to. Take the trim off the entire perimeter to help you see the problem better. Note that the minimum expansion space for all laminate flooring is ¼ of an inch. Use an oscillating saw to make the trimming needed, following tips from Jones Knows on YouTube. This space should allow the risen section to settle once again. If it doesn't go down at first, give it time before taking away more. These things can take time, and you don't want to overdo it.
9. Using a heater or dehumidifier only works in the early stages of a problem
There is plenty of advice online about using a heater or dehumidifier to fix any issues caused by moisture to your laminate flooring. This is good advice, as it can work, but only within a very specific timeframe. You have to catch the moisture before it has penetrated to the subfloor. If you notice any bubbling, warping, or peaking, it's too late, and you need to choose another avenue. However, if the sink overflows or the dogs use the bathroom inside, and you've been able to clean up the wetness relatively quickly, give both options a go.
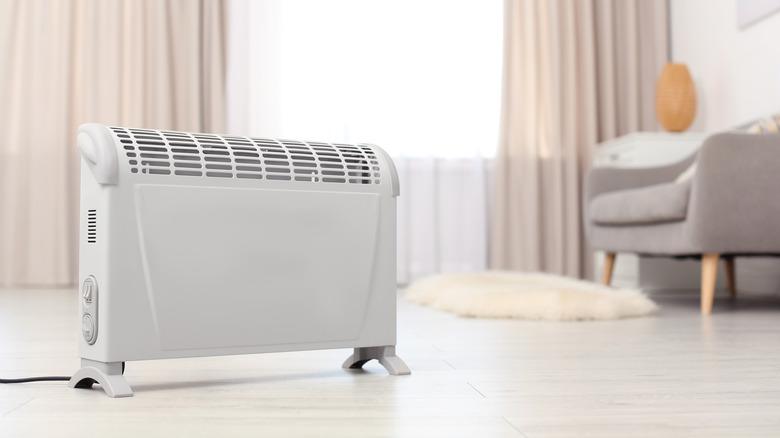
Space heaters set on high and aimed toward the impacted plank are a great option for drying things out. Leave them on for at least a few hours, making sure never to leave the heater unsupervised. In a pinch, you can even sit there for as long as you need with a hairdryer after wiping up as much wetness as you can see. Finally, if you don't notice the issue in time, and significant damage has occurred, you can still use a space heater or dehumidifier once you pull the planks up. These are great tools to use to dry out the subfloor or other installation surfaces so you can get things fixed up faster.
