Take Basic IKEA KALLAX Storage To New Heights With A Gorgeous DIY Upgrade
Everyone loves an IKEA hack, and the internet is full of them. There are so many creative ideas for transforming basic furniture frames into unique, customized pieces. Thanks to its straightforward design and low price tag, one of IKEA hackers' favorite frames to upgrade is the simple KALLAX shelf, which consists of an outer frame and a series of dividers to create a grid of roughly 13-inch cubes on the interior.
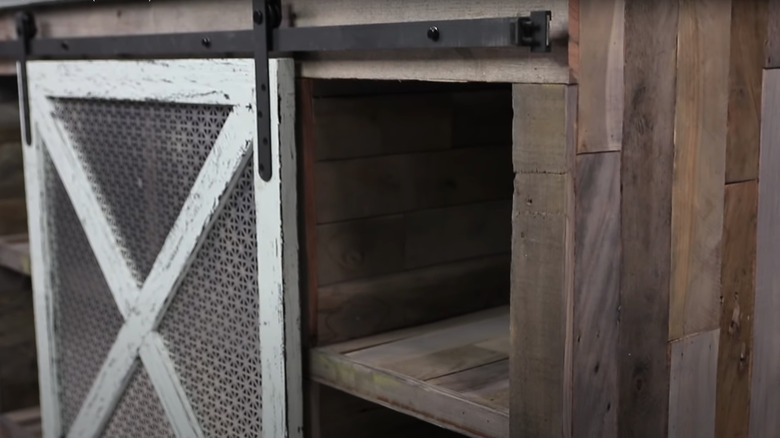
IKEA KALLAX units have been extremely popular for a long time, with the KALLAX having replaced its very similar predecessor, the EXPEDIT, in 2014. The opportunities to personalize these frames with brilliant DIYs are endless, proving it is arguably the most versatile piece in-store. And in one of the most impressive KALLAK reimaginings to date, YouTuber Kayleigh Sherbourne — known online as DIY Mum — shared in 2024 how she (literally!) elevated the basic KALLAX by adding a custom base and top trim, as well as finished the upgrade with a sliding barn door. Once finished, this project becomes the perfect guest room piece for hanging clothes and housing storage baskets.
How to DIY this upgrade on your IKEA KALLAX
The DIY storage cabinet in this customization is made up of a 2x4 KALLAX that has been modified to showcase a sliding barn door that covers one side at a time, with the right side containing the original cubes with storage baskets, and the left side altered for clothes hanging storage. A custom base and top was fabricated to elevate the look and raise the height of the unit.
To accomplish DIY Mum's KALLAX transformation tutorial, use a multi-tool to remove two upper shelves for hanging space and add a piece of plywood to the back of the KALLAX for reinforced stability. Cut and secure lumber to the top and bottom of the unit to heighten it to your desired level, covering these utilitarian boards with MDF for a finished look. Caulk all areas where the KALLAX meets new plywood. Prep for paint by thoroughly sanding and wiping down the entire unit. From here, the trick to painting IKEA Furniture's difficult surfaces is to ensure you have selected a proper primer to help the paint adhere (or a special furniture paint formulated with primer included, like the YouTuber). Apply one coat of primer, followed by two coats of paint.
Once dry, build a door using TikTok's cabinet door DIY (so you don't have to buy a new, custom-made one) and paint it. Finally, install barn door hardware to the KALLAX and attach the door itself. Finish with a cabinet pull, and style with cute storage baskets and a hanging rail.
How to further customize your newly upgraded IKEA KALLAX
The best part of IKEA hacks? Further elaborating on other people's tutorials to suit your individual preferences. Try dressing up the basic shaker door panel insert with additional molding details, some kind of textural material like perforated mesh, or even a fantastic wallpaper to add personality. Other DIYers may prefer to raise the unit up even higher by building a taller open base to allow for large basket storage or a boot tray for muddy shoes underneath. For those using this piece as a guest room wardrobe, consider adding castors so it can be relocated as needed or stored elsewhere when you are not hosting. Finally, optimize this piece for children's dress up storage by personalizing it with hooks instead of hangers, adding a shelf divider on the bottom for little shoes, and (of course) painting it out in a fun color that inspires the imagination.
If you are maxed out on DIYs after completing your KALLAX upgrade, but are looking for an alternative to using storage baskets, IKEA sells a whole range of pre-made inserts that easily slide into the cubes to personalize your KALLAX. These include drawers, shelves for shoes, dividers for papers, hanging wire baskets, and even an adorable built-in cat house. You can opt to paint these out to match your unit, for a monochromatic look, or you can leave them white for a lovely two-tone contrast. Either way, make it your own.

