Turn An Old Jar Into A Showstopping Macrame Flower Vase With This Simple DIY
We may receive a commission on purchases made from links.
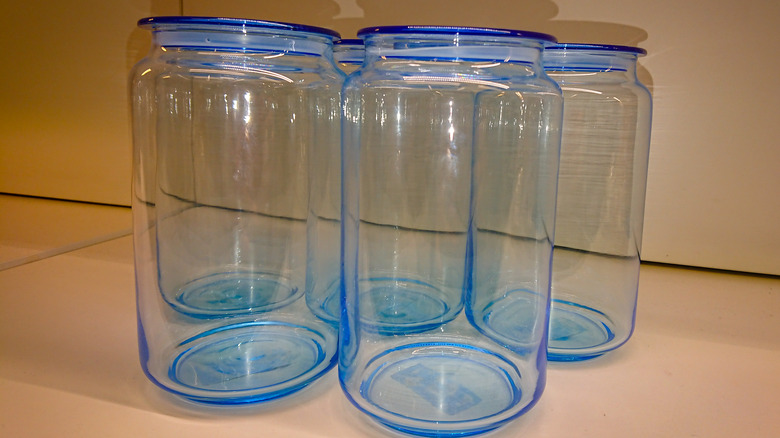
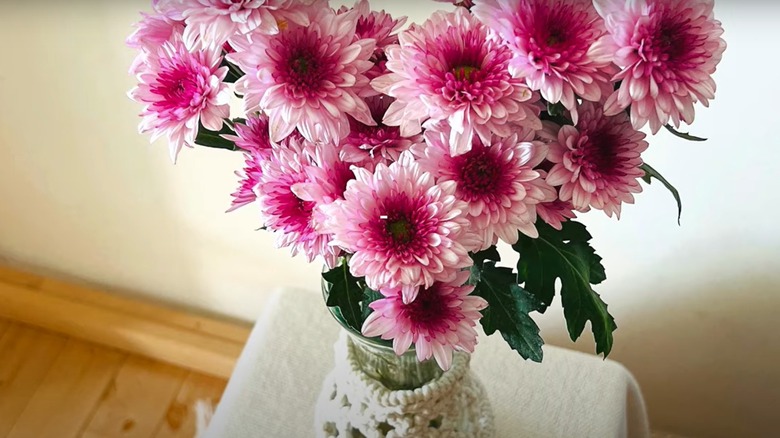
While plenty of glass jars look lovely on their own, they look even prettier with flowers in them ... but what if you don't have any flowers around, or your flowers are showing up later? If you have a glass jar or vase that you wish was a little flashier, a quick DIY upgrade using the easy-to-learn craft of macrame can turn a jar into a showstopper flower vase. This project uses macrame yarn and scissors to tie a series of knots or braids around a jar to create textures and shapes that help show off your flowers.
Macrame became especially popular in 1970s. While it fell out of popularity, it's making a comeback among boho-loving crafters in 2024. The beauty of macrame is in the complexity and patterns of the knots and the open spaces left between the knots. Because it's fairly easy to learn and relatively inexpensive, it's a great option for people just starting to learn fiber crafts. A jar you want to upcycle into a fancy flower vase makes a simple project for beginners and experienced macrame crafters alike. There are a lot of different macrame yarns you can choose from, including a wide variety of colors and sizes — and size is an important factor to keep in mind for this project, as it affects the number of flowers you'll be able to fit into your jar.
Precise cutting is key
To start, you'll want to securely tie a loop around the mouth of the jar, often called the "anchor cord." Some crafters like to leave an excess amount of string — double the circumference of the mouth of the jar — just to make sure they don't run out, but that's optional. Then you want to cut what some folks call "working cords" — aka the cords that will be your initial set of strings that hang off the main anchor cord. These will be the strings that you're knotting. You want them to be double the length of the jar, cut to the same length so they're all even, and enough of them to more or less cover your jar.
The next step is to tie the working cords, one at a time, to the anchor cord. Pick up an individual string from its center (in order to ensure both sides will be the same length), create a little loop, and then string the loop under the anchor cord. Push both ends of the working cord through that loop and then pull them through. After the working cords are set, then it's just a matter of knotting or braiding the working cords in whatever pattern you want. You can knot over multiple strings, create variations of knots, or simply braid them down. When you're done, trim the edges to make sure they're even.
Macrame is a really flexible craft
There are a lot of ways to do this project to make it your own. You can cover the entire flower jar or work down it halfway and then fray the ends with a brush to break up the fibers and create tassels. You can also use decoupage paper on the jar before adding the macrame to give it depth and color.
Once you've gotten a hang of the basics of how to set up the process, you can be really creative with macrame. You can make an adjustable macrame plant hanger, or even make multiple pieces to hang together to create a decor statement. You can add beads within the knots or on the strings, braid the yarn, or insert other types of materials inside the knots. There are many different patterns to follow or make your own. There's really no limit to what you can do with macrame.