The Unique Spiral Herb Garden You Can DIY With Landscaping Rocks
Some of the best gardens are the ones that make use of different colors, shapes, and textures to create a unique and interesting landscape. Whether you want to add a focal point to your garden or you're just looking to make the most out of limited gardening space, this DIY spiral herb garden will be a delightful addition to your space. Growing a spiral herb garden will accommodate limited space, while also taking advantage of the range of microclimates the circular shape creates. Planting your herbs according to their various water, sun, and shade needs will enable them to thrive, while also helping to prevent issues with pests and fungal diseases stemming from excess moisture on your plants that require drier soil. The shape also helps avoid drying and wilting of your softer-leaf plants that need more shade and moisture.
Your spiral herb garden can be built on any flat surface. They are also suitable for urban gardeners, because they can be built on top of concrete or a raised bed, if you have one that's high enough. All you need to start building your spiral garden are boundary materials (like pavers, brick, stone, or wood), a weed barrier, cardboard, bagged topsoil, mulch, and water. You don't need cement to secure this structure into place, but you do have to make sure that the kind of stones you choose to use are flat and can stack well.
How to build your spiral herb garden
Once you've assembled everything you'll need to build your spiral garden, start by spreading your weed barrier all over the location you've chosen to build on. This is important in order to make sure there won't be any weeds that creep up to sabotage all your hard work. Follow up by laying the cardboard down over your new garden space. This will help you draw and plan out where the spiral will be, and, over time, the cardboard will act as extra protection for your herb garden. It's also something that breaks down well into the soil.
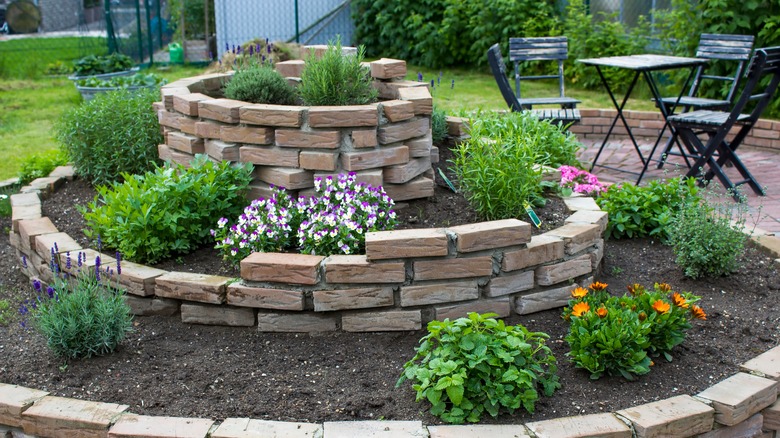
Draw an outline of your spiral on the cardboard, keeping in mind the width and volume of the soil your herbs will need. Start laying your spiral boundary using your material of choice. Continue layering your barriers in a pyramid or cone shape as you go higher. Add your topsoil in the gaps between the spiral to provide support for your walls, as well as to prepare your soil for planting your herbs.
It's important to carefully plan where each of your herbs will be placed in your herb garden. This will be determined by their various needs, as well as the direction the water will drain from. Water drains out in a clockwise direction in the Northern Hemisphere and counterclockwise in the Southern Hemisphere.
Choosing the herbs you want to plant in your spiral garden
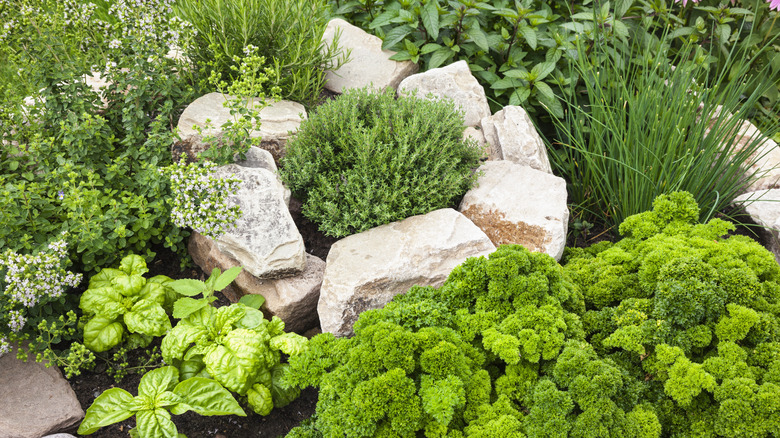
Different herbs have various needs regarding how much water, sun, shade and protection from pests they require. Herbs like rosemary, thyme, oregano, and sage need dry and sunny conditions to thrive, so they can be placed on the top at the center of your spiral. Coriander, parsley, basil, and chives can be placed in the middle and downward slope of your spiral, because they only need partial sun exposure and medium moisture. Mint needs to be placed in a spot where it will have enough room to grow and spread, due to how big it can get. The bottom of the spiral garden is best, as it also needs good shade and the most moisture.
You can add a few helpful companion plants, like marigolds and zinnias, that will provide a good pop of color, keep pests away, and attract pollinators. After planting all your herbs, be sure to generously water your spiral garden to make sure every part gets fully saturated. You can use straw mulch in and around your herb garden to retain moisture, or consider adding glass mulch for a colorful and creative feature that will create a barrier for snails and slugs, as well as give it a nice finished look. Pretty soon, your spiral herb garden will grow to become the focal point of your yard.


