DIY A Portable Grilling Station For Backyard Entertainment
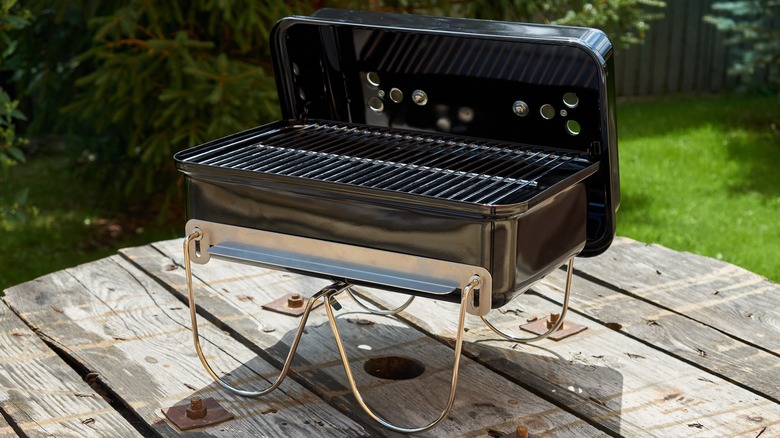
Buying the right small portable grill can be challenging. You have to consider how it's powered, what features you need, whether it will fit what you want to cook on it, and, of course, your budget. You may also need to find out if Home Depot or Lowe's has better deals on grills. Once you have the wee BBQ of your dreams in your hot little hands, you need to consider where it'll live on your balcony or patio. If desired, you can build a station for it. All you need to complete this DIY is sturdy wood, some workshop tools, a few basic items like casters and hinges, and paint or wood stain. You'll also need to choose between two different station designs, one with a waterfall edge and the other with a nesting component.
You likely bought your small portable grill because you don't have much space outdoors or you wanted something that was easy to move, clean, and store. The problem is, you need to sit it on something that's heatproof and a comfortable grilling height. A portable BBQ station with sturdy wheels and handles to make pushing or pulling easier solves all these problems. Other additions include everything from under-BBQ storage for all those entertaining essentials that are a must for your outdoor space to creating a station that slides under a bar table when not in use. Debuting a patio accouterment this cool at your next backyard BBQ party is bound to garner oohs and aahs.
Build a portable grilling station
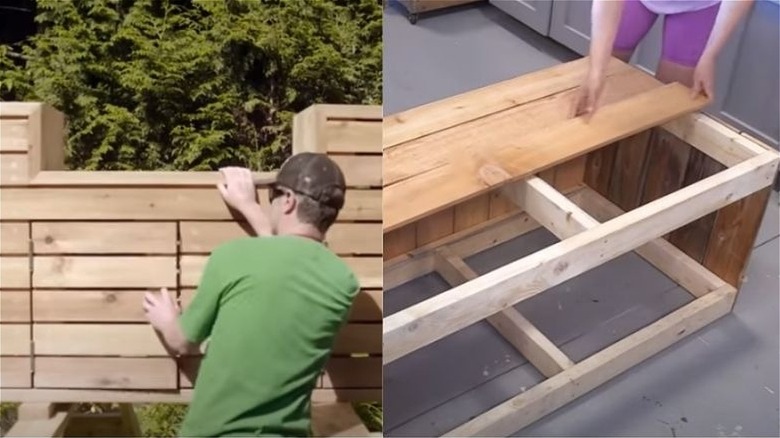
The Western Red Cedar Lumber Association has free plans for a sleek waterfall kitchen island-style DIY portable outdoor grill station and bar combo. Your portable grill will go in the middle of this station, so measure the grill itself — width, depth, and height — and your counter space. Add a few inches and your preferred heights to these measurements — a standard bar is 41 to 46 inches tall. Source your wood: 2x4s for the frame, 2x6s for the cover, 1x6s for the siding, and a mix of 1x4s and 2x4s for the cupboard doors. Grab some stainless steel nails and a hammer and build the frame to your specific measurements using miter joints. Clad the station back and front. Build the doors and attach them using stainless steel hinges. Screw in the heavy duty castors.
DIY furniture expert Ana White has detailed instructions for a modular nesting grill station for portable grills. Plan to build two pieces of furniture: a portable grill station and a bar. Lumber-wise, you'll need two 10-foot-long 2x6s, eight 8-foot-long 2x4s, and two 8-foot-long 2x2s. Build the open-style bar table first, which has attractive (and structural) X's on the sides. The dimensions for the portable grill station are a little bit smaller than the bar so it can nestle underneath when not in use. After mitering the frame of the station together, clad it in fence pickets. Add wheels to both pieces and handles to the smaller interior station.
Personalize your new portable grilling station
Don't be afraid to customize these DIYs to fit your specific BBQ, space (both the footprint and decor-wise), and cooking style. Create a station that suits your aesthetic preferences and add unique features like a removable storage caddy, larger workspaces, dedicated holders for must-have grilling utensils, a built-in mini fridge, or a permanently-affixed bottle opener you're guaranteed never to misplace. Think about where your will station go. If it usually sits against a wall, leave the back open to save money on materials.
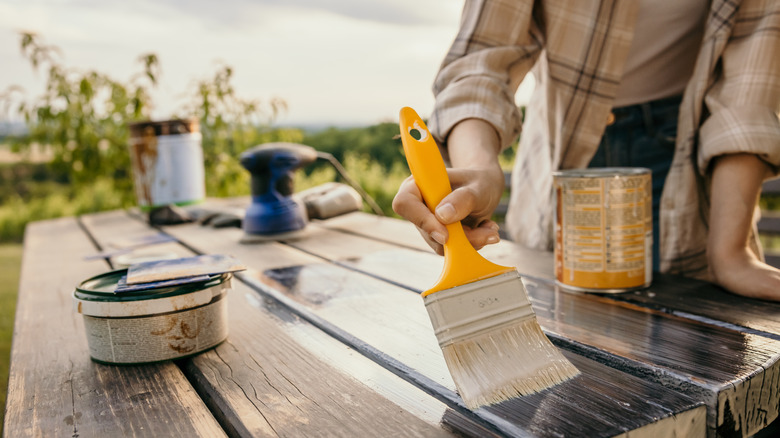
Upcycle pallets for a rustic look, or go contemporary with sleek cedar planks finished with glossy outdoor paint. Go a step further and match the color palette (hint: bold colors and patterns are trending in 2024), materials, or style of your existing outdoor furniture. Let your imagination run wild and you'll have a bougie patio set that's the envy of anyone who visits for DIY prices.
Finish either station with outdoor primer and paint, wood stain, or wood oil — like natural tung oil. Sand the wood using a combination of 120 or 150 grit and 180 or 220 grit, depending on the wood type, then paint, stain, or oil it. Let the finish dry for 24 to 48 hours before screwing in of the fancy features you've chosen — be it handles, wheels, or bottle openers. Ready for your next project? Use the skills you've learned here to create this TikTok-approved grill gazebo that'll set your backyard apart from the rest.