We Resealed Plastic Bags With Aluminum Foil & A Hot Iron – The Results Were Air-Tight
In the eternal struggle to find an unobjectionable purpose for clothing irons that doesn't involve, you know, ironing clothes, someone hit upon an idea. Where others are content with a clumsy fold, bag clip, or a clothespin to "seal" an open bag of foodstuffs, these pioneers seek to completely re-seal the food package after each use. Their particular stroke of genius is using an iron and a bit of aluminum foil to basically emulate the bag sealers owned by the sorts of people who have over-large vegetable gardens and stock pots. I've been using a FoodSaver V2830 bag sealer for this sort of thing for years, mostly sealing food cooked during all-day meal prep marathons. It's been an uneven experience, and if I'd known about the iron-and-foil trick, I might have just skipped it. Because, it turns out, the foil hack usually works pretty well.
The foil-ironing approach touted online by creators like TikTok user @lexmerico and YouTuber @HandmadeByKristen seems mostly oriented toward re-sealing bags, while commercially available bag sealers have extra features for handling wet foods, vacuum-sealing, and other functions. The vacuum ability on these appliances is handy and not just for food; you can use a vacuum sealer to keep wet paint brushes from drying out, for example. It's indispensable for wet foods and freezer-bound items. But for most pantry storage, it's overkill, which is where this hack comes in handy.
What you need to seal items in a bag, besides a clothespin
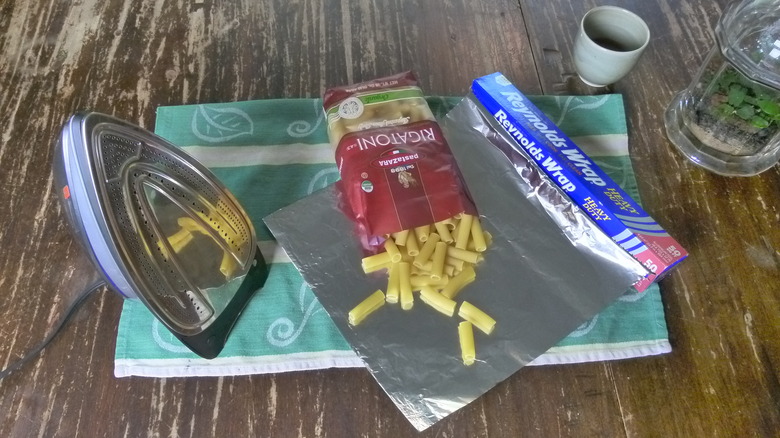
I set about the experiment with a bunch of bagged foods, a roll of Reynolds Wrap heavy duty aluminum foil, and a Sunbeam Series U iron (powered by TurboSteam!) unearthed from the depths of the laundry room. It's no exaggeration to say that the iron looked as if it had been recovered from a long-forgotten shed that might have experienced some flooding over the years. It was profoundly dusty and had attached to it a few strands of vegetable material — hay, perhaps? — for which I had no explanation. But, after a thorough cleaning, it was back to its former glory and worked perfectly. If you face a similar situation, baking soda works great for iron-cleaning and is probably already sitting in your kitchen.
My intent was to re-seal a variety of food bags made of various materials with the iron and foil. I also wanted to try a few other variations: a common Ziploc bag and FoodSaver bagging material, for example, and maybe a few of each in the FoodSaver as well. Without any consistent information about what heat settings to use on the iron or how long to attempt each seal, I experimented a bit and concluded that times vary by bag material and that most bags would be sealed (or at least a creditable attempt made) in two 45-second passes on the cotton setting, the second hottest after the linen setting.
Tests, and a few problems along the way
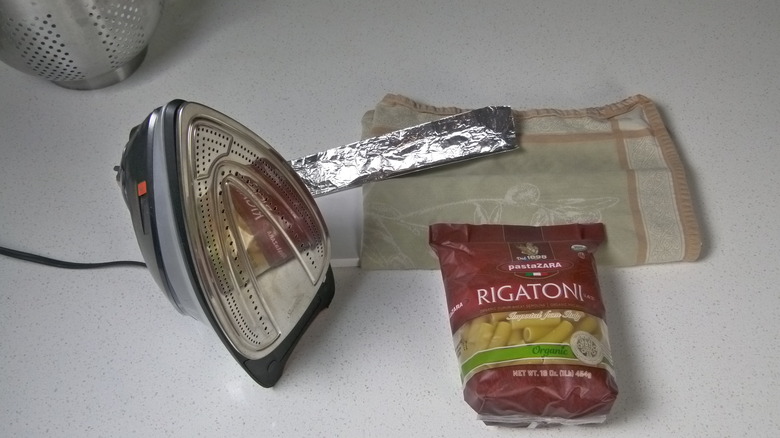
One issue I noticed almost immediately was that the iron had an elevation problem. While the FoodSaver raises the end of the bag to be sealed an inch or so off the countertop, letting contents slide deeper into the bag and out of the way of the sealing mechanism, the iron obviously has no such feature. So, to keep any mess to a minimum, I used the iron atop a scrap of 1-by-4-inch PVC trim with a tea towel folded on it. This raised the operation about ¾ of an inch, which did the trick; the iron had no further trouble with food spilling out during sealing.
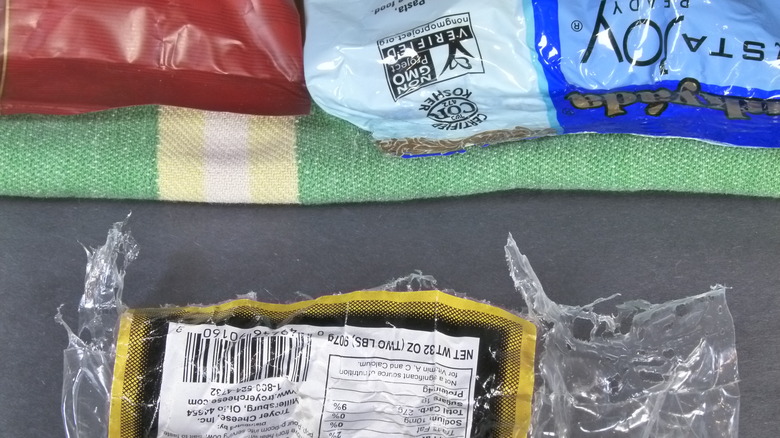
Along the way, I ran into a few materials that weren't suitable for re-sealing because the iron-and-foil trick melts the bag horribly. This happened a few times and invariably made a mess of the strip of foil. I had initially wondered what the purpose of the aluminum foil was. After all, the iron's soleplate is steel. I figured maybe aluminum's superior heat dissipation made it somehow heat more evenly or cool faster. But after melting a few bags, I concluded that the foil probably serves to protect the iron from the potential mess of melty plastic. (It turns out that aluminum foil is a bit of a miracle product that you can repurpose all around your house.)
It's a good hack for some bags
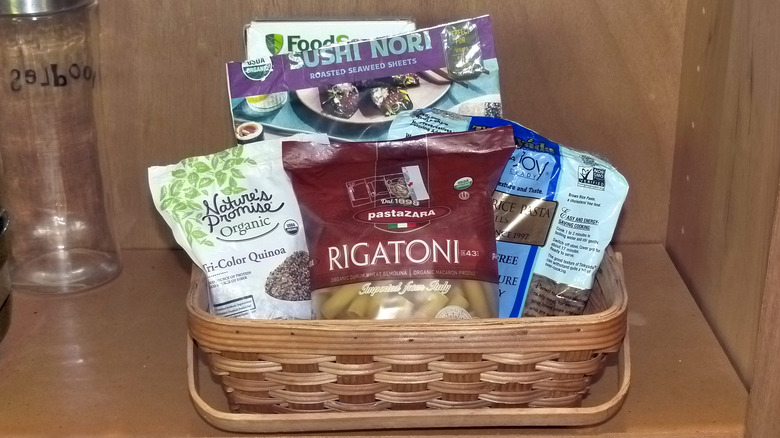
Overall, the iron-and-foil trick was definitely worthwhile. In addition to the rigatoni shown above, I was happy to see that a bag of tri-color quinoa (purchased, I assume, as a disciplinary side dish for disobedient children) was re-sealed very well by the iron — and with any luck, it will remain that way. A bag of nori sheets sealed nicely, save for some minor melting of the bag material at the very edge of the opening. I easily re-sealed a bag of black beans but noticed that the seal was not airtight. Some white rice (and everything else I tried) was sealed perfectly in the FoodSaver bag material.
Other materials worked less well. Both a Ziploc bag and a bag of rice melted badly, sticking to the foil. Without a better understanding of bag materials and temperatures to use, the results can be unpredictable with flexible polyethylene bags. YouTuber @HandmadeByKristen got good results with low settings, but I couldn't find a setting that didn't occasionally destroy the bags. FoodSaver's instructions match my iron-and-foil experiences: You can re-seal "Mylar-type (strong, thin polyester) or stiff plastic bags. You can re-seal potato chip and pretzel bags ... Zipped storage bags and other plastic bags cannot be used due to the amount of heat generated when sealing the bags." If I find myself in need of a simple, non-vacuum seal on a bag that can take the heat, I won't hesitate to use this trick in the future.