Household Staples That Make Paint Touch-Ups Even Easier
We may receive a commission on purchases made from links.
Any painting touch-ups you do at home should measure up in caliber to a full-scale painting project. That said, correcting small imperfections shouldn't take as much time and effort as painting an entire room. You don't want to break out painters' tape, lay down tarps, get your brushes dirty, and lug around large cans of paint for a minor undertaking. That's why you need tools that help you do quick, quality painting work in bite-sized chunks.
Luckily, several everyday items can make your painting retouches a breeze. For example, ketchup bottles simplify handling and storing paint on minor jobs. Likewise, toothpicks — not sponge brushes — are your go-to tool for tiny nail holes. Believe it or not, even a pair of old stockings comes in handy as you prepare to paint. Below, we've compiled the most useful of these objects. The DIY painting accessories in our lineup are inexpensive and readily available in most households. Some may already be kicking around in your recycle bin.
Toothpicks give you surgical precision when touching up small imperfections
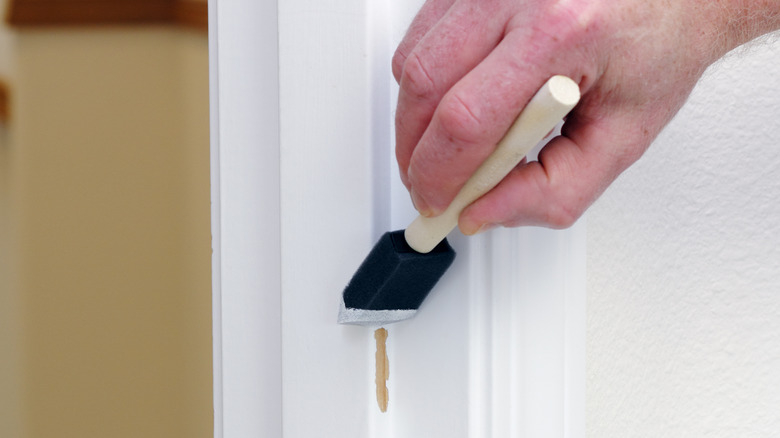
A toothpick is the ideal paint applicator when you're touching up tiny dents, scratches, old nail holes, or other minor blemishes on a wall. Painting over such imperfections demands great precision — you want to get the paint exactly where it needs to go and avoid smearing it onto the surrounding surface. Simply dabbing a small dent with a paintbrush will create a noticeable mark on the wall — even if you match the paint color perfectly. So, unless you want to repaint the entire wall to achieve a uniform look, make sure your touch-up doesn't create a bigger issue than it's out to solve. Moreover, the small footprint of the flaw doesn't warrant getting a brush dirty. A toothpick is a much more efficient tool. Its pointy end picks up just enough paint to cover small dents without contacting the adjacent wall surface.
Using this common household item for paint retouches is as uncomplicated as it sounds. Just scoop up a bit of paint with the toothpick's end and then apply it to the imperfection. You can repeat this process until you're satisfied with the result. To ensure that the paint you applied is flush with the wall surface, use the side of the toothpick to even it out. That said, note that a toothpick is only effective (and efficient) for touching up flaws that don't exceed about ⅛-inch in size. You'll have to correct larger defects with a cotton swab or a sponge brush.
A ketchup bottle produces just the right amount of paint for small jobs
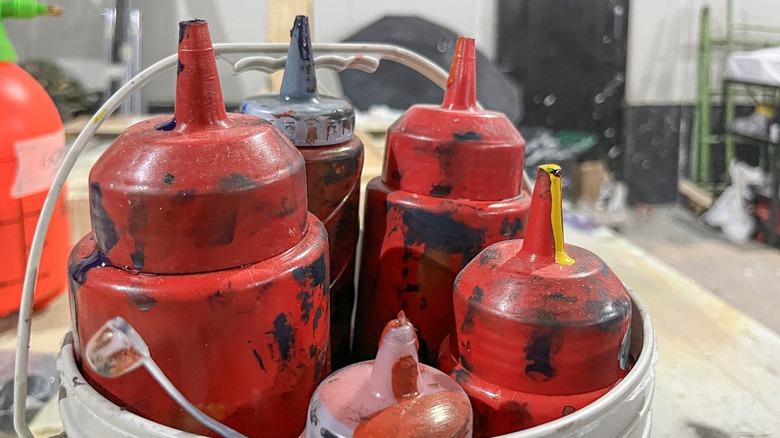
A ketchup bottle serves as a large paint tube that handily dispenses small amounts of paint for your touch-up jobs. Correcting small deficiencies isn't normally a task that requires lots of paint. These refinements often require you to move around quite a bit as you chase blemishes on different parts of the wall. And while a large paint bucket is overkill (not to mention annoying to move around), an empty ketchup bottle is well-suited for carrying paint and doling out smidgens of it as needed. The shape of a traditional ketchup bottle fits the hand perfectly and enables a good grip. Thanks to this quality, it's far more comfortable to hold than a paint bucket's wire handle. At the same time, the bottle's narrow opening keeps the paint from spilling unless you make the effort to squeeze it out. Finally, you can easily see what color paint each of your ketchup bottles is storing.
Using ketchup bottles to hold paint requires little effort and boils down to labeling and storing the bottles properly. Even though you'll see the paint color in each bottle, you should still label each. The labels should include the paint's brand and color ID (so you know which one to buy when it runs out) and the date you opened the bucket. Paint can last a while if you store it properly, but it's still best to use it no later than two years after opening, according to Home Depot. To store paint in ketchup bottles, find a dark, dry location away from heat sources. If possible, keep the bottles full to minimize the contact area between the air and the paint. Doing so will prevent the paint from drying over time.
A turkey baster helps avoid spills when transferring paint into a small container
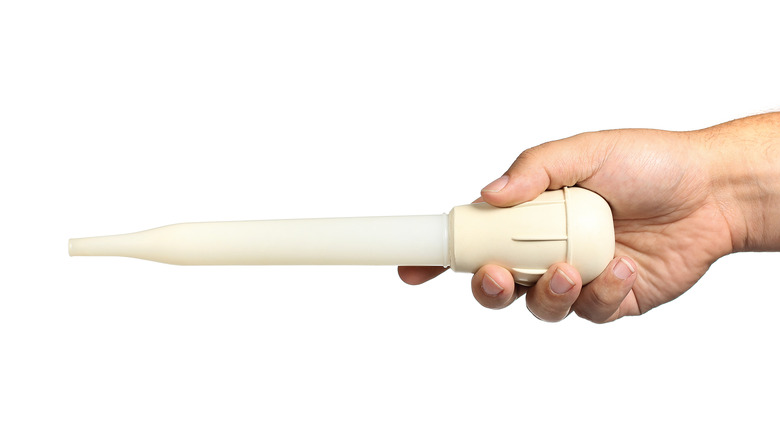
A turkey baster helps you transfer paint from a large bucket to a small container without making a mess. You probably don't want to carry around a large paint bucket when fixing small paint defects around the house. Old ketchup bottles work best for this purpose, but small jars or containers are also suitable (and ubiquitous in most homes). However, getting the paint from the bucket and into the smaller container can be problematic, even if you use a funnel. The slightest unguarded movement can lead to a nasty paint spill — not an issue you want to deal with if your floors aren't tarped. On the other hand, a turkey baster can move paint between containers with speed, precision, and no residual mess.
If you plan on using a turkey baster for paint transfers, be sure to clean the tool well after each use. As soon as you're done with the tool, rinse the plastic tube and bulb separately with warm water and soap. A scrubbing brush can help you clear the paint residue from the tougher, narrower parts of the baster. And if you've let the paint dry inside the baster, don't despair. Home Depot recommends a vinegar bath for hardened paint brushes since its acetic acid content is effective at loosening paint. The same method will work with your baster. Just soak the tool in vinegar for about an hour, then give it another rinse.
A milk jug serves as a handy holder for both the paint and brush
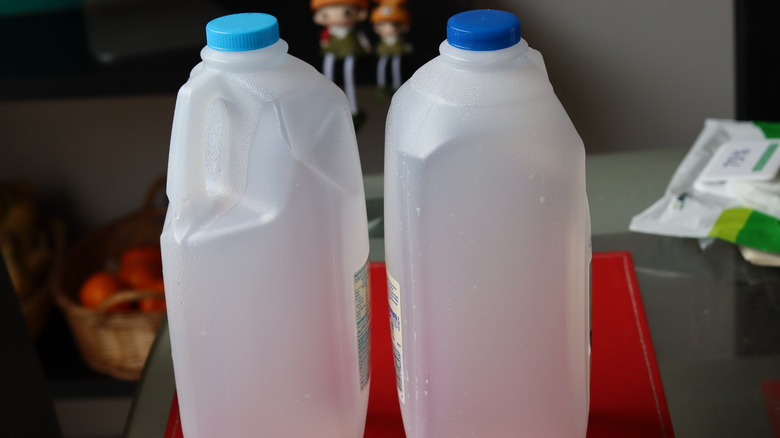
An empty milk jug is a convenient solution for holding paint and brushes in one place when working on a ladder. Some painting touch-ups involve defects high up on walls or trim — spots only reachable with extensions or ladders. Extensions work great with rollers but reduce your fine motor skills too much to allow intricate brushwork. Meanwhile, climbing ladders requires three points of contact to avert falls. Enter the milk jug. This commonplace household item can be easily repurposed to accommodate paint and a brush while affording portability thanks to its handle. All it takes is a few simple cuts to the jug, and you can use it to port all the tools you need to paint high-up spots while maintaining three points of contact on the ladder.
Refashioning your milk jug into a paint-and-brush holder is a simple task. Start by washing and drying the jug well. Then, use a utility knife or scissors to cut out a rectangle in the jug on the opposite side of the handle. The bottom edge of the cut should be at least three inches above the jug's bottom to provide enough space for paint. At the same time, the top edge should be high enough to allow easy paint transfer to and from the jug. With the cutout made, you can now pour paint inside the jug and place a paintbrush into its mouth, bristles up. When you add paint to the jug, make sure you leave enough room above to keep the tip of the paintbrush clean.
Cotton swabs help you paint over tiny scuffs without a brush
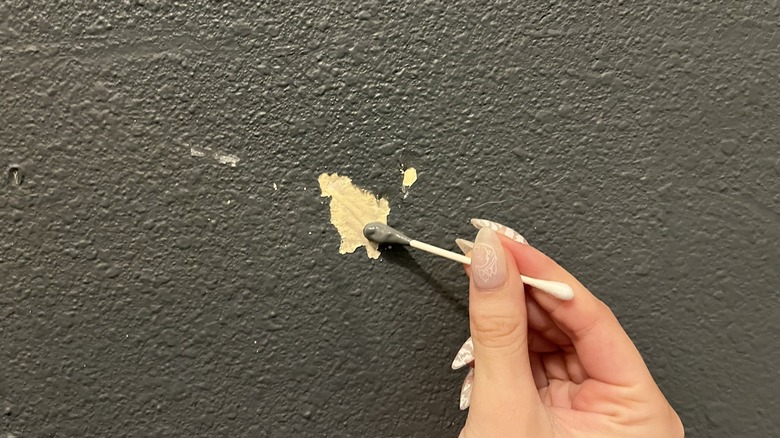
A cotton swab acts as a miniature sponge brush when you paint over minor defects. Retouching small dents and scratches is not easy with a brush, which usually gets more paint around the flaw than onto it. Likewise, a toothpick only works when correcting the tiniest dents or holes. On the other hand, a cotton swab is small enough to give you accuracy, but large enough to apply paint to abrasions as wide as an inch or two. Moreover, cotton swabs are plentiful in most homes (not to mention inexpensive), so you can use a few and discard them without worrying about costs.
To use a cotton swab for painting, follow these four steps. First, prepare the painting surface as you normally would by sanding it (if needed) and then wiping it clean. Next, ensure that anything beneath the spot won't get stained — holding a piece of cardboard should suffice for a small touch-up. Then, dip the swab into the paint and let the cotton absorb enough liquid before applying the paint to the surface with soft strokes. Finally, apply a second coat when the first one dries — how long you wait depends on the paint type. You can discard the swabs between coats.
Petroleum jelly masks areas you don't want to paint
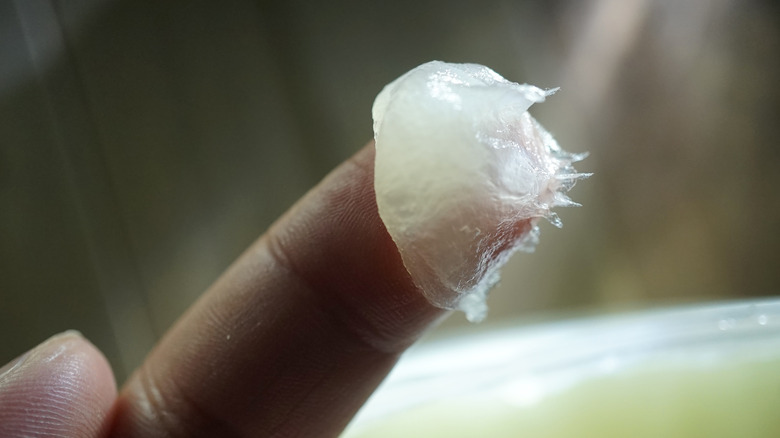
Petroleum jelly is a common domestic product that acts much like tape by protecting surfaces you wish to keep paint-free. Unlike painter's tape, however, it's much easier to apply — especially to small areas like door handle backplates, faceplates, or door hinges. You can rub a petroleum jelly product like Vaseline onto any painting-adjacent surface to protect it during your touch-up. The jelly forms a thick, viscous barrier over the surface you apply it onto. Paint bonds to the jelly as it would to the face of a wall and wipes off easily along with the jelly.
You can use petroleum jelly in the same way you'd use painter's tape, but be gentler when painting so as not to disturb it. Use a brush to apply the jelly to areas you want to keep clean during your paint job. Then, paint as you typically would, but take care not to disturb the jelly if using a brush. If paint gets onto the jelly, wait for the paint layer to dry, then wipe it off with a towel. If you're applying more than one coat of paint, wipe at the very end so you don't have to reapply the jelly each time.
Fabric softener prevents paint brushes from stiffening overnight
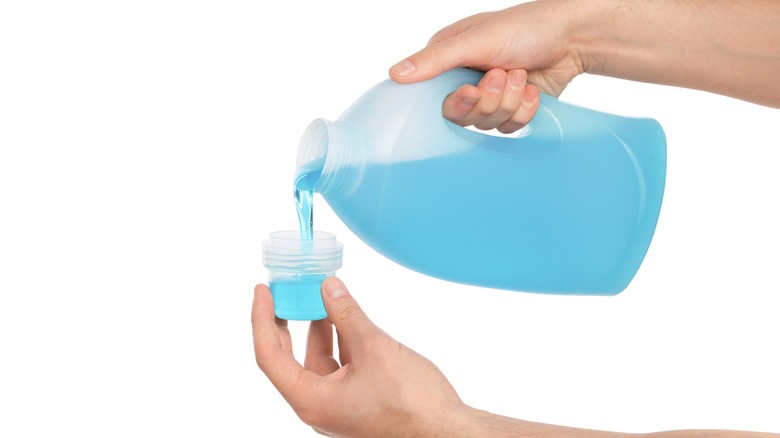
Fabric softener can do more than fluff your clothes — it also keeps your paintbrush bristles from stiffening. This perk is handy on minor retouching projects where you don't want to spend inordinate amounts of time cleaning brushes between coats. Instead of soaking your brushes in a soap-and-water mixture, add some fabric softener to their bath. The cationic surfactants in the softener loosen the bristles and the paint residue so that the brush is soft and clean before you dry it. Your brush will be ready for action the next day with soft, flexible bristles.
Here's how you use fabric softener on your brushes. After painting, remove as much paint from the bristles as you can and rinse them in warm water. This step will get rid of most paint residue. Next, submerge the brushes in a mixture of water and fabric softener — about ¼-cup of softener per gallon of water will do. Allow the brushes to soak for 10-20 minutes. Finally, wipe the brushes with a towel and either hang them or lay them down to dry.
Plastic bags keep your roller trays clean between jobs
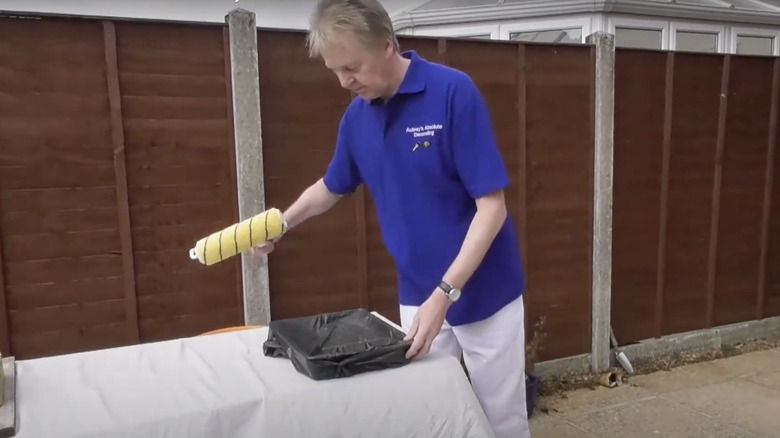
Plastic bags allow you to use your roller tray without getting it dirty with paint. When your touch-up job requires a roller, you'll finish your task and move on much faster if you're not stuck cleaning the roller tray. This is especially true if you have multiple coats to apply and have to wait days between them. A bag goes over the roller tray neatly, forming a barrier between it and the paint. At the same time, you can still push the roller against the tray's ridges to get it ready for painting, just like if the bag wasn't there. When you're done painting, simply discard the bag and put on a new one when you're ready for the next coat.
To make sure your tray stays as clean as possible, avoid using the plastic bags you get with your purchase at a store. These often have holes through which paint will seep, dirty the tray, and create an unnecessary mess. Instead, use garbage bags, as these are much sturdier and designed to be leak-proof. Don't toss the bag if there's any paint left and you need to recoat the next day. Take one side of it off the tray and use one side of it to cover up the paint — it should still be usable for your second coat.
Stockings help filter out chunks from old paint
Stockings are an odd item to bring to a painting project, but they can simplify your touch-ups by preparing remnants of old paint for the job. Although an opened paint bucket can last as long as two years, its contents will still coagulate, and you'll be forced to liquefy the paint prior to use. Regardless of how you get the paint back to a liquid form, the substance will have chunks in it that must be broken up with a fine sieve. This is the moment your old stockings have been waiting for.
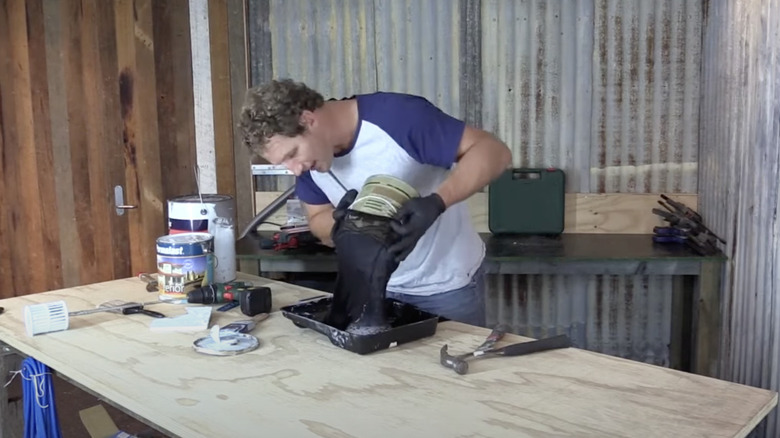
To get your paint flowing again like it's brand new, filter it through an old stocking. Put on a pair of gloves, then slip one of the stockings over the mouth of the paint bucket. Place your roller tray or another container on a desk, and pour the paint into it through the stocking, helping the liquid sieve through with your hands. The garment's fibers will help dissipate the hardened bits. When you're done, discard the stockings — and you're ready to paint!
