Why You Should Consider Installing A Squat Toilet In Your Bathroom
Often hailed as a relic of the past, squat toilets have been making a modern comeback in bathrooms around the globe. Unlike their western counterparts, squat toilets require the user to, well, squat rather than sit. Squat toilets are still being used in parts of Asia, Africa, and the Middle East, and they offer health benefits that extend far beyond anything cultural — so you might want to consider getting one now or for your planned bathroom remodel.
One of the defining features of a squat toilet is its design: a simple hole in the ground or a slightly raised platform with footrests. Users squat over the hole or platform to do their business. While this may seem bizarre or unfamiliar if you're accustomed to sitting toilets, squatting is actually a more natural position for complete evacuation, aligning the rectum and allowing for smoother bowel movements. Squat toilets can help prevent constipation, hemorrhoids, and promote better bowel movement mechanics and general colon health. Additionally, squatting reduces the risk of pelvic floor disorders compared to sitting toilets, as it minimizes strain on the pelvic muscles. If you're sold on the idea of embracing the squat toilet revolution, the next step would be getting your own squat toilet installed by a licensed plumber. But if you're an avid DIYer, you'll have to start doing your research to avoid common toilet setting mistakes and get everything ready. Also, don't forget to check relevant local regulations or codes concerning toilet installations in your area.
Squat toilet installation
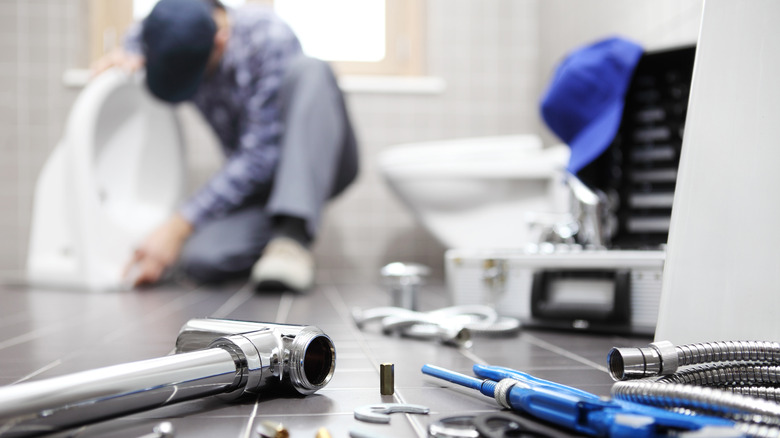
Installing a squat toilet, though initially unfamiliar, can be achieved successfully with the right tools and careful execution. Gather the necessary materials: squatting pan, mounting brackets or frame, screws, anchors, level, measuring tape, adjustable wrench, plumber's putty, bucket, P-trap, waste pipe, and a sealing gasket or wax ring. Begin by preparing the area: Turn off the water supply, remove existing fixtures, and clean the surface. Position the mounting brackets or frame securely and levelly, following the manufacturer's instructions. Install the waste pipe and P-trap, ensuring the former's alignment with the drain opening. Next, position the squatting pan over the waste pipe, aligning it with the brackets or frame. Secure it with the screws and anchors, ensuring it's level. Create a watertight seal around the base using the plumber's putty, a rubber gasket, or wax ring. Confirm the levelness of your squat toilet by using a level and make adjustments as needed.
Connect the water supply line to the squatting pan's inlet valve using an adjustable wrench. Restore the water supply and check the installation for water leaks, tightening the connections if necessary. Test drainage by flushing water through the squatting pan. Lastly, inspect all connections, tighten any loose screws, and ensure everything is secure. Note that these are general instructions, and the steps may vary depending on the actual product you're using. With meticulous attention to detail, your squat toilet installation will be completed smoothly, so you can start reaping the health benefits it provides.

