DIY A Backyard Cold Plunge Tub For Way Less. Here's How
We may receive a commission on purchases made from links.
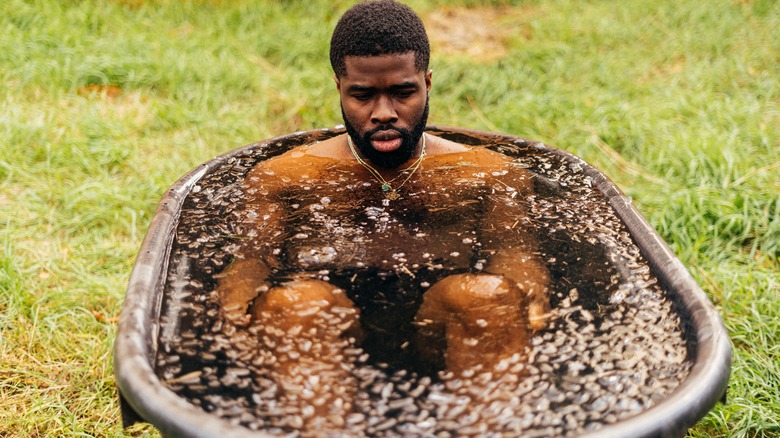
Cold plunge tubs have gained massive popularity, with reported health benefits including faster recovery, better sleep, and improved focus. Cold therapy can be a positive addition to your daily routine, but it's important to talk with a doctor before getting started, especially if you have high blood pressure, diabetes, or other concerns. There are two leading methods for DIYing your own backyard cold plunge tub. You can convert a large freezer and expect to spend around $500, or you can build a framed stock tank with a chiller for a more robust, customized, longer-lasting method that generally costs closer to $1,500.
Since cold plunge tubs vary in terms of complexity, prices for brand-name tubs can vary as well. While some cold plunge users are simply buying bags of ice and filling inflatable models like this $80 tub from Polar Dive, others invest around $10,000 for models like the Cold Stoic Classic from Renu Therapy. By creating a DIY cold plunge tank, you can save several thousands of dollars while maintaining the same level of cold and cleanliness as high-end professional tanks.
In building a backyard cold plunge tub, there are three key details to keep top of mind: insulation, sanitation, and water resistance. You need to ensure that your tub mechanism does not have leaks, seams, or holes, especially if you opt for the freezer method. You'll also want a way to keep your water cold, clean, and energy efficient, without completely freezing.
The freezer method
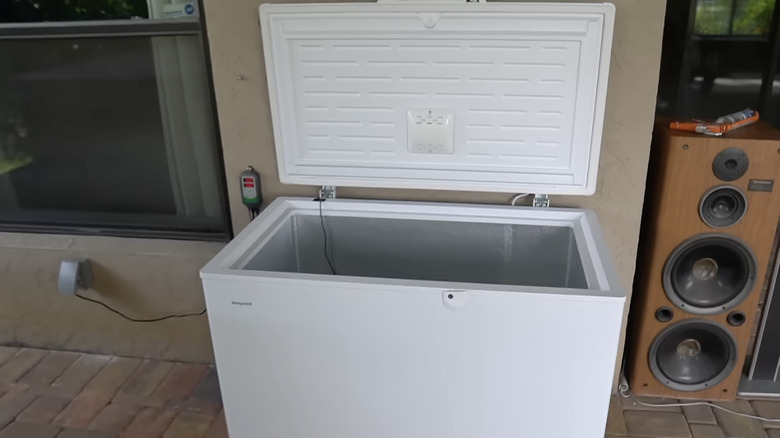
The quickest way to create an amazing DIY backyard cold plunge tub is to convert a food storage freezer. The overall cost of this method depends on whether you can find a freezer on sale. Most adults need a freezer measuring around 9 cubic feet. Chest freezers of this size generally run between $275 and $350, like this one from Best Buy for less than $330. Converting a freezer means that the chiller mechanism is already included, so you'll need fewer parts and steps.
The most important aspect of converting a freezer into a cold plunge tub is the waterproofing. Use a water-specific sealant like J-B Water Weld, which you can find at Home Depot for less than $8 for 2 ounces. Use the sealant to securely close any seams in the interior of the freezer. You can also use a pond shield or a removable liner. Some DIYers build a platform to keep the freezer elevated. From there, you can install a filter if you choose.
Use a temperature controller like the Inkbird digital controller from Amazon for less than $25 to maintain the best temperature for your freezer tub. Make sure everything is unplugged before entering the tub. Cons of this route include the need to keep the filter system in the water with you and a risk of water getting into the freezer parts, making overall longevity a bit lower than other methods. This is still a great entry-level, affordable cold plunge DIY method.
The stock tank and chiller method
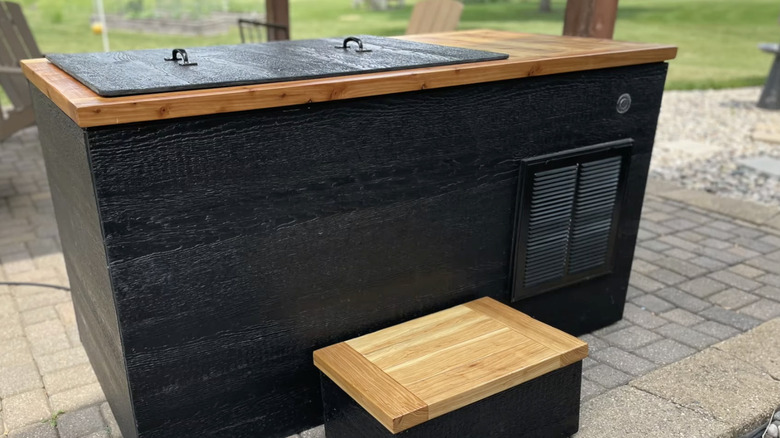
For a more long-lasting, customizable method that rivals the $10,000 professional tubs in appearance and functionality, go the stock tank and chiller route. This is a pricier method overall, but it's entirely possible to piece it together slowly over many months, distributing your budget and your time as needed. As the base tub, you'll need a stock tank like this 100-gallon Rubbermaid model from Tractor Supply Company for around $120.
Measure your tub of choice to determine the amount of wood you'll need for a frame. The frame should hold in the tub securely, with an extra compartment to store and protect the mechanisms like the chiller and filtration system. Build your frame, then fill the gaps around the tub with gr or moisture-resistant reflective foam insulation boards. This is the basic structure for your cold plunge, but you can add lids, waterproofing, and additional framing as desired to fit your gorgeous backyard design seamlessly.
For a fully functioning cold plunge tub, you'll need a chiller, a pump to connect to the chiller, and a filtration system. Prices will vary depending on the models and the sales you find for these aspects, but you can expect to spend close to $1,000 altogether. A decent chiller will take up the bulk of that budget, considering that the highly rated Active Aqua model alone costs around $600 on Amazon. Assemble each component and drill holes in the tank to integrate each system, then plunge and enjoy.


